Tag Archives: paper

SUMMER CRAFTS: HOW TO MAKE PAPER MOLAS

SUMMER CRAFTS: HOW TO MAKE PAPER MOLAS

Materials:

Pencil with eraser

Scissors (embroidery scissors work best for cutting out small pieces of paper)

Three pieces of different colored construction paper, memory album paper or craft foam

Glue stick

White glue

Project:

  1. Draw a design on one of the pieces of paper with a pencil. Cut the design out.
  2. Place a second piece of paper under the first. Line up the edges.
  3. Draw smaller design shapes on the second piece of paper.
  4. Pull out the second piece of paper and cut out these smaller shapes.
  5. Place the first piece of paper over the second one and glue them together.
  6. Place these two pieces on top of the third piece of paper and line up the edges.
  7. Glue the third piece into place.
  8. Frame and hang the molas.
Share Button

RECYCLED CRAFT PROJECT: PAPER BEADS

RECYCLED CRAFT PROJECT: PAPER BEADS
PAPER BEADS

PAPER BEADS

MATERIALS:

Brightly colored paper from magazines, scraps of gift wrap, catalogs, etc. or craps of thin paper stock.

White glue or glue stick

Scissors

Pieces of Yarn, string, fishing line, plastic-coated wire,or pipe cleaner etc.

Additional embellishments: tiny beads, glitter, small stickers (optional)


PROJECT:

  1. Cut long skinny triangles of paper, approximately 1” wide and 4” long.
  2. For each bead, smear glue on half of one triangle toward the tip.
  3. As you roll each triangle up, leave a hole through the middle for your string to go through.
  4. When the glue has dried, string the beads into necklaces, bracelets and even garlands.

VARIATION:

Measure and cut long strips of paper 1″ wide and 4″ long instead of cutting long skinny triangles of paper. Roll up or not too tightly around a pencil and secure with a spot of glue at the tip.

TIP:

Pipe cleaners can be bent to the shapes you desire: circles, ovals, etc. and the pipe cleaner will hold that shape.


Share Button

Art Project for Kids: Abstract Design

Art Project for Kids: Abstract Design

Abstract Design

ABSTRACT DESIGN


MATERIALS:

Markers

Pencils

Crayons

Construction or bond paper

PROJECT:

  1. Find interesting objects in your home and trace them.
  2. Arrange them on construction or bond paper creating an abstract design.
  3. Trace the objects with markers or pencils or crayons. Trace one object at a time, adding objects as you go or lay them all down and trace them.
  4. Remove the objects from the paper. Choose three colors or two colors plus black. Now add patterns to the traced objects: dots, stripes, zigzags, checks or color some of the areas in the design.
  5. Mat the abstract design and display it or use it as a cover for a favorite book.


VARIATION:

Trace one object, turning the paper as you trace. Or overlap the object by placing it vertically, horizontally, upside down, etc.

Share Button

Mother’s Day Crafts: Paper Flowers

Mother’s Day Crafts: Paper Flowers


MOTHER’S DAY FLOWERS

Materials:

Popsicle sticks (use wide popsicle sticks if they are available)

Craft Foam in various colors, construction paper or paper with designs or patterns

Glue or glue stick

Scissors

Pencil with eraser

Markers in brown and/or green or poster or acrylic paint in brown and/or green

Pompoms in various colors (optional)

Patterns (below)

  1. Trace and cut patterns: there are two sets for two kinds of flowers.
  2. Select papers or Craft Foam for the flower petals or the round flower. Trace patterns and cut.
  3. Use petal patterns for the leaves. Trace and cut in green Craft Foam or other craft paper. Use a minimum of two leaves per flower.
  4. Paint Popsicle stick in brown or green or color with markers or paint.
  5. Glue petals around the Popsicle stick or glue the round flower at the top of the Popsicle stick.
  6. Glue a pompom in the center. Or trace a penny or other small coin on the Craft Foam or other paper of choice for the center of the flowers. Cut and glue.
  7. Place in plants to give as gifts for Mother’s Day. Or make several flowers and place in a vase.


HAPPY MOTHER’S DAY!!

Share Button

Lazy Day Crafts: Paper Weaving

Lazy Day Crafts: Paper Weaving

Materials:

Large sheet of paper for the frame of the mock loom

Two or three different colored and/or pattered papers

Scissors

Ruler

Pencil with eraser

Glue stick or scotch tape

  1. Fold paper in half. (Paper length can measure from 8 ½” x 11” and up.)  Draw lines ¼” to ¾” apart down the length of the fold.
  2. Make incisions with the scissors, starting from the fold up to ½” of the edges of the paper. (Draw a straight line at the ½” mark for an even cut.) Cut up to the ½” margin. This is the weaving “frame” or “loom.”
  3. Measure and cut strips of paper to weave in and out of the paper loom. Make sure the length is a little longer than the width of the loom.
  4. Choose two or three different colored papers to weave through the paper loom. Alternate the in-and-out pattern with each row. (Refer to photograph.)
  5. Trim loose ends and glue down using a glue stick or tape on the back of the paper loom.
  6. Paper weaving makes great place mats! What else can you do with your paper weaving?
Share Button

Make a Shadow Puppet Theater and Shadow Puppets

Make a Shadow Puppet Theater and Shadow Puppets
SHADOW THEATRE

SHADOW THEATER

MATERIALS FOR THE THEATER:

(1) Large cereal box 13 ½” x 7 ½”

Scissors

Box cutters

Masking tape or packaging tape

White glue or double-stick tape

Colored papers, i.e. construction paper, scrap booking papers, or material like craft foam or felt

Tracing paper or translucent papers

Small lamp

PROJECT:

  1. Measure the large cereal box and cut out the back. Tape down the sides of the box.
  2. Cut out a window in the front leaving 2” width wise and 1” lengthwise.  Discard   cardboard scraps or save them to use for another time.
  3. Select papers or felt or craft foam to cover the front and sides of the stage. Be colorful. The top, bottom, sides and the front of the stage do not have to match. Contrast colors and/or patterns.
  4. Measure the sides, top and bottom of the stage. Measure the front of the stage around the cut out window.  An easy way to measure the front is to turn it over, lay it on a sheet of paper and trace around the outside of the box and around the cut out. Cut the papers and glue them down.
  5. Measure the width and length of the window. Select either tracing paper or translucent paper and measure and cut it a slightly bigger than the window. Glue behind the stage so the ends of the paper won’t show.
  6. Test the lamp: does it work? The lamp will illuminate the puppets from behind.
  7. Add more embellishments such as columns or curtains.
  8. The Shadow Puppet Theater is (almost) ready to go!

BASIC APPROACH TO THE PROJECT OVER THE NEXT FEW WEEKS: MAKE SHADOW PUPPETS BASED ON STORIES OF THE CHINESE ZODIAC

The next step is to read the synopsis of the zodiac tale and make the shadow puppets. There are twelve stories, twelve animals and other characters that illustrate the stories of the Chinese Zodiac.

When looking for information on how to draw animals and people, select free downloads on the web. I have listed a handful of sites (below) but there are more. Be sure that the clip art is free!!

www.dragoart.com

www.wikihow.com

http://www.activityvillage.co.uk/

MATERIALS:

White glue

Popsicle sticks

Dark paper

Scissors

Free clip art websites

PROJECT:

  1. Using free downloadable clip art, look up easy to follow instruction for tracing and cutting out the animals.
  2. Glue to a Popsicle stick and recreate the stories for friends and family. Charge a small fee and open the plays to the neighborhood.
  3. As a challenge, rewrite the endings to the stories or add or drop minor characters to make the stories unique!
  4. Act out the stories for friends and family!


Share Button

The Double-Headed Serpent: Paper Mosaic Design

The Double-Headed Serpent: Paper Mosaic Design
Paper Mosaic Design

Double-Headed Serpent Paper Mosaic Design

Materials:

White pencil (optional)

Poster board or matt board

Construction or similar paper in four colors

Scissors

Pencil/eraser

Ruler

Double stick tape

Glue stick

Utility knife

White paper (optional)

Paper Clips (optional)

Project:

  1. Select a design like the double-headed serpent in this project. (Double-headed serpents were popular cultural and religious symbols among the Aztec and Mayan people.)
  2. Draw the object on poster or matt board. Or draw it on a piece of white paper. Turn the paper over and blacken the back of the design with pencil. Turn it over to the front, place it on the matt or poster board and secure the paper on the board with paper clips or tape. Trace.
  3. Design a border around all four sides of the design.
  4. Select three or four colors of the construction or similar paper. Decide where to place the paper mosaic tiles. Measure and cut these paper tiles no smaller than 1/ 4” x 1/ 4.” The smaller the size of the tiles, the longer it will take to complete the project.
  5. Decide the color pattern. Lay down strips of double-stick tape on the area, one strip at a time, and place the paper tiles side by side, forming a mosaic pattern. In the sample, the colors of tile form a random design. Repeat until the area finished. Use a utility knife to shape round corners, etc.
  6. Following step #2, trace the central design on the construction paper and cut and glue this cut-out to the poster or matt board. If you are using the double-headed serpent as the central design, use a white pencil to highlight the eyes and teeth.
  7. Cover the other areas of the design including the border.

Bibliography

Morris, Ting. The Arts and Crafts of the Aztecs and Maya. North Mankato, MN: Smart Apple Media, 2007.

Robinson, Fay. Hispanic-American Crafts Kids Can Do! Berkeley Heights, NJ: Enslow Elementary, 2006.

Share Button

Tissue Paper Flowers

Tissue Paper Flowers


Materials:

Tissue paper in a variety of colors including complimentary colors if you can find them

Scissors

Chenille stems or pipe cleaner

Ruler

Vase or tall empty container

Chop sticks or dowel rods


  1. Stack two pieces of one color tissue paper and two pieces of another color tissue paper.
  2. Make a one-inch fold at the short end. Turn the stack over and make a one-inch fold again. Continue to fold back and forth until the entire stack forms a strip (like an accordion).
  3. Fold the stack in the middle and cut it in half.
  4. Round off the corners of each strip.
  5. Wrap a pipe cleaner around the middle of a strip and twist it tightly.
  6. Fan out the tissue and pull on one layer at strip of papers at a time.
  7. Repeat steps 4 -6 with the second strip.
  8. VARIATION: Using the complimentary colored tissue papers, stack two pieces of blue and two pieces of orange and repeat steps 1 – 7.
  9. Continuing to use complimentary color combinations, stack two pieces of purple and two pieces of yellow tissue paper and follow steps 1 – 7.the chop sticks
  10. Using red and green, stack two pieces of each color and follow steps 1 – 7
  11. When finished making the flowers, attach them to the chop sticks or dowel rods using the pipe cleaners. Put them in a vase or jar and decorate your favorite room.
  12. Attach the various color combination flowers to gifts or the covers of photo albums and journals. Paper flowers have lots of uses!
Share Button

Our Imaginations! Paper Cut-Outs: Spring/The Four Seasons Mural

Our Imaginations! Paper Cut-Outs: Spring/The Four Seasons Mural
Spring Panel

Spring Panel Four Seasons Paper Cut-outs

MATERIALS:

Paper

Scissors

Pencil/eraser

Tracing paper

Glue Stick


  1. Research the paper cutouts of Henri Matisse which are a mix symbolic and abstract shapes. “I have attained a form, filtered to the essentials,” Matisse once said and this sums up his philosophy as an artist. Study the paper cutouts for color and form; www.henri-matisse.net/cut_outs.html.
  2. There will be four panels or sections for the Four Seasons Mural. The second section will be spring. Plan the design for the season. The sample shown features flowers. There are other symbols for spring: rain, butterflies, bees, birds, grass, etc. Sketch your design on tracing paper.
  3. The sample features five spring-like colors: white, peach, yellow, and two shades of pink. Other colors that evoke spring are pastel shades of most colors. Limit the palette to three to five colors as in the sample.
  4. Decide the size of the paper cutout. The sample shown is 4” x 6.” Cut the background paper to the size you want for the paper cutout. The sample shows a medium pink as the background color. Light pink, peach, yellow and white are the color choices for the flowers.
  5. Sketch the design on tracing paper. Decide the colors for each part of the design. Blacken the back of the design and flip it over on to the papers you will use. Trace the outline of the shapes.
  6. Use embroidery scissors to cut out the shapes. Embroidery scissors enable you to cut inside larger shapes.
  7. Glue the shapes down on to the background paper and you have the second section of the Four Seasons Mural: Spring!


Share Button

Henri Matisse and the Paper Cut-outs

Henri Matisse and the Paper Cut-outs

 “I have attained a form, filtered to the essentials.” Henri Matisse

Henri Matisse was one of the foremost artists of the twentieth century and along with Pablo Picasso and Marcel Duchamp, shaped the modern art movement. His method of painting, Fauvism, is “… a movement in painting typified by the work of Matisse and characterized by vivid colors, free treatment of form, and a resulting vibrant and decorative effect.” (Merriam- Webster Dictionary) He was primarily a painter and a sculptor but by the last decade of his life, paper cut-outs became the medium he used more than any other.

Art Nouveau and Symbolist Art influenced Matisse’s art. Like Art Nouveau and Symbolist Art,  image (which included the human figure) and decoration were central components to his painting and later, his paper cut-outs.

The paper cut-out technique was originally used to design commissions for the Ballet Russe, the Barnes Foundation and other patrons during the 1930s. Instead of sketching his ideas, he cut shapes out of paper.

After a serious operation left him bedridden in 1941, Matisse began to further develop the cut-out technique. Confined to a wheelchair during the last decade of his life, he unable to paint or sculpt and the cut-outs became the only medium for his art.

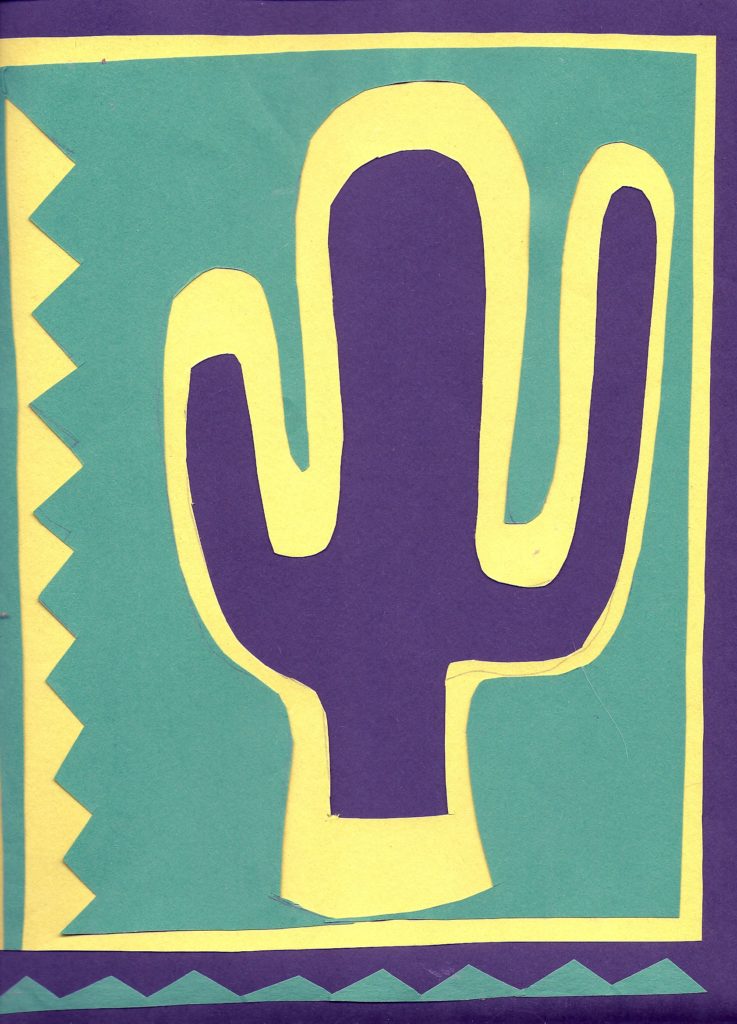
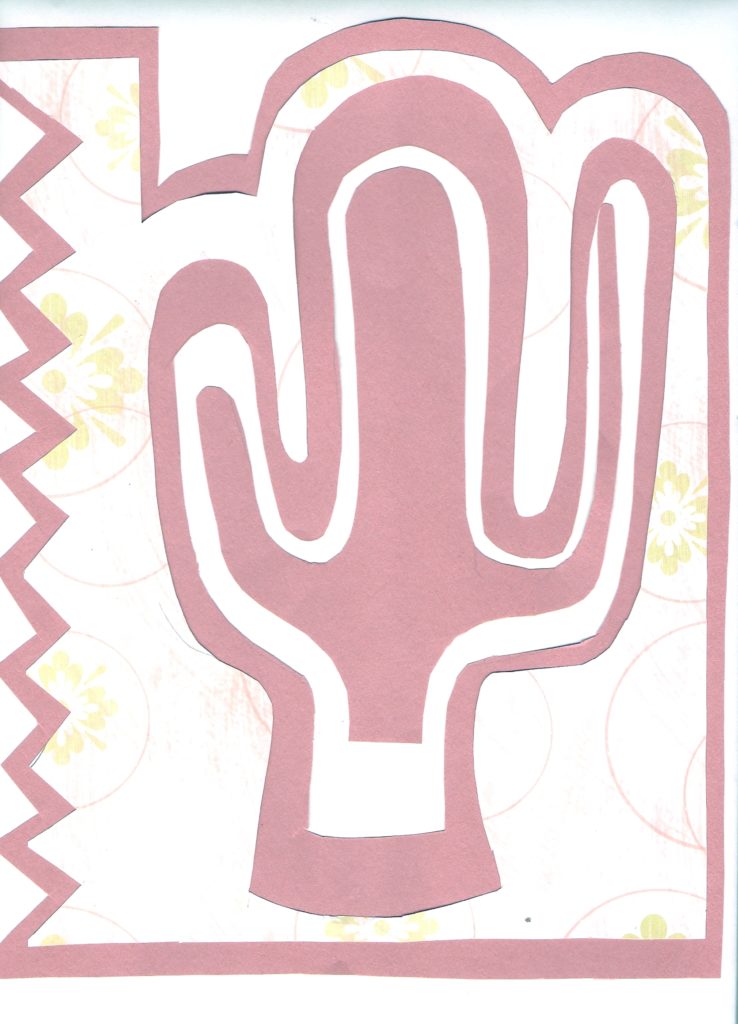
An assistant painted paper with gouache paints. Matisse would have an image in his mind reducing that image to its basic shape. He would cut that image put using quick motions with the scissors. Matisse called the technique “drawing with scissors” on colored paper instead of using pastels, pencils or charcoal on blank paper. The shapes were laid on geometric shapes (squares, rectangles) of another color or on a white background. The cut-outs looked like Matisse’s Fauvist paintings only the approach to the subject and the materials and tools were different.

Today, Matisse’s paper cut-outs are as highly regarded as his paintings and sculptures.


To read more about Matisse’s paper cut-outs:

http://www.nytimes.com/2014/10/10/arts/design/henri-matisse-the-cut-outs-a-victory-lap

http://wwww.latimes.com/entertainment/arts//a-etc-cm-knight-matisse-review-20141023

Elderfield, John. The Cut-outs of Henri Matisse. NY: George Braziller, Inc, 1978.


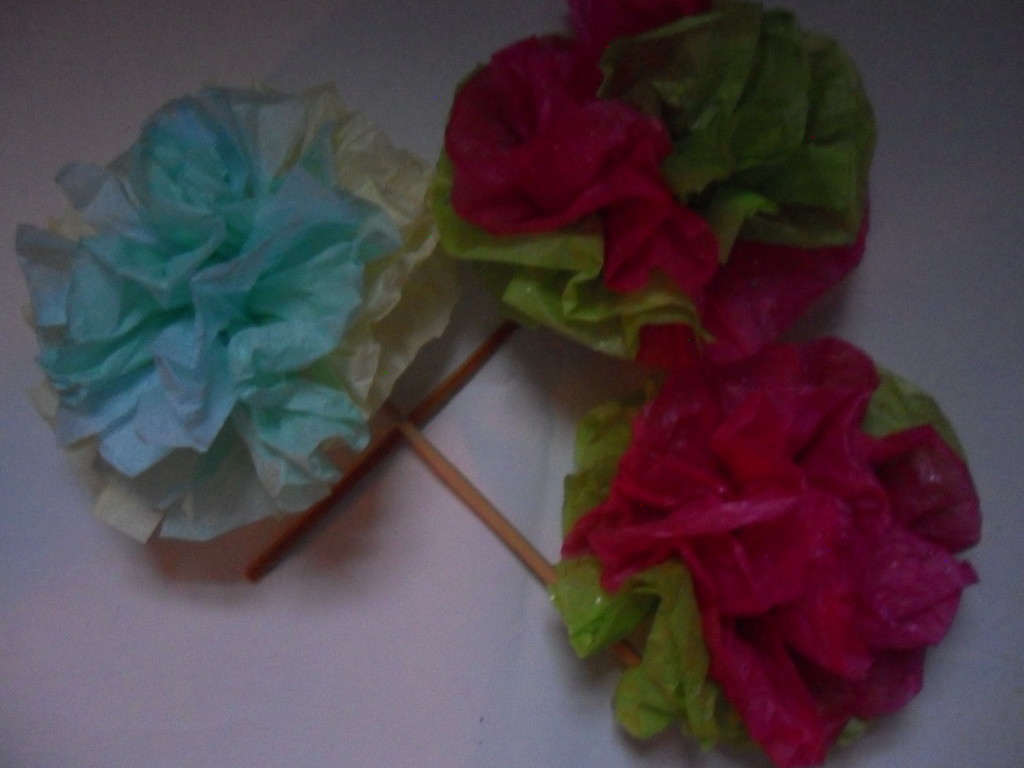
To make paper cut-outs like Matisse, try the following tutorial:

Paper Cut-outs

Materials:

White paper or white poster board

Colored papers

Embroidery scissors

Glue stick

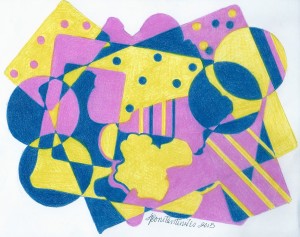
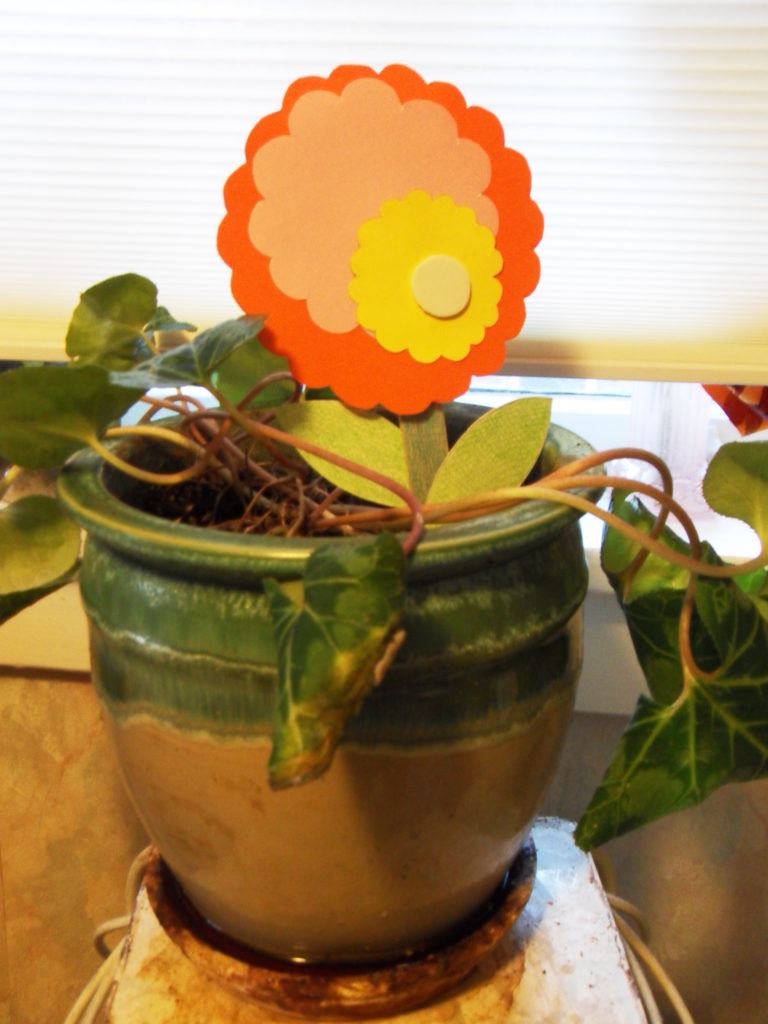
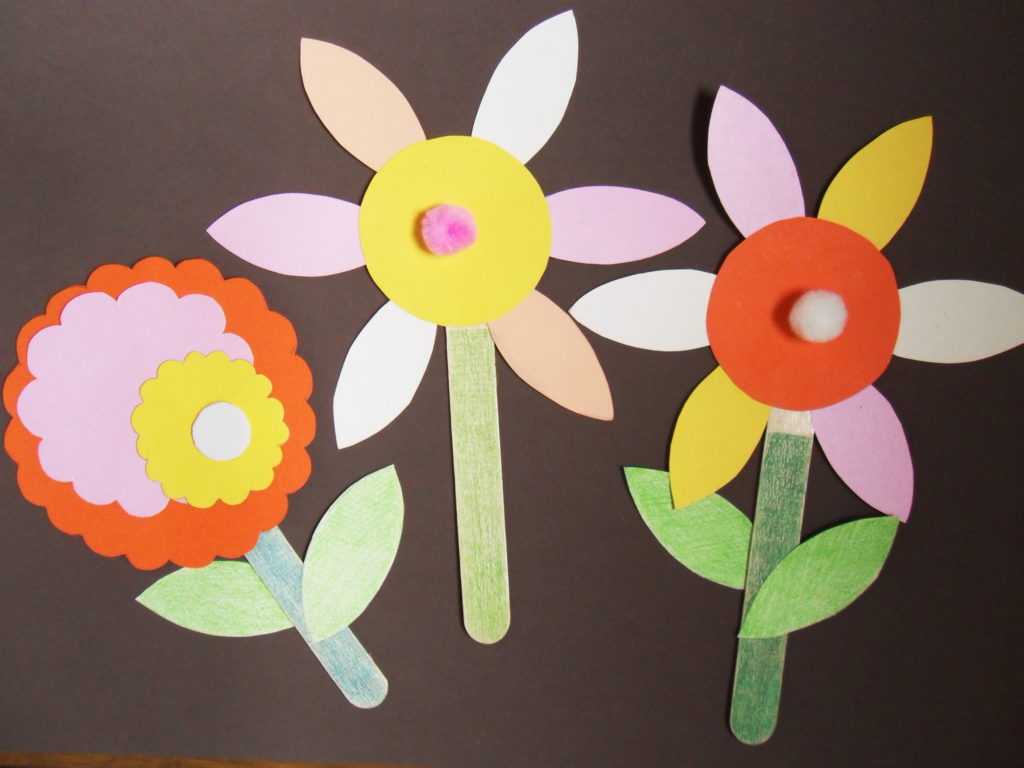
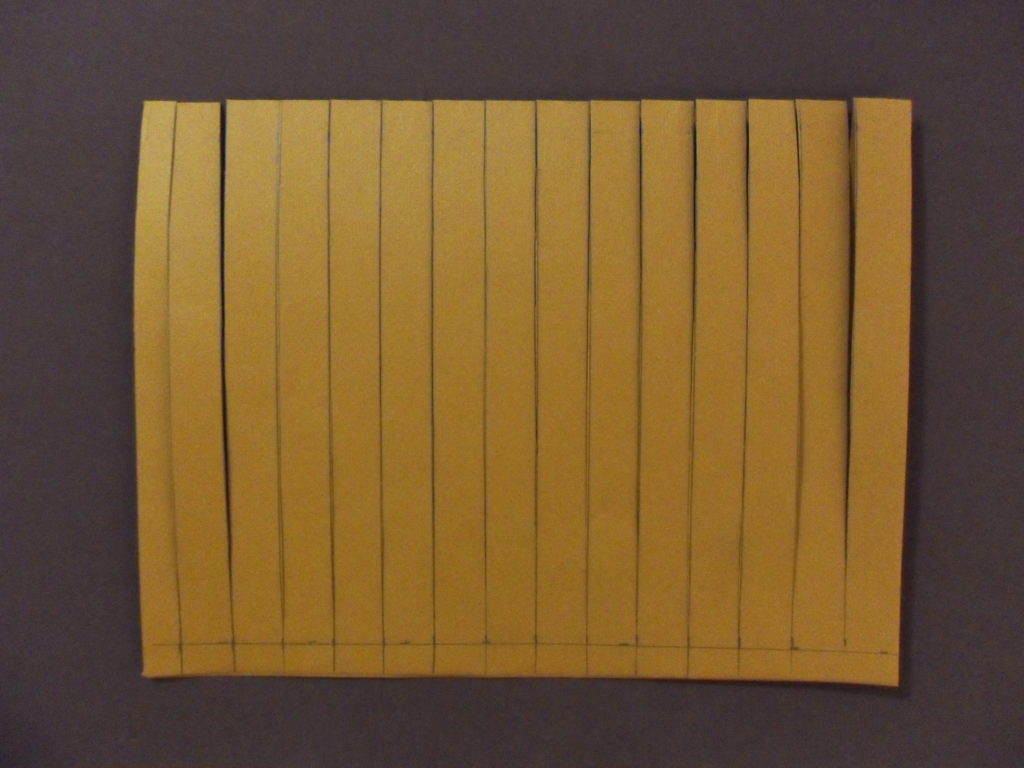
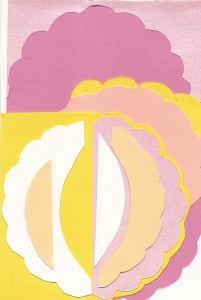
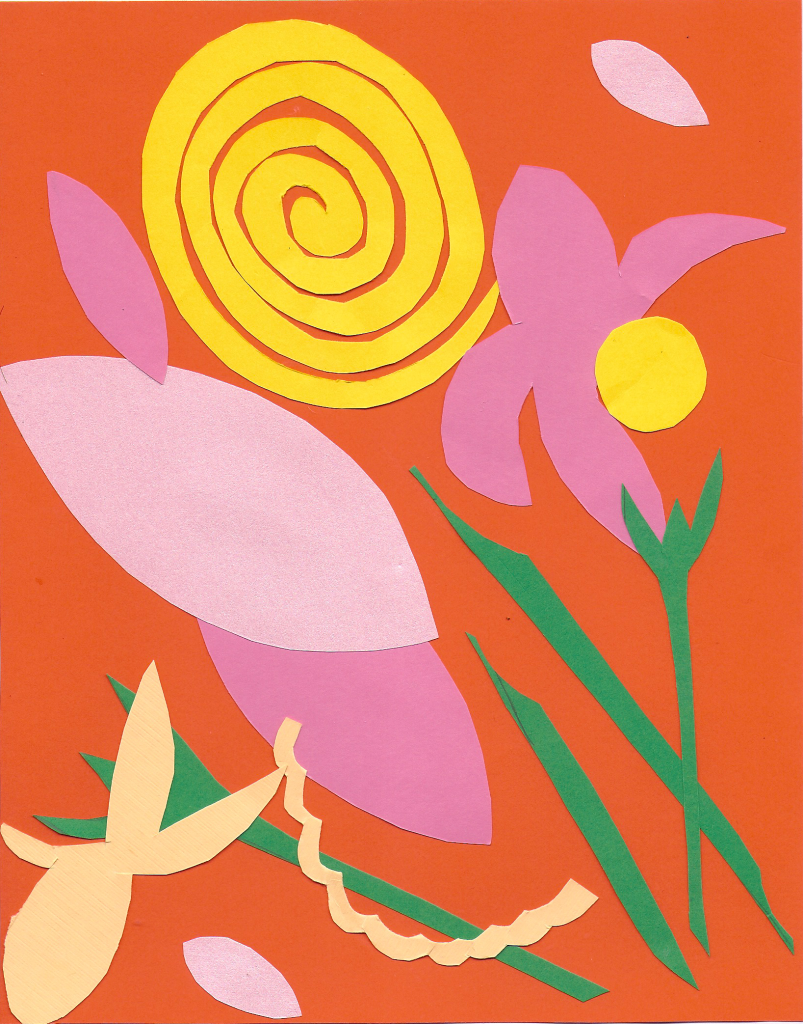
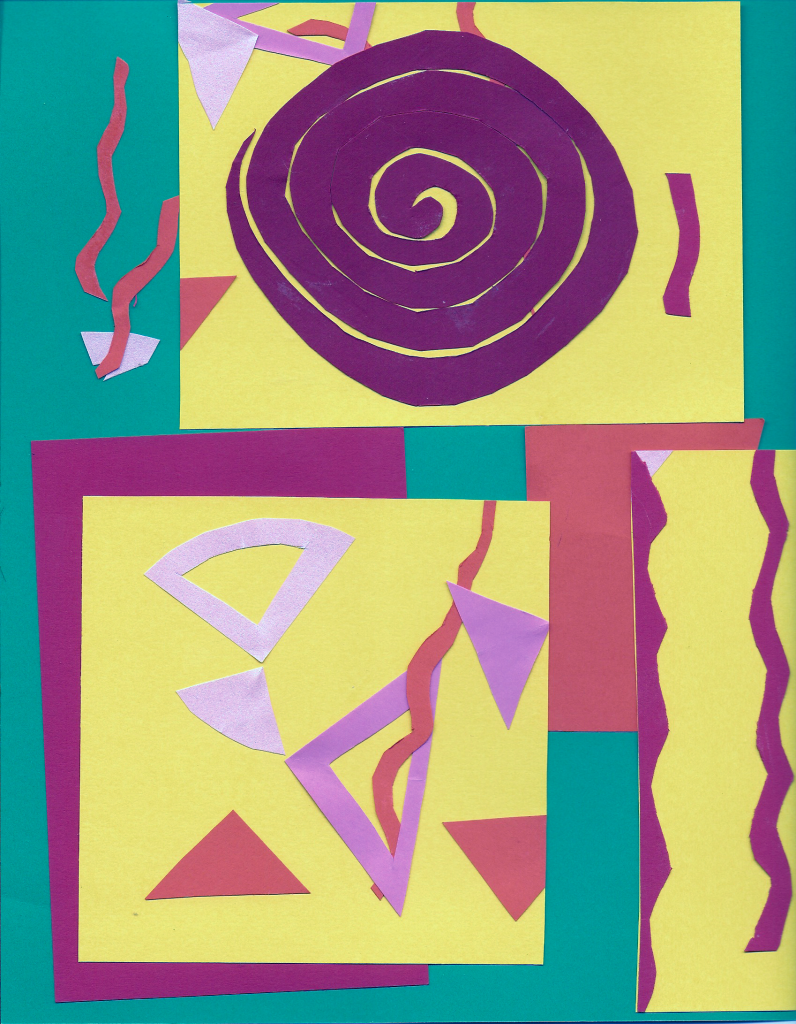
  1. Think of a theme, i.e., My Garden, The Four Seasons, a folk tale like The Tortoise and the Hare, etc. Or use geometric or abstract organic shapes to create a composition. Matisse often created patterns with the cut-outs. What are the main shapes that come to mind for the theme? What are the colors of those shapes? How many shapes will you sue for the composition? Matisse used animal shapes, forms from nature and the human form as well as more abstract shapes.
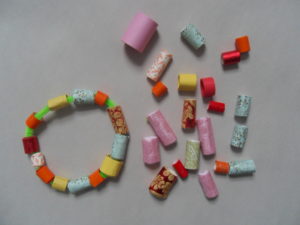
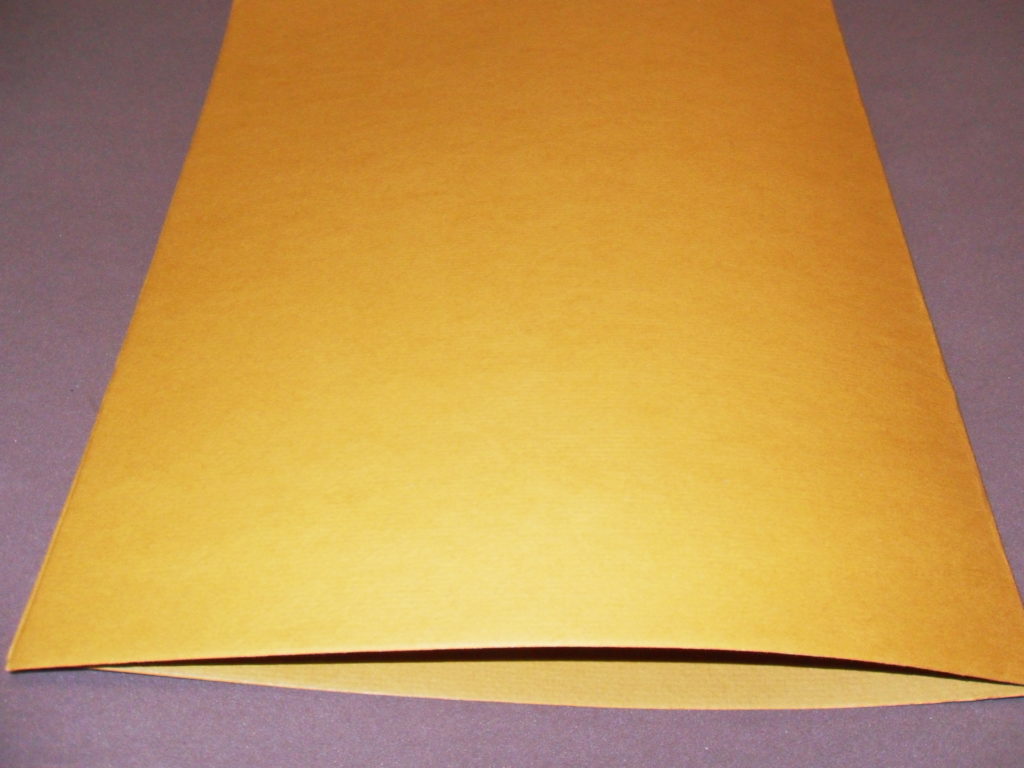
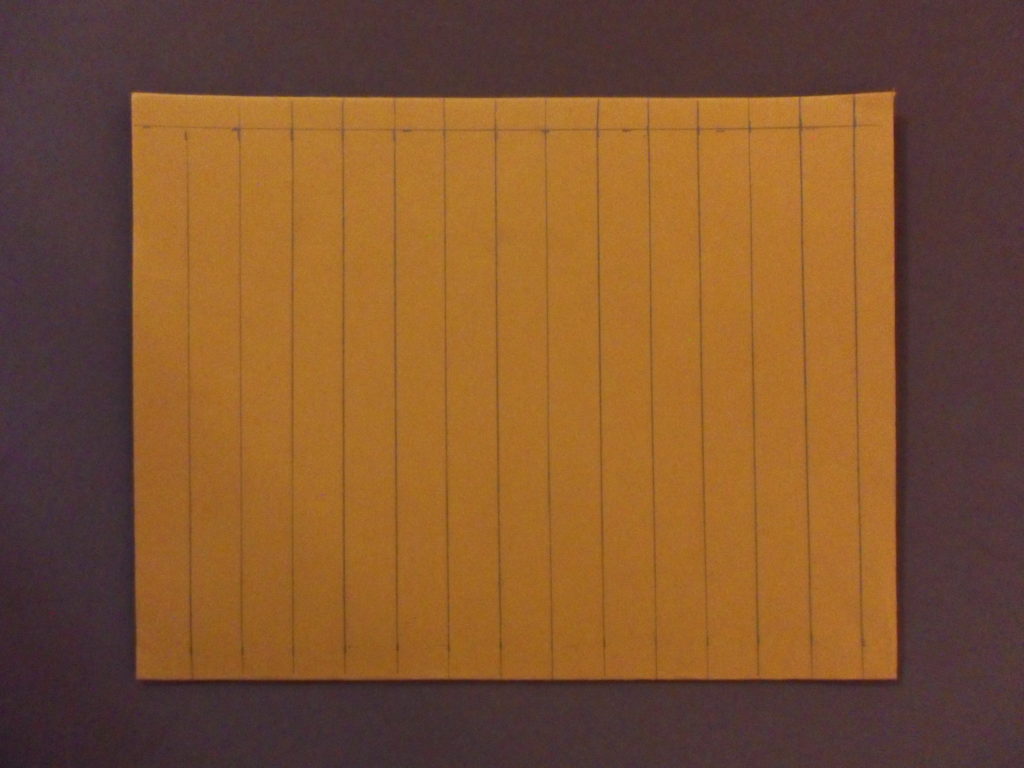
  2. Do not draw them on the paper. Cut the shapes freehand using quick motions with the scissors like Matisse. Cut them in different sizes and in a variety of colored papers. Experiment.
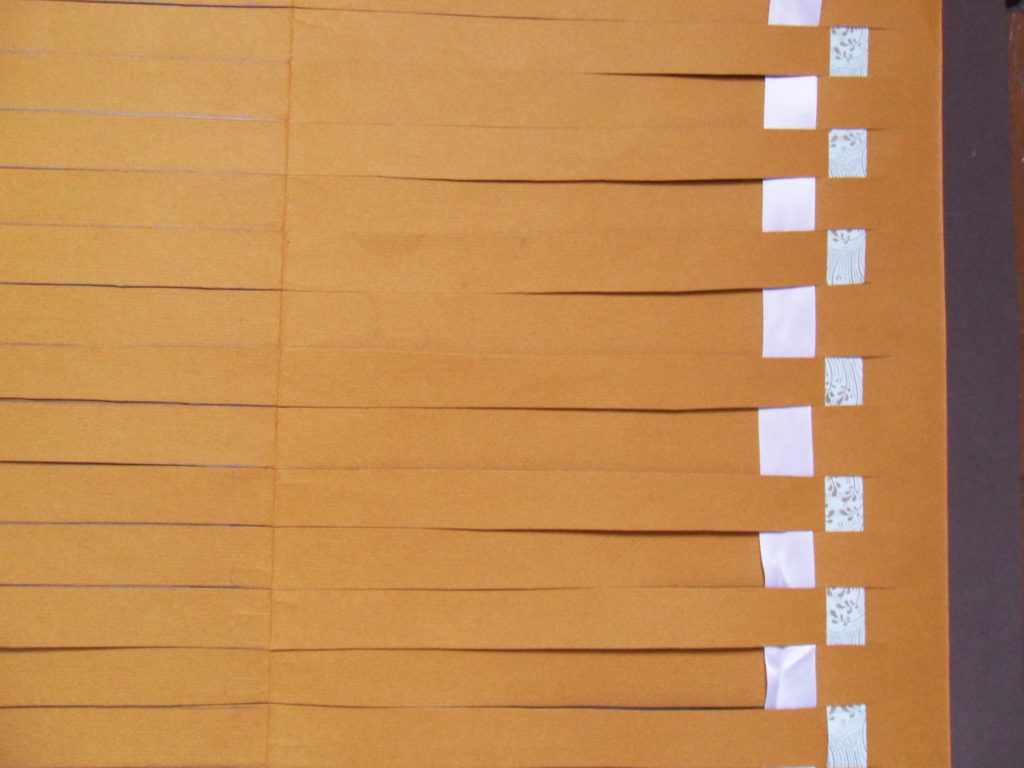
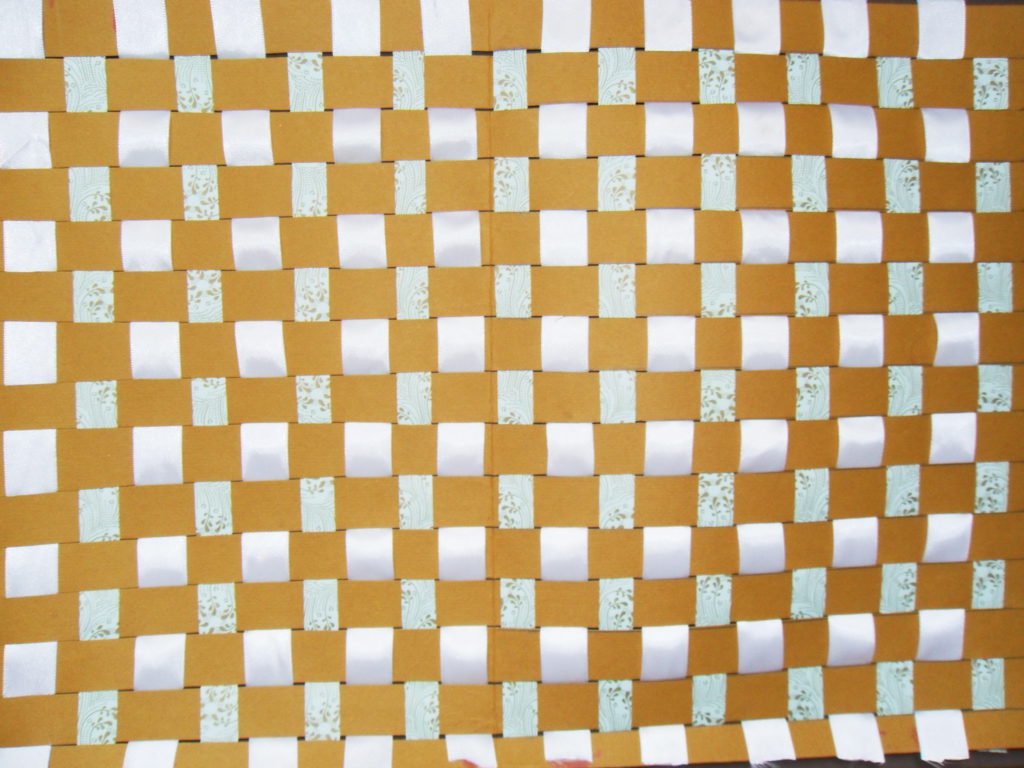
  3. Arrange them in a composition or throw them up in the air and see how they land on the paper or poster board. If you are gluing some of the shapes on several pieces of paper, throw those up in the air and see where they land.
  4. Glue some of the shapes on pieces of contrasting colored paper and some on the white poster board or glue all the shapes on the white board.
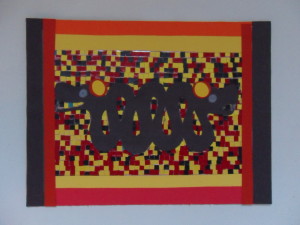
  5. What will you do with your composition? Matisse used some of his cut-out compositions to decorate the walls of his home.
Share Button