Monthly Archives: August 2017

Lazy Day Crafts: Paper Weaving

Lazy Day Crafts: Paper Weaving

Materials:

Large sheet of paper for the frame of the mock loom

Two or three different colored and/or pattered papers

Scissors

Ruler

Pencil with eraser

Glue stick or scotch tape

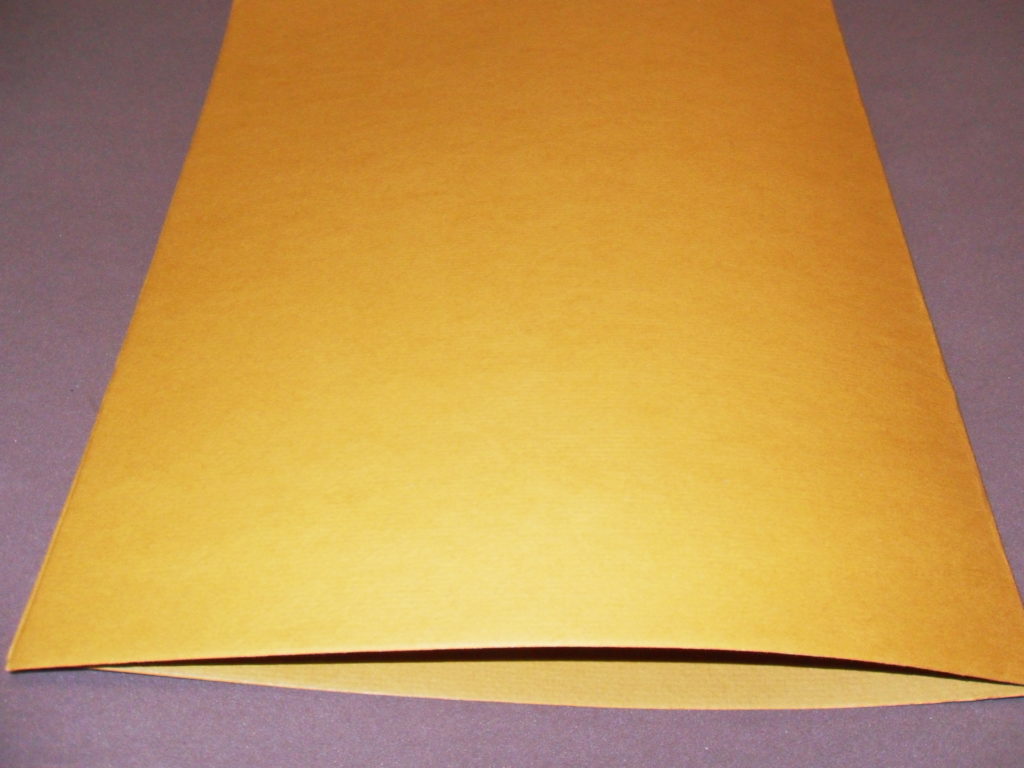
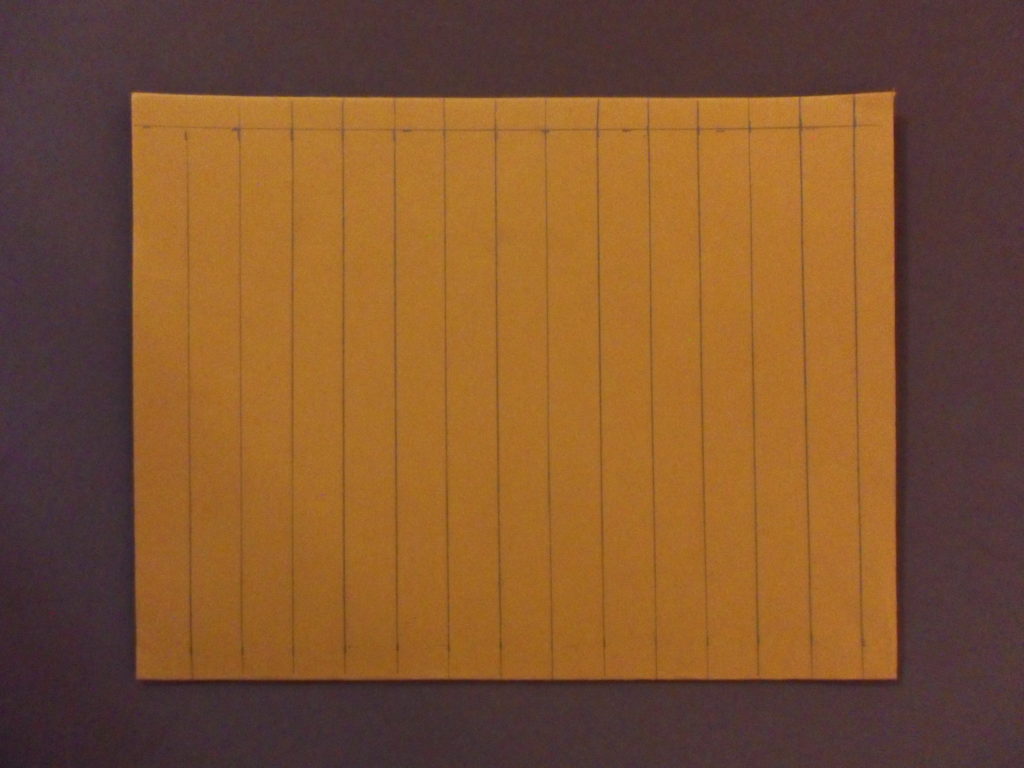
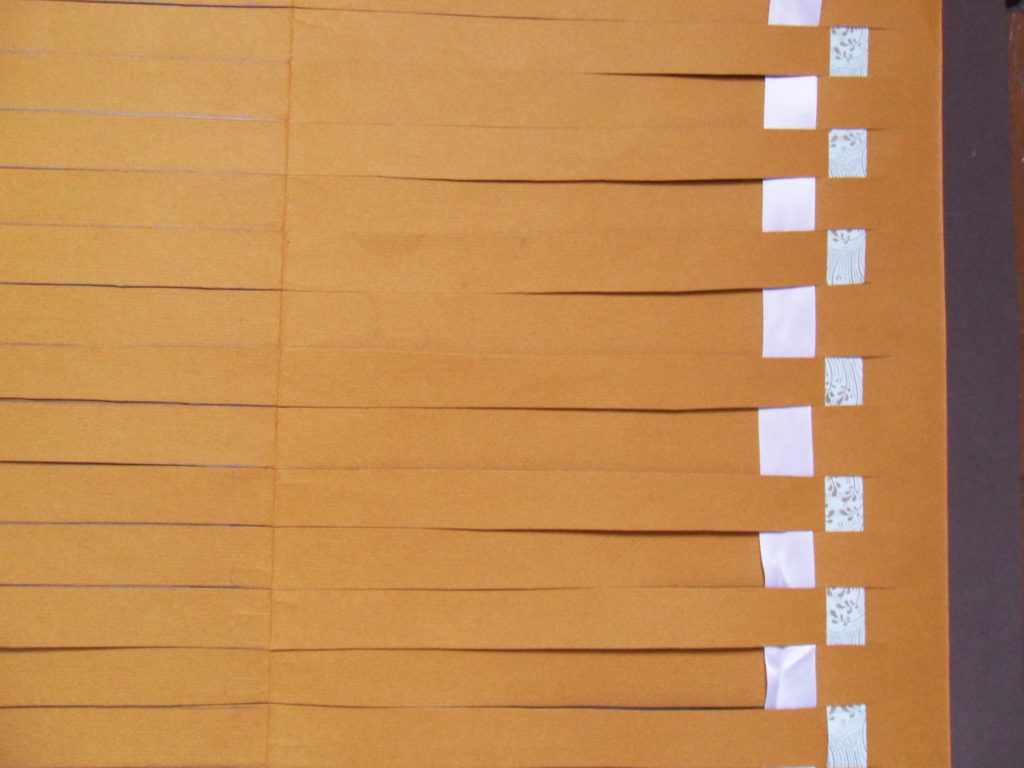
  1. Fold paper in half. (Paper length can measure from 8 ½” x 11” and up.)  Draw lines ¼” to ¾” apart down the length of the fold.
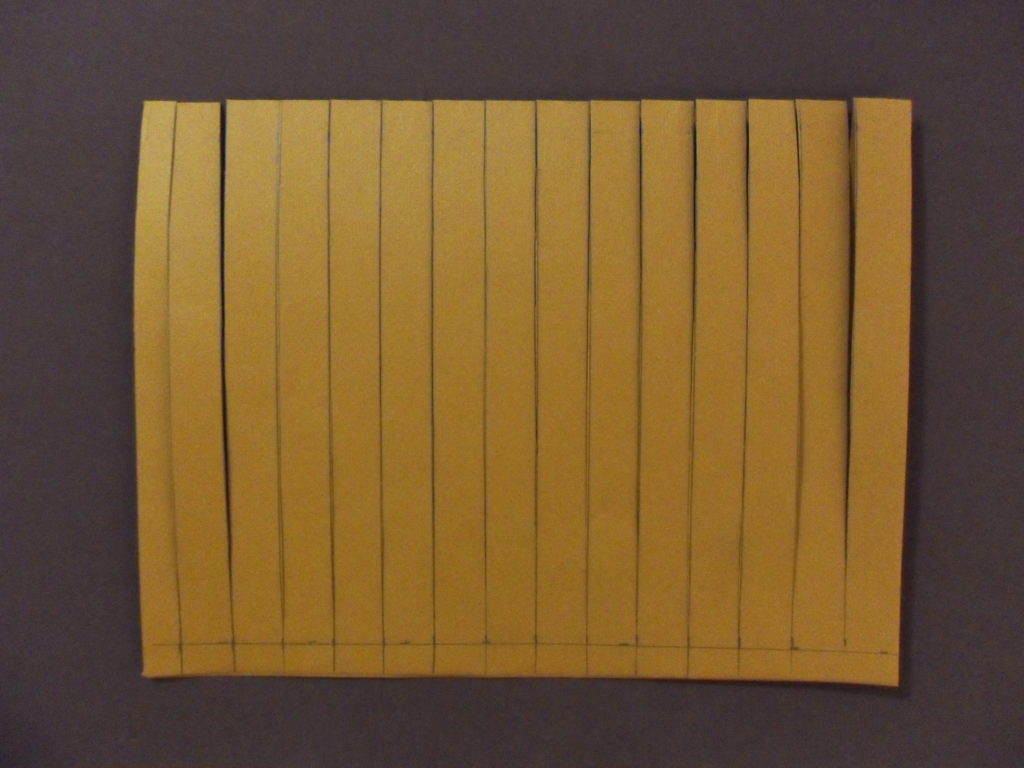
  2. Make incisions with the scissors, starting from the fold up to ½” of the edges of the paper. (Draw a straight line at the ½” mark for an even cut.) Cut up to the ½” margin. This is the weaving “frame” or “loom.”
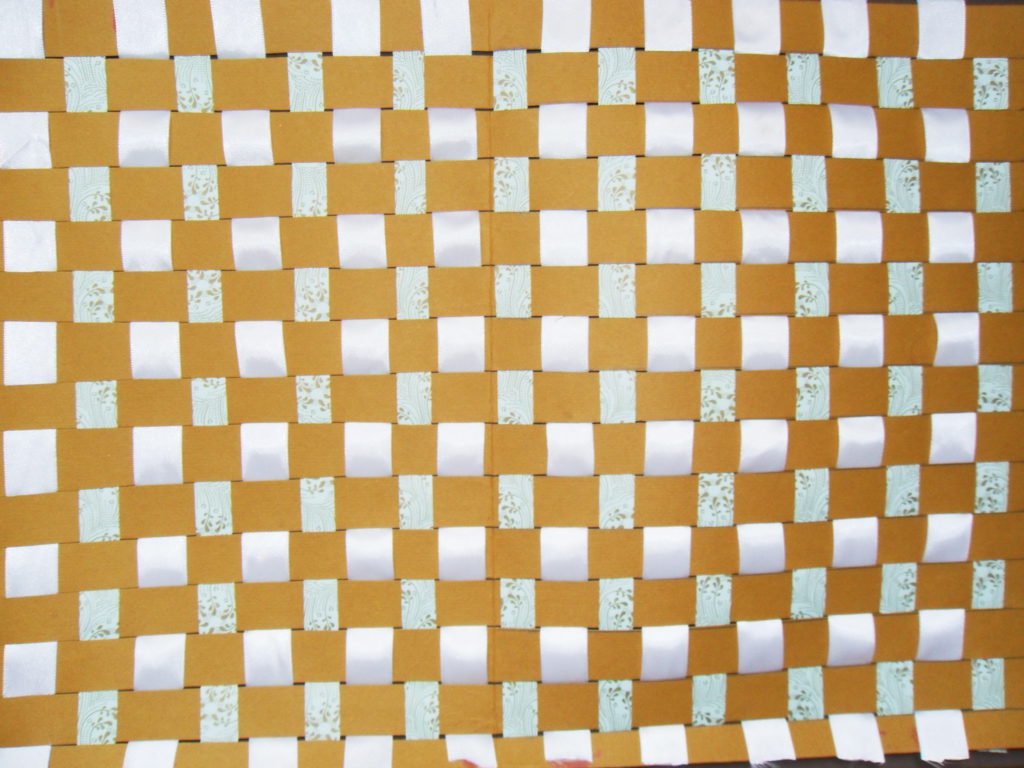
  3. Measure and cut strips of paper to weave in and out of the paper loom. Make sure the length is a little longer than the width of the loom.
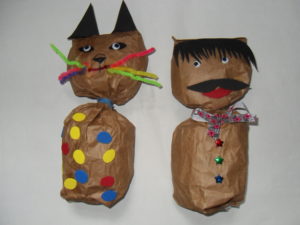
  4. Choose two or three different colored papers to weave through the paper loom. Alternate the in-and-out pattern with each row. (Refer to photograph.)
  5. Trim loose ends and glue down using a glue stick or tape on the back of the paper loom.
  6. Paper weaving makes great place mats! What else can you do with your paper weaving?
Share Button

Lazy Day Crafts: Paper Bag Buddies

Lazy Day Crafts: Paper Bag Buddies
Paper Bag Buddies

Paper Bag Buddies

Materials:

Lunch size paper bags, brown or white

Newspaper

String

Tape

Scraps of construction paper

Paste or glue

Ribbon and/or yarn

Sequins, buttons, seeds (for eyes, nose mouth)

Crayon and/or markers and/or colored pencils

Clip art

Scissors

Pipe cleaners (for whiskers)

Wiggle eyes


Project:

  1. Choose the pet or animal you will make
  2. Stuff 1/3 of the bag tightly with crumbled or strips of newspaper to form the head (about two or three sheets).
  3. Gather the bag at the base of the head. Tie it securely with string or yarn.
  4. Stuff the rest of the bag with more newspaper and tape the bottom of the bag closed.
  5. Cut eyes, nose, mouth, and paws from construction paper or use sequins, buttons or seeds. Use pipe cleaners for the whiskers.
  6. Tie a ribbon or piece of yarn around the neck.
  7. Add buttons or other decorations to dress up you paper bag pet.

Alternative Project:

Make a paper bag person. Use yarn for hair and wiggle eyes. Follow the directions above.


Share Button

Lazy Day Crafts: Sgrafitto

Lazy Day Crafts: Sgrafitto
Sgrafitto

Sgrafitto

Sgrafitto is an etching technique that uses a pointed tool to scratch through a covered surface to show the art work beneath it.

Materials:

Wax crayons (Do not use black)

India ink or back poster paint

Pointed tool for etching such as a knitting needle or a toothpick

Cardboard or mat board

Brush


  1. Draw and color various abstract shapes on the cardboard or mat board. Make sure to use a heavy hand and leave a thick layer of wax crayon.
  2. Paint the cardboard or mat board with India ink or black poster paint. Allow the surface to dry completely. If the wax crayons show through, you need a second coat of paint or ink. Allow this coat to dry.
  3. Select the pointed tool you will use. You can experiment with different tools on a scrap of cardboard and then decide which one is best for your work of art.
  4. Have an image or design in mind or draw one on sketch paper first. Etch the design directly on the painted cardboard or mat board using various strokes: long, short, or circular going in various directions: horizontal, vertical or diagonal. Etch deeply enough to penetrate the first layer of ink or poster paint.
  5. Frame the Sgrafitto and don’t forget to etch your name in the lower right-hand corner.


Share Button

Lazy Day Crafts: Painted Rocks

Lazy Day Crafts: Painted Rocks


Materials:

Rocks preferably with a relatively smooth surface

Poster or acrylic paints

Brushes of various widths

Container for water

Palette or disposable smooth surface like wax paper

Soap

Paper towels

Newspaper or something similar to cover the surface of your work space


  1. Wash rocks thoroughly and dry. If rocks are very dirty, soak in a bucket of sudsy water, rinse and dry. Cover your work space
  2. Think of a design for the rock. Sometimes the rock suggests a design or an object. Stripes, dots, stars, swirls, circles are some ideas you can use alone or in combination.
  3. Select colors of paint and squeeze a small amount (about the size of a quarter to start) on the palette or wax paper.
  4. Prime the rock white if you selected lighter colors or brown if you selected darker colors. This step isn’t required but it makes the colors adhere to the rock better if there is a basic layer of paint to paint your design. Paint one side at a time and allow the rock to dry. Turn over and paint the other side.
  5. If you can’t think of a design, lay the paints on the surface randomly. Overlap the colors and see them run into each other.
  6.  Paint one side at a time and allow the design to dry. Turn over and paint the other side.
  7. Use your rocks to decorate your desk or your bedroom’s window sill.

VARIATION: Select yarn or string in different colors and dip into glue. Wrap around the rock in different directions. Allow the glue to dry.

VARIATION: Create rock creatures by gluing paper, pipe cleaners, pompoms, buttons and more

Share Button