Tag Archives: arts and crafts for children

SUMMER CRAFTS: MEXICAN “BARK” PAINTINGS

SUMMER CRAFTS: MEXICAN “BARK” PAINTINGS
MEXICAN "BARK" PAINTING

MEXICAN “BARK” PAINTING


MEXICAN “BARK” PAINTING

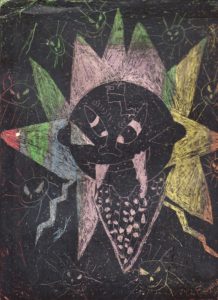
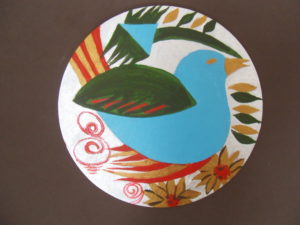
Latin American bark paintings depict birds, fish, sea horses, alpaca, armadillo, and flowers like marigolds, roses, hibiscus and sunflowers. Consider combinations of these objects when creating your design for the bark painting.(See below for a photo of an authentic banana bark painting.)

MATERIALS:

White drawing paper

Tracing paper

Pencil

Permanent black fine-line felt-tipped marker

Acrylic paints – bright colors of choice

Paint brushes

Shellac

Large paint brush

1/4 inch thick piece of plywood 8” x 10”

PROJECT:

  1. Draw your design on a piece of white paper. Then place the tracing paper on the drawing. Trace your design on to the tracing paper.
  2. Blacken the back side of the tracing paper and place it blackened side down on the plywood. Tape it down.
  3. Go over the design on the tracing paper with a pencil by pressing down hard. Remove the tracing paper and go over the lines on the plywood with the black marker. (They should show up on the plywood. Take a peek under one corner of the papers first to see if an impression was made.)
  4. Color the designs with the paints. Make it colorful like real Mexican bark paintings. Allow to dry.
  5. Layer a coat of shellac over the painting to make it shine and to protect it. Mexican bark paintings are colorful. Hang it up in a prominent place.

Mexican Banana Bark Painting

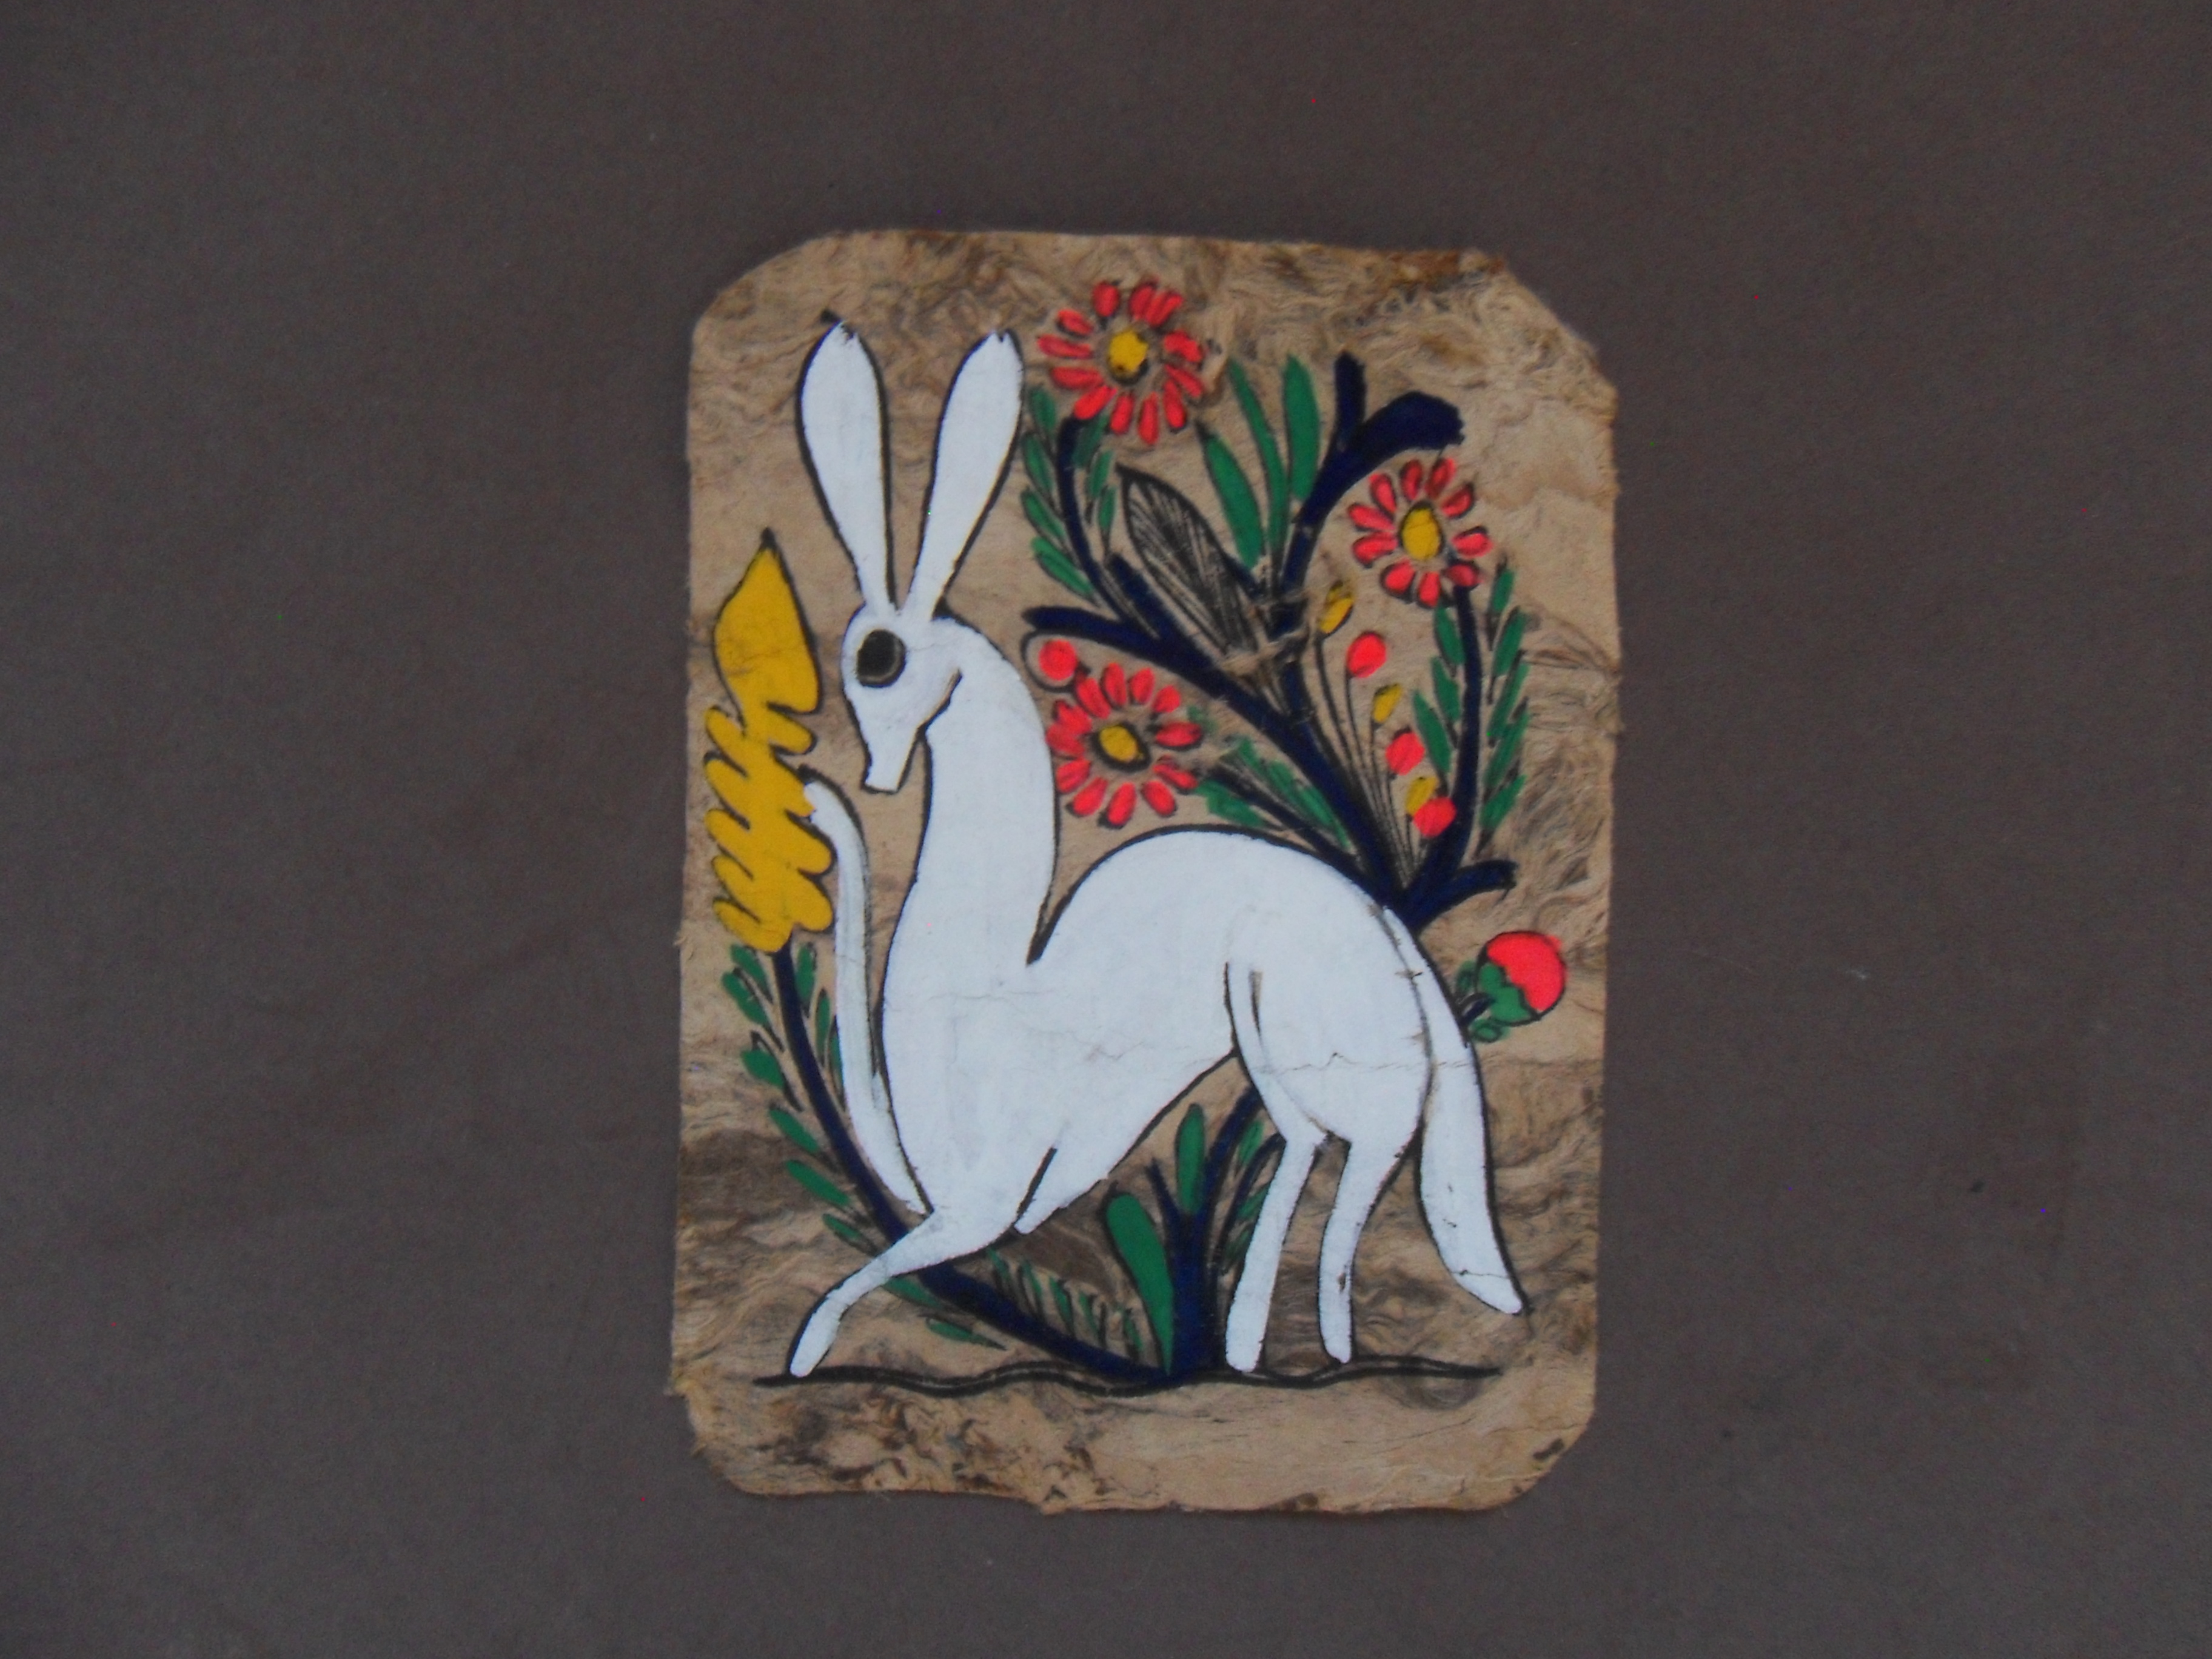
MEXICAN BANANA BARK PAINTING

Share Button

CELEBRATE THE SEASONS! Mr. and Mrs. Snow People Winter Mobile!

CELEBRATE THE SEASONS! Mr. and Mrs. Snow People Winter Mobile!
WINTER MOBILE

WINTER MOBILE

Ages: 5 – 12 years

Time: ½ hour – 1 hour

MATERIALS:

Construction paper or Craft Foam in 6 colors

Silver glitter pen

Ball of jute or string or wire

2 dowel rods cut to 12” each Scissors

Tacky glue or glue sticks

Pencil/eraser

hole puncher

Patterns from the Banners project


  1. Ask an adult to cut the dowel rods so that you have two. Cross them in the middle and tie them tightly with a piece of string or jute or wire. Lay aside.
  2. Select the paper or craft foam. You may want to use a combination of papers and craft foam. Trace and cut shapes from the patterns used for the winter banner: Mr. Snow Man and Mrs. Snow Woman. Adorn them with scarves, hats/berets, noses that look like carrots, buttons, and a pipe for Mr. Snow Man. On a separate sheet of craft foam or construction paper, draw snowflakes with the glitter pen. Cut them along with the Snow Man and Woman. Draw eyes and mouth with a black marker.
  3. Poke a hole towards the top of the paper or craft foam shapes with a pencil or use a hole puncher.
  4. Then, lace a piece of string, thread, jute, or wire 6” to 8” in length through the hole at the top of each shape. Tie the shapes to the dowel rods. To balance the mobile, place two or more shapes to each dowel rod and be sure that some of the shapes hang lower (or higher) than some of the others. This is called balancing or making the mobile level. Ask an adult for help.
  5. Tie a piece of string on the ends of the dowel rods and hang it up. Does your sculpture move? What makes it move? How is this design different from the banner design? What are the differences? What are the similarities?
Share Button

Art Project for Kids: Abstract Design

Art Project for Kids: Abstract Design

Abstract Design

ABSTRACT DESIGN


MATERIALS:

Markers

Pencils

Crayons

Construction or bond paper

PROJECT:

  1. Find interesting objects in your home and trace them.
  2. Arrange them on construction or bond paper creating an abstract design.
  3. Trace the objects with markers or pencils or crayons. Trace one object at a time, adding objects as you go or lay them all down and trace them.
  4. Remove the objects from the paper. Choose three colors or two colors plus black. Now add patterns to the traced objects: dots, stripes, zigzags, checks or color some of the areas in the design.
  5. Mat the abstract design and display it or use it as a cover for a favorite book.


VARIATION:

Trace one object, turning the paper as you trace. Or overlap the object by placing it vertically, horizontally, upside down, etc.

Share Button

BUGS AND THINGS: Butterfly

BUGS AND THINGS: Butterfly
BUTTERFLY

BUTTERFLY

BUTTERFLY

Butterflies belong to the order of Lepidoptera which means “scaly wings.”

Butterflies and moths live in high mountains, warm tropical rainforests, the Artic tundra, deserts and swamps. Some pollinate flowers but some are also pests. They help the environment by providing food for bats lizards, frogs and birds.

 Scientists have discovered one million creatures in the animal world; ¾ of these are insects. Of these, 18,000 to 20,000 different kinds of butterflies have been identified.

During the fall, monarch butterflies fly as far as 3,000 miles to their winter homes. None of them return to their place of origin because few of the live longer than a month. Only some butterfly species can journey very far.

Materials:

Paper Twist or similar wide wire ribbon (color of choice)

Chenille stems (color of choice)

Clothespin

sequins, glitter, markers, etc.

Project:

  1. Unfurl the twist and lay one end down on a smooth surface. Determine the length. For example, if you choose to make a 6” butterfly, unfold it, and lay down 6” of twist going in one direction. Lay down another 6” going in the other direction. Continue in this manner until you have 3-4 loops of twist on each side. Cut off any excess.
  2. Pinch the twist loops in the center with a clothespin.
  3. Decorate the clothespin with sequins, glitter, markers, and other craft items.
  4. Take two chenille stems and wrap them around the clothespin. Curl the ends so that the stems look like antenna.


Share Button

Lazy Day Crafts: Sgrafitto

Lazy Day Crafts: Sgrafitto
Sgrafitto

Sgrafitto

Sgrafitto is an etching technique that uses a pointed tool to scratch through a covered surface to show the art work beneath it.

Materials:

Wax crayons (Do not use black)

India ink or back poster paint

Pointed tool for etching such as a knitting needle or a toothpick

Cardboard or mat board

Brush


  1. Draw and color various abstract shapes on the cardboard or mat board. Make sure to use a heavy hand and leave a thick layer of wax crayon.
  2. Paint the cardboard or mat board with India ink or black poster paint. Allow the surface to dry completely. If the wax crayons show through, you need a second coat of paint or ink. Allow this coat to dry.
  3. Select the pointed tool you will use. You can experiment with different tools on a scrap of cardboard and then decide which one is best for your work of art.
  4. Have an image or design in mind or draw one on sketch paper first. Etch the design directly on the painted cardboard or mat board using various strokes: long, short, or circular going in various directions: horizontal, vertical or diagonal. Etch deeply enough to penetrate the first layer of ink or poster paint.
  5. Frame the Sgrafitto and don’t forget to etch your name in the lower right-hand corner.


Share Button