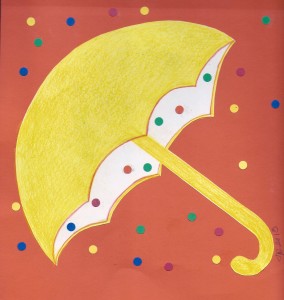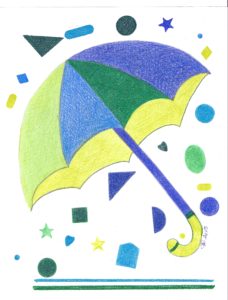
BLUE, GREEN, CHARTREUSE UMBRELLA
Read: The Umbrella by Ingrid and Dieter Schubert
A family dog finds a red umbrella on a windy day in the yard. When the dog opens up the umbrella, the wind carries them over the clouds and around the world. They go to Africa where the dog confronts elephants, alligators, hippos, zebras and storks; the oceans and their inhabitants; the tropics; the North Pole and finally, back home.
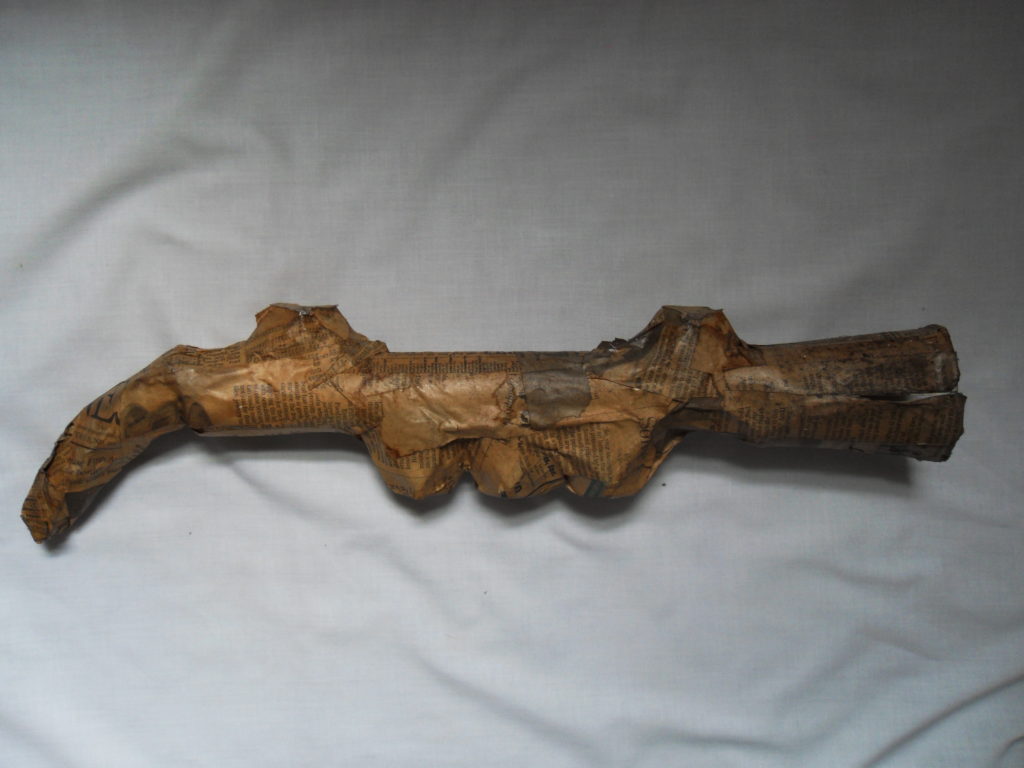
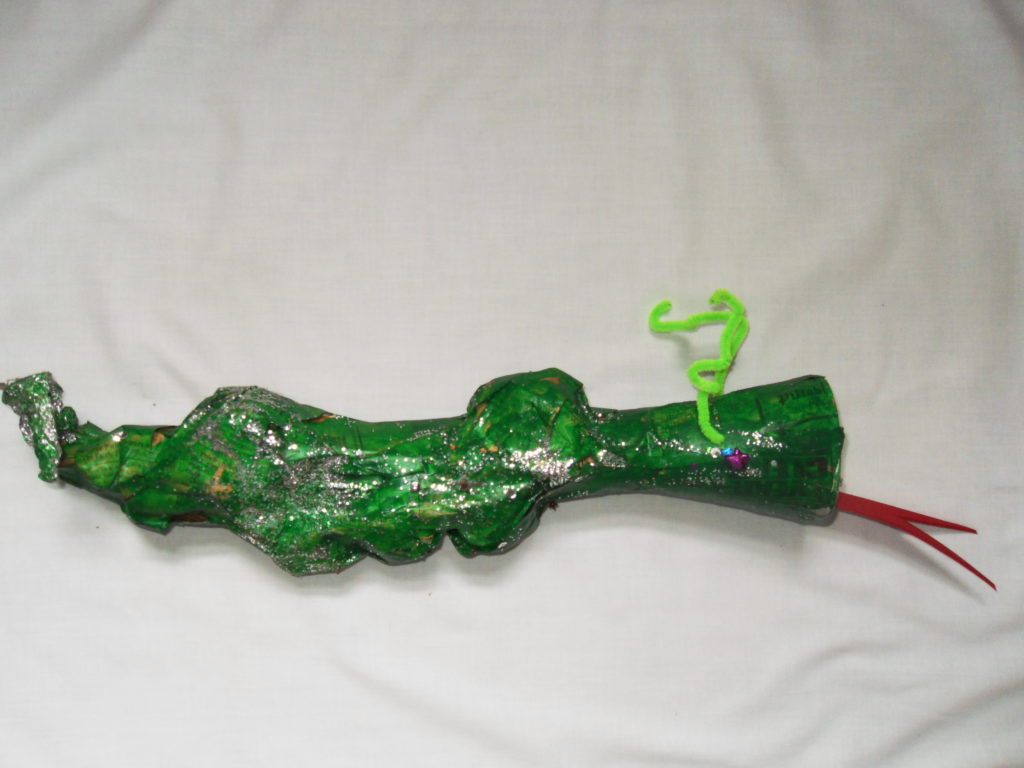
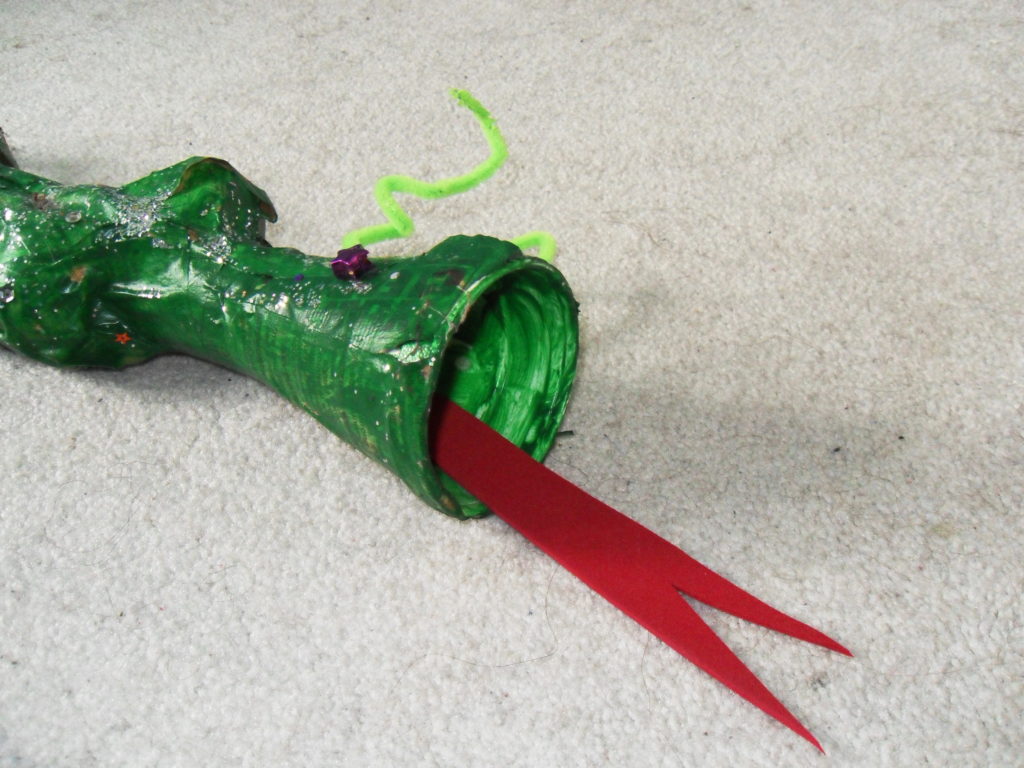
Project: Decorate an old umbrella and if you want to challenge yourself, give the design a theme: animals, fairies, sports, etc.
Materials:
An old umbrella
Glue
Beads
Markers
Sequins
Buttons
Silk flowers
Ribbons
Stencils
Paint in squeeze bottles
Stickers
Additional Reading:
The Umbrella by Jan Brett
The Umbrella Day by Nancy Evans
Umbrella by Taro Yashima
*Copyright Art work by Marion Constantinides 2015


Share this: