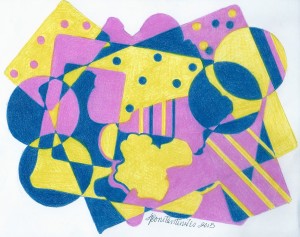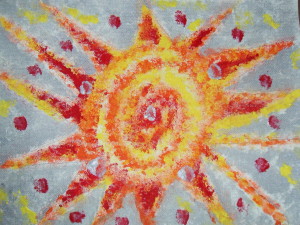
SPONGE PAINTING: THE SUN
Materials:
Household sponges in various shapes and sizes (Household sponges found in grocery stores can create interesting patterns and designs.)
Craft paints in various colors
Water jar
Paint palette or paper palette
Printing paper like bond or rice paper or sheets of canvas
Markers or colored pencils.
Project:
- Draw a design or picture on a piece of paper and use it as reference for the sponge painting. Or draw directly on the surface that you are going to paint, i.e., a sheet of canvas.
- Cut small pieces of the sponge from the larger sponge. To create an abstract design, snip tinier pieces from the divided pieces of the larger sponge.
- Squeeze the paints on the palette.
- Dampen the sponges and squeeze out the excess water.
- Dab the sponge in the paint and dab it on a piece of scrap paper to test the design and the amount of paint needed. A lot of paint on a sponge will create large blobs of color on the paper or canvas.
- With the design as reference, dab the paint on to the paper. Do not drag the sponge because that will smear the paint (unless smearing is the effect you want to create).
- Remember to wash and rinse the sponge to use again or use a separate sponge for each color.
- Continue until you have completed the painting. Add details with a marker or colored pencil when the paint is dry.
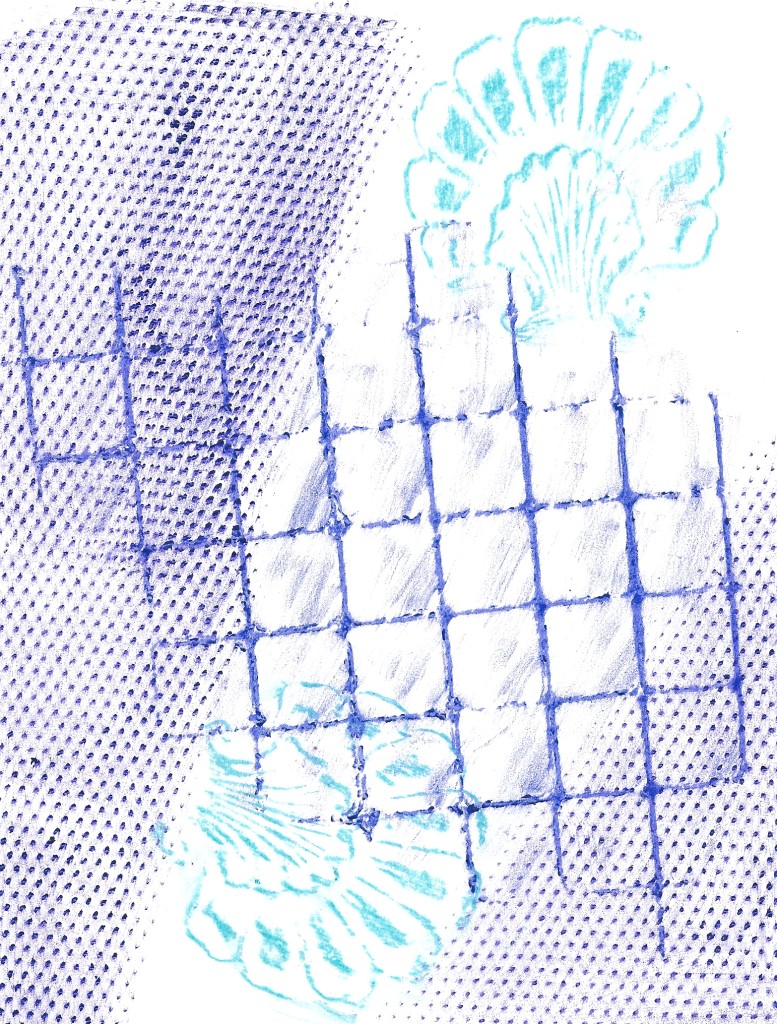
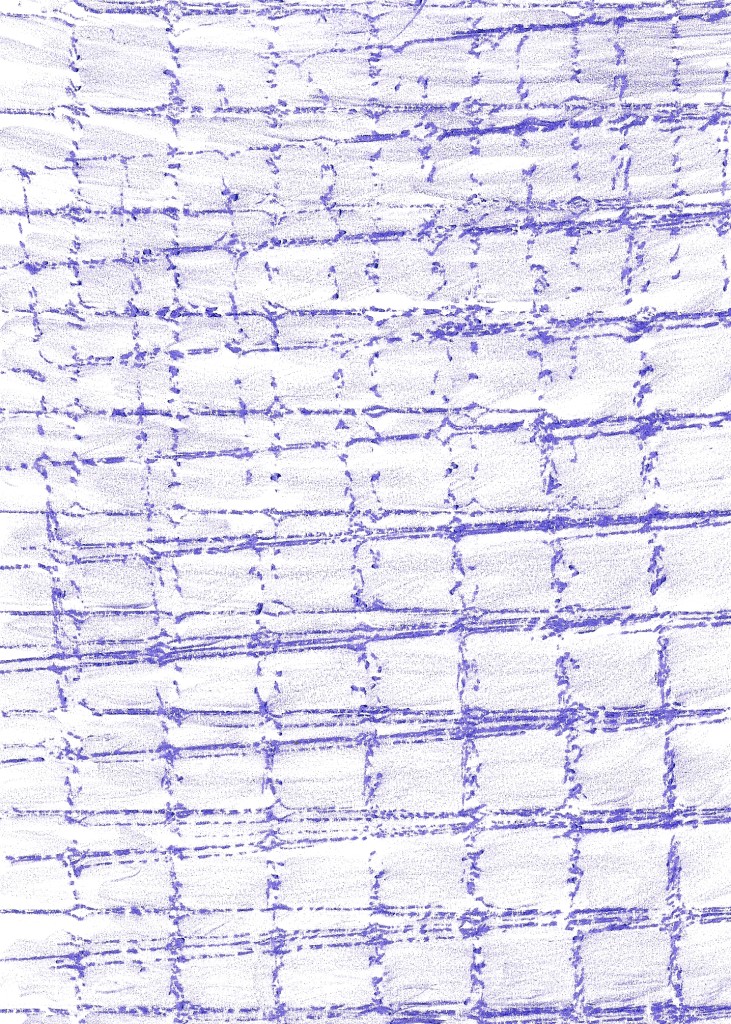
NOTE: In the example above, the central design was painted first, then the background.
ADDITIONAL PROJECT:
Create a sponge painting on wood or stone.
Inspired by Arts and Crafts Activities Desk Book by Joyce Novis Laskin


Share this: