Tag Archives: art

Summer Camp: Art Poster Collage

Summer Camp: Art Poster Collage


The best way to understand art is to make art. One easy introduction is to make a poster of photographs of works of art.

Take a trip to the museum with a parent and look at the works of art: paintings, sculptures, prints and drawings. There are many more forms of art, too, as you will see when you stroll through the galleries. These forms of art include the decorative arts such as pottery, jewelry or ceramics. Walk through the gift shop and collect postcards with works of art printed on them. Go to a thrift store or a flea market and buy old books or magazines about art or with works of art in them. Cut out the ones that are beautiful, interesting or meaningful.

Art Poster Collage

Art Poster Collage

MATERIALS:

Poster board, any size

Pictures of works of art from magazines, catalogs, old books, etc.

Rubber cement or glue stick

Scissors

  1. Cut out photographs of art works from magazines, newspapers, catalogs, or use postcards from the museum art shop. You can use copies of your art work, too.
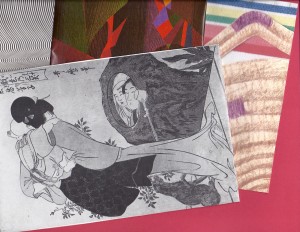
  2. Your poster can have a theme like Greek Art (like the sample above) or Modern Sculpture or no particular theme. Glue the pictures to a piece of poster board forming a design.
  3. Study the pictures. Do you know which one is painting or sculpture or drawing or print? What do you like about them?
  4. Tape the poster inside your locker or on the door of your room. Or cut it to 8” x 2 ¼” and use the pieces as bookmarks.

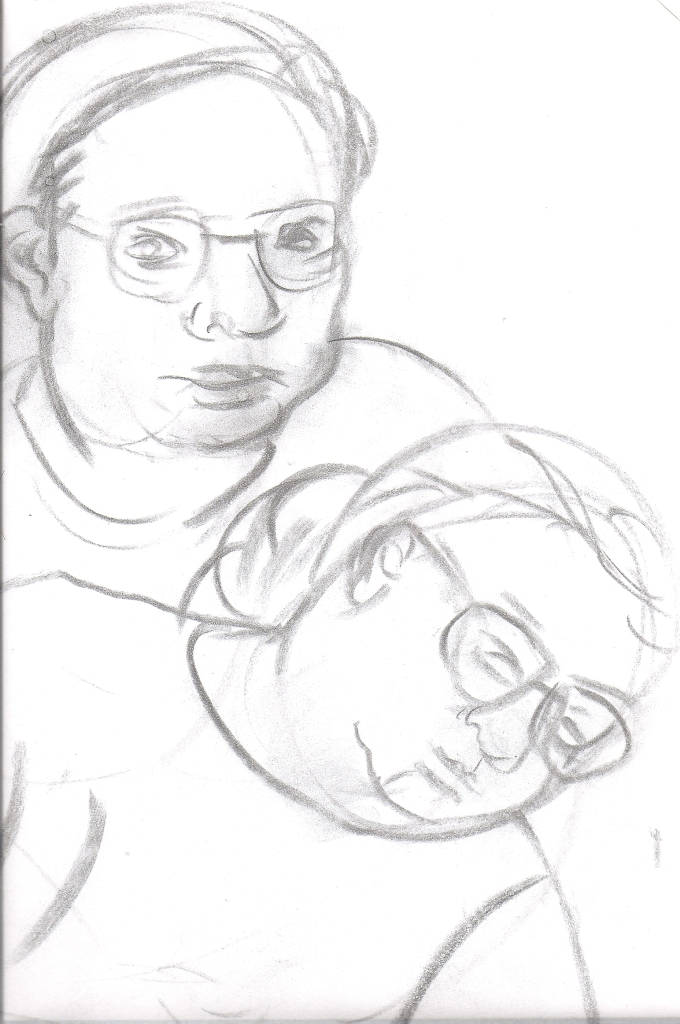
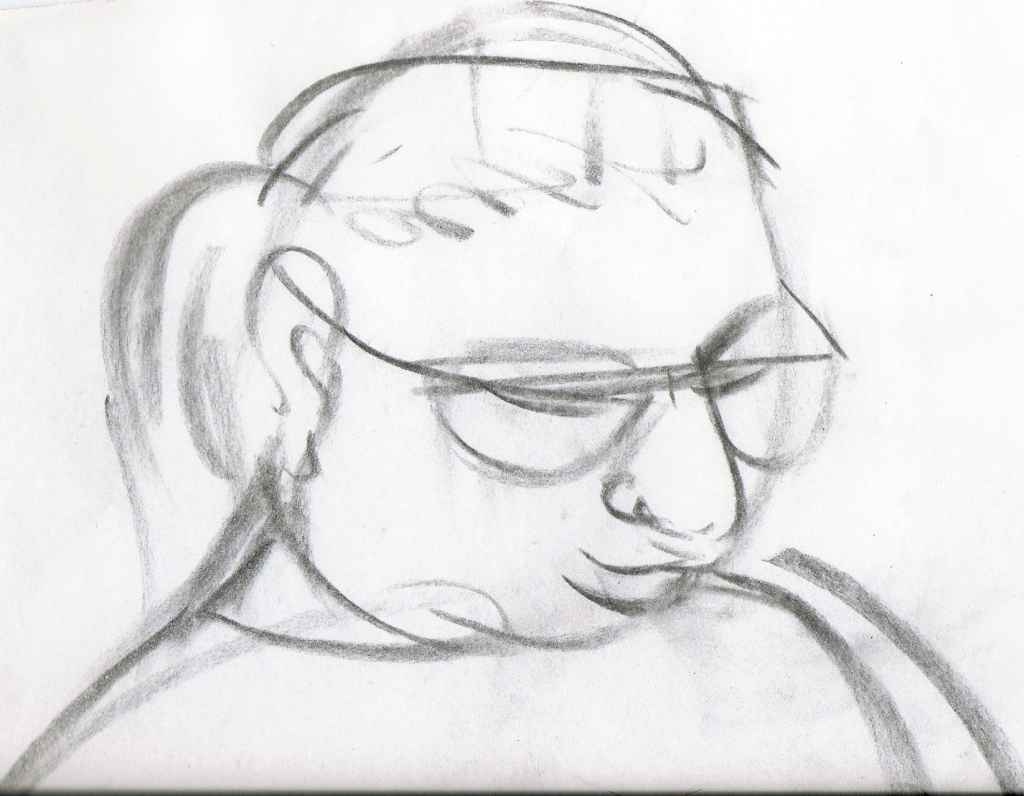
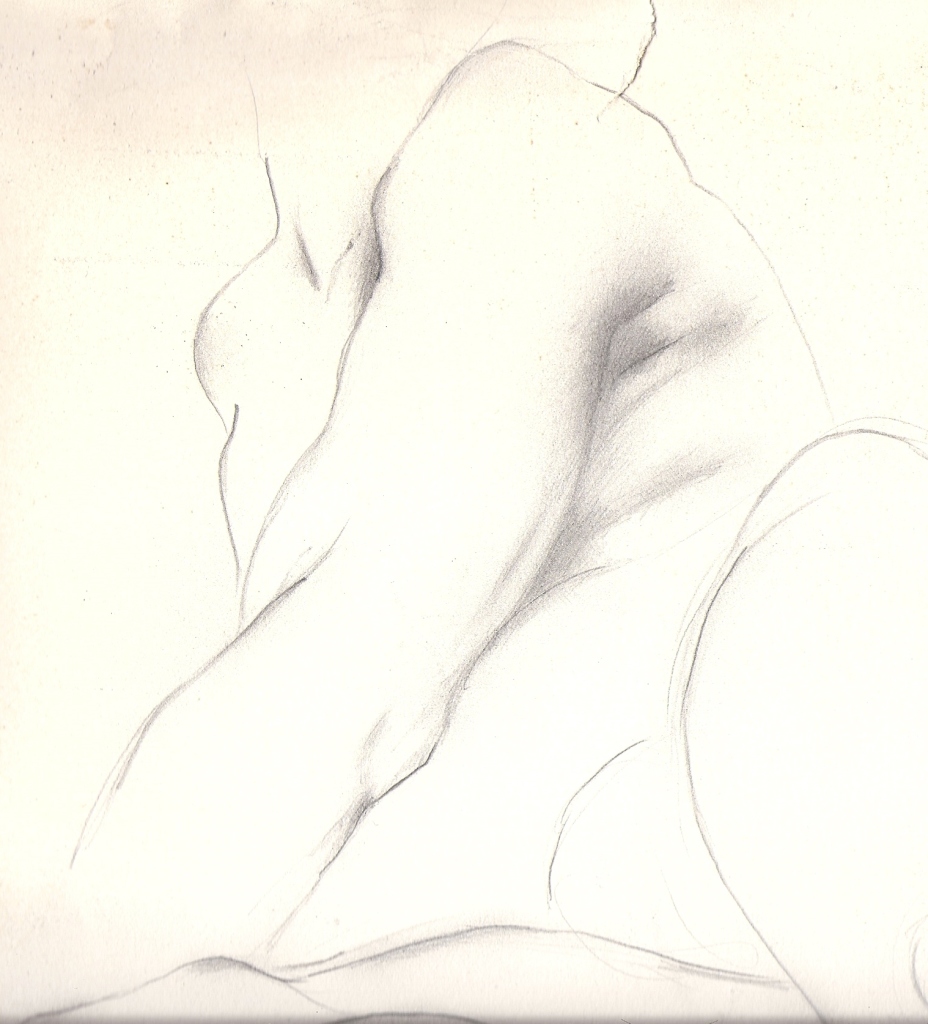
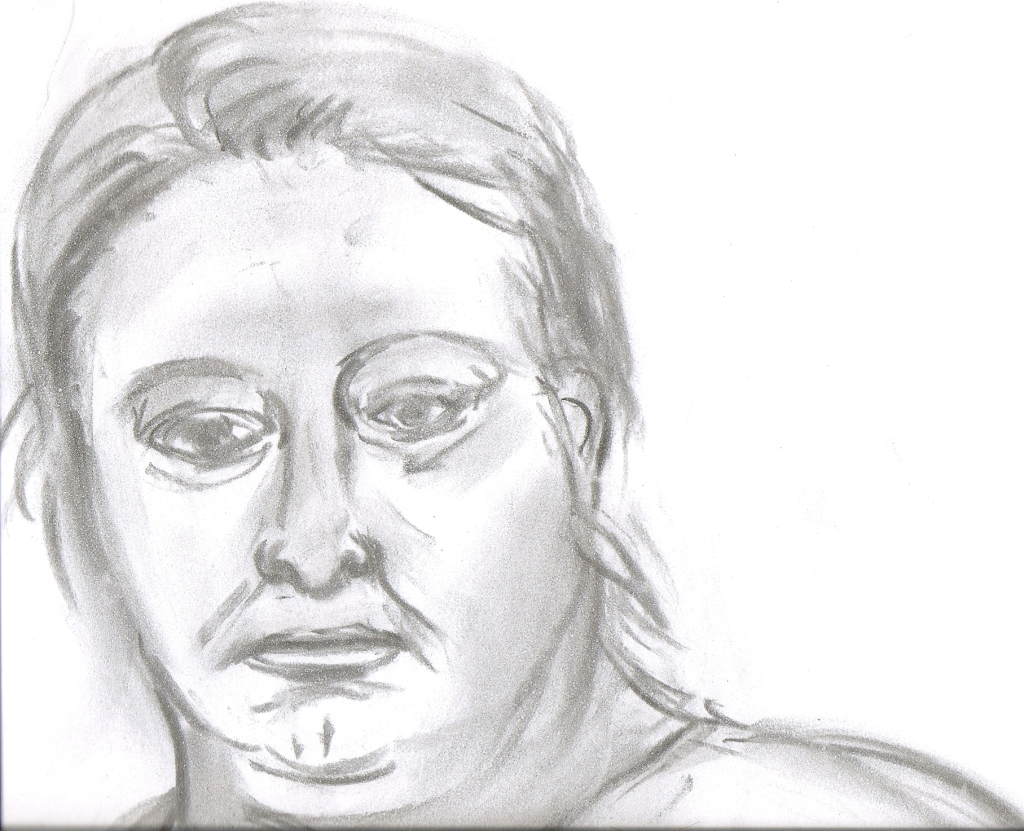
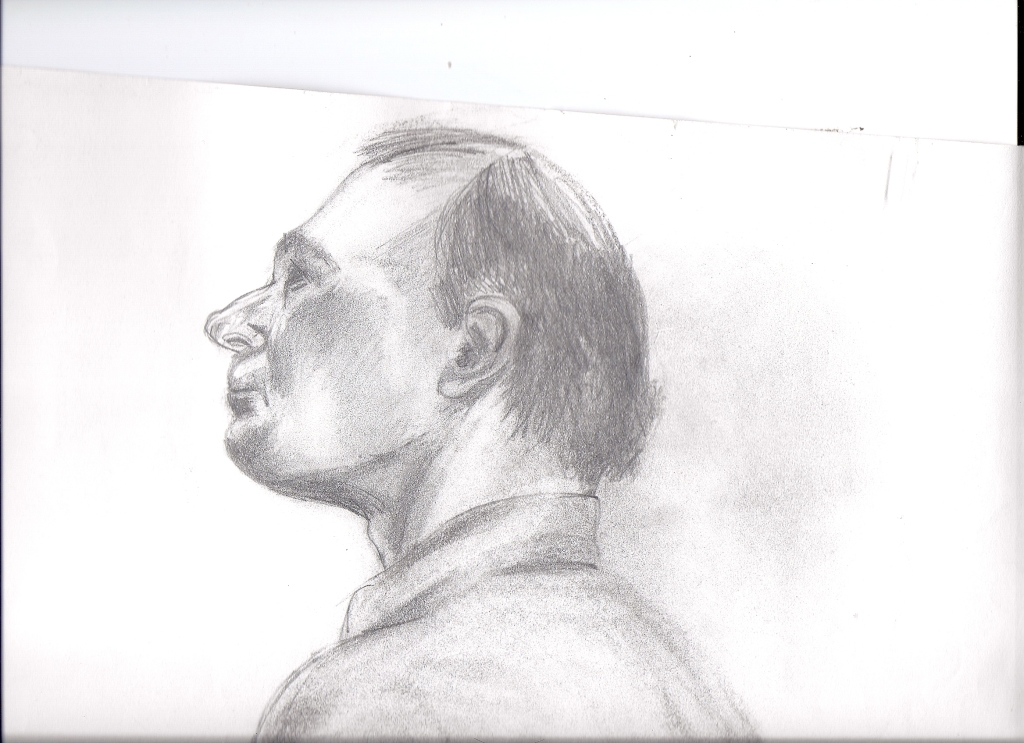
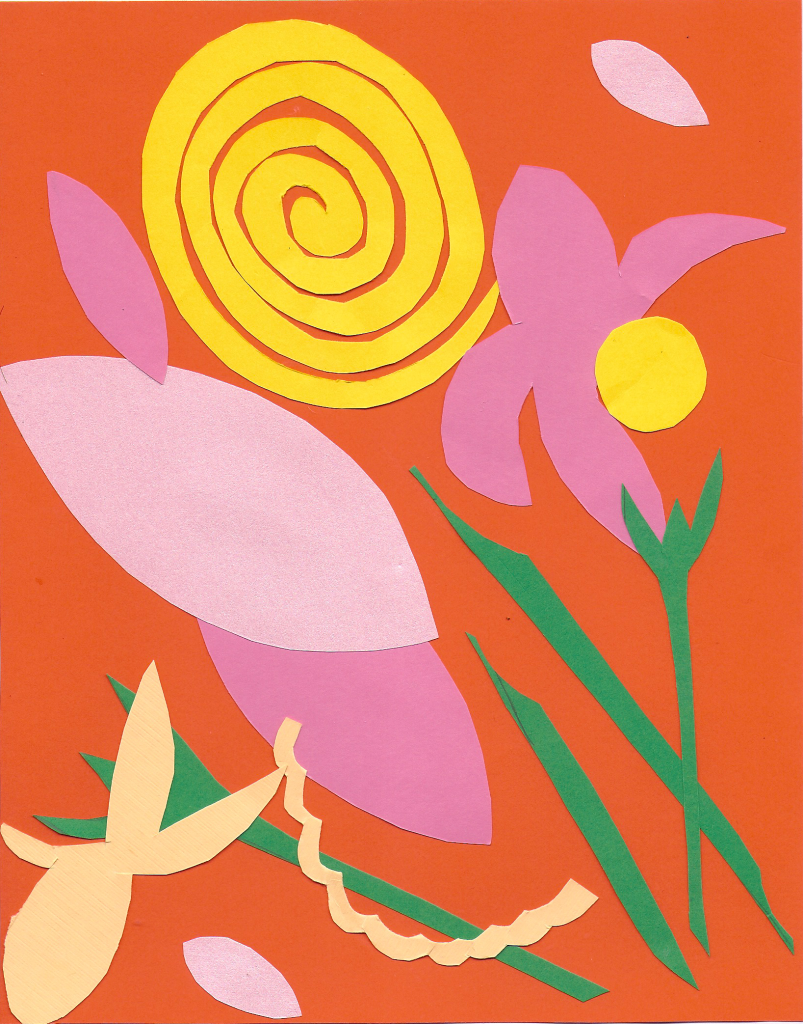
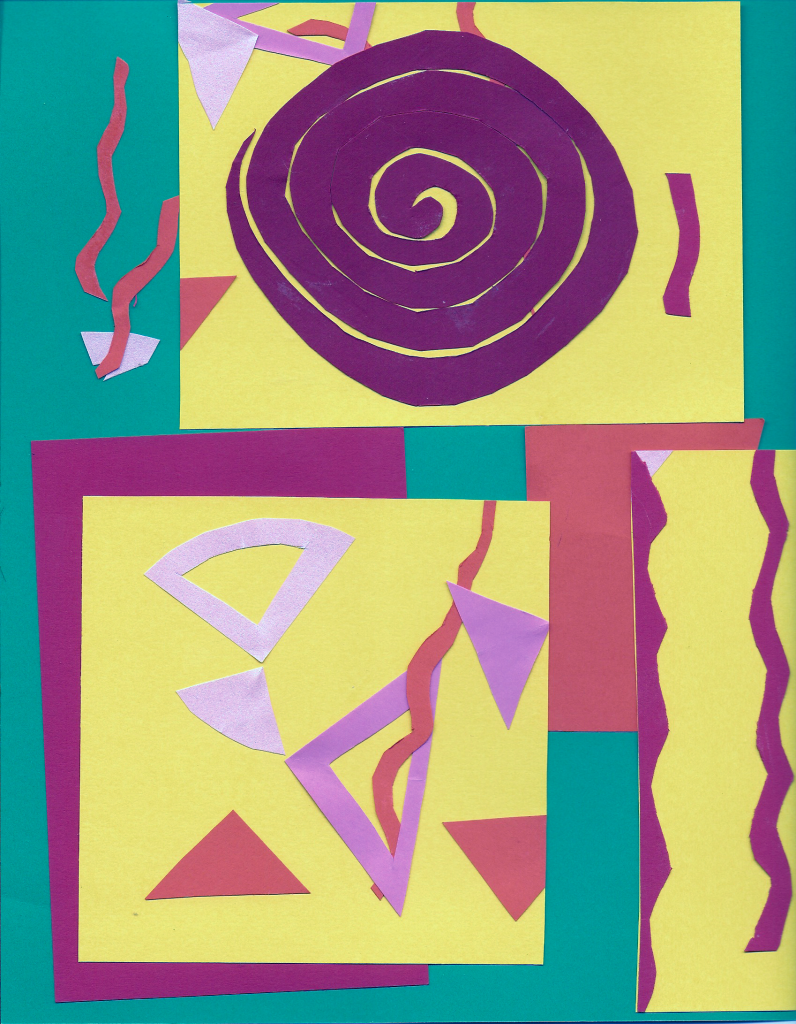
* Art Work by Bridget Riley, Marion Constantinides, Kitagawa Utamaro, and Michel Touliere.


Share Button

Drawing the Human Body: Drawing The Human Body in Motion

Drawing the Human Body: Drawing The Human Body in Motion

Exercise Four: Drawing the Human Body in Motion

What you need: pencil, newsprint paper, timer, black and white watercolor paints, narrow and wide soft bristle brushes, clean jar, watercolor paper, water, drawing board or lap desk, masking tape, paper towels, palette, and a model

Time Limit: 60 seconds

Lesson: Complete a drawing of the body in motion.

Materials: pencil, newsprint paper, timer, black and white watercolor paints, narrow and wide soft bristle brushes, clean jar, watercolor paper, water, drawing board or lap desk, masking tape, paper towels, palette

Project: Begin by drawing several quick sketches of the body in motion to loosen up. Set the timer for sixty seconds. Following the first two exercises, complete a drawing of the human body with watercolor paints. It won’t look perfect but it will be a drawing showing the contour of the figure, dark and light and the figure in motion.

Remember to practice, practice, practice!

Share Button

Drawing the Human Body: Study in Dark and Light

Drawing the Human Body: Study in Dark and Light


Exercise Three: Dark and Light

The use of light and dark will make the figure you draw look more real or three-dimensional. In the first exercise, you suggested movement. In this exercise, you will draw the illusion of light and dark.
Time Limit: 30 – 60 seconds

What you need: pencil, newsprint paper, timer, black and white watercolor paints, narrow and wide soft bristle brushes, clean jar, watercolor paper, water, drawing board or lap desk, masking tape, paper towels, palette, paper stump (optional) and a model.

Lesson: Light and dark shadows help to define the features on the face and the figure, giving a three-dimensional appearance to the drawing.

Materials: pencil, newsprint paper

Project: Draw the figure utilizing the lessons you previously learned: gesture and contour drawings and uses of dark and light. Draw several quick gesture and contour drawings to warm up. Give yourself 30 seconds. Work quickly. As you draw the model, see where the light hits the face and body of the model. Add the shadows lightly with the pencil. Then press with the pencil in areas that are very dark. You can smooth the transition from light shadow to dark shadow or vice versa with your finger or by using a paper stump. Use your eraser to enhance “white” areas on the paper. Then set the timer for sixty seconds. Repeat the lesson. This time you will have a bit more time to define the figure.

Set the timer. Using the techniques you learned in the previous lesson, draw the figure quickly. Keep your eye on the figure not on the paper. After 30 seconds, stop. Mix black and white to make gray. Dilute it with water and with a broader brush, add shadows just as you see them on the model. Set the timer again. With a clean brush, use white for highlights. After another 30 seconds, stop. Repeat lesson by having the model pose in different ways.

Materials for Alternative Project: watercolor paper, board, brush, black and white watercolor paints, water in a clean jar, paper towels, masking tape, palette

Alternative Project: Tape the watercolor paper to the board. Dip the brush in the clean water and wet the paper. Then thin the black paint with water. Observe where the light hits the face and figure. Then dip the narrow brush into black paint and begin to lay down washes of black paint to create shadows. Wait for the first washes of paint to dry and then add more washes especially in the dark areas.

Share Button

Henri Matisse and the Paper Cut-outs

Henri Matisse and the Paper Cut-outs

 “I have attained a form, filtered to the essentials.” Henri Matisse

Henri Matisse was one of the foremost artists of the twentieth century and along with Pablo Picasso and Marcel Duchamp, shaped the modern art movement. His method of painting, Fauvism, is “… a movement in painting typified by the work of Matisse and characterized by vivid colors, free treatment of form, and a resulting vibrant and decorative effect.” (Merriam- Webster Dictionary) He was primarily a painter and a sculptor but by the last decade of his life, paper cut-outs became the medium he used more than any other.

Art Nouveau and Symbolist Art influenced Matisse’s art. Like Art Nouveau and Symbolist Art,  image (which included the human figure) and decoration were central components to his painting and later, his paper cut-outs.

The paper cut-out technique was originally used to design commissions for the Ballet Russe, the Barnes Foundation and other patrons during the 1930s. Instead of sketching his ideas, he cut shapes out of paper.

After a serious operation left him bedridden in 1941, Matisse began to further develop the cut-out technique. Confined to a wheelchair during the last decade of his life, he unable to paint or sculpt and the cut-outs became the only medium for his art.

An assistant painted paper with gouache paints. Matisse would have an image in his mind reducing that image to its basic shape. He would cut that image put using quick motions with the scissors. Matisse called the technique “drawing with scissors” on colored paper instead of using pastels, pencils or charcoal on blank paper. The shapes were laid on geometric shapes (squares, rectangles) of another color or on a white background. The cut-outs looked like Matisse’s Fauvist paintings only the approach to the subject and the materials and tools were different.

Today, Matisse’s paper cut-outs are as highly regarded as his paintings and sculptures.


To read more about Matisse’s paper cut-outs:

http://www.nytimes.com/2014/10/10/arts/design/henri-matisse-the-cut-outs-a-victory-lap

http://wwww.latimes.com/entertainment/arts//a-etc-cm-knight-matisse-review-20141023

Elderfield, John. The Cut-outs of Henri Matisse. NY: George Braziller, Inc, 1978.


To make paper cut-outs like Matisse, try the following tutorial:

Paper Cut-outs

Materials:

White paper or white poster board

Colored papers

Embroidery scissors

Glue stick

  1. Think of a theme, i.e., My Garden, The Four Seasons, a folk tale like The Tortoise and the Hare, etc. Or use geometric or abstract organic shapes to create a composition. Matisse often created patterns with the cut-outs. What are the main shapes that come to mind for the theme? What are the colors of those shapes? How many shapes will you sue for the composition? Matisse used animal shapes, forms from nature and the human form as well as more abstract shapes.
  2. Do not draw them on the paper. Cut the shapes freehand using quick motions with the scissors like Matisse. Cut them in different sizes and in a variety of colored papers. Experiment.
  3. Arrange them in a composition or throw them up in the air and see how they land on the paper or poster board. If you are gluing some of the shapes on several pieces of paper, throw those up in the air and see where they land.
  4. Glue some of the shapes on pieces of contrasting colored paper and some on the white poster board or glue all the shapes on the white board.
  5. What will you do with your composition? Matisse used some of his cut-out compositions to decorate the walls of his home.
Share Button