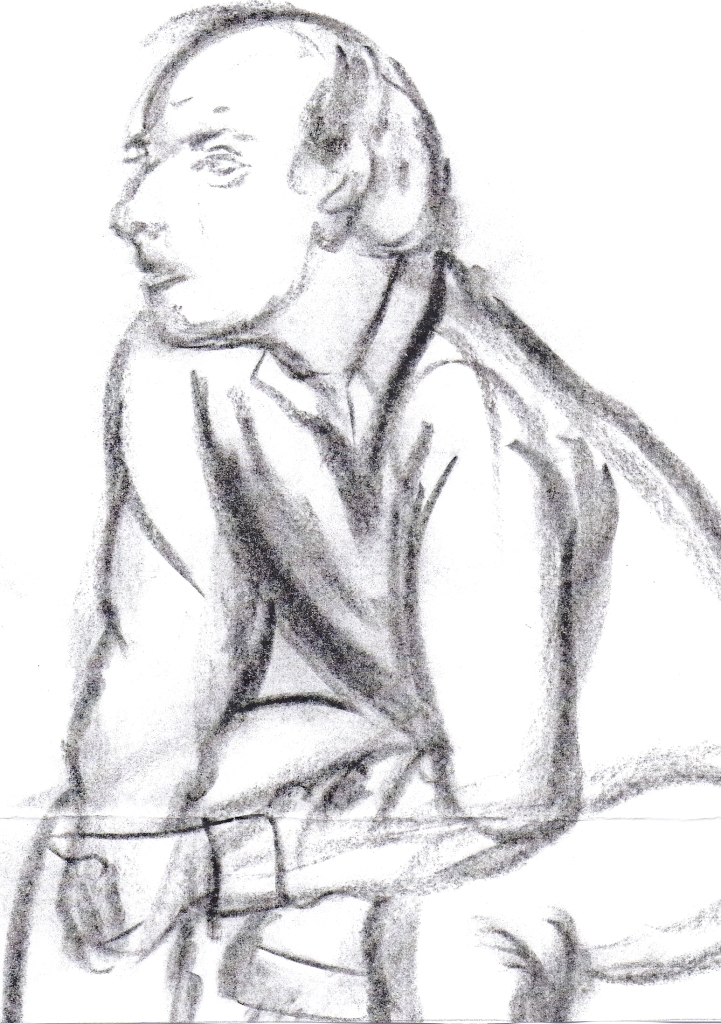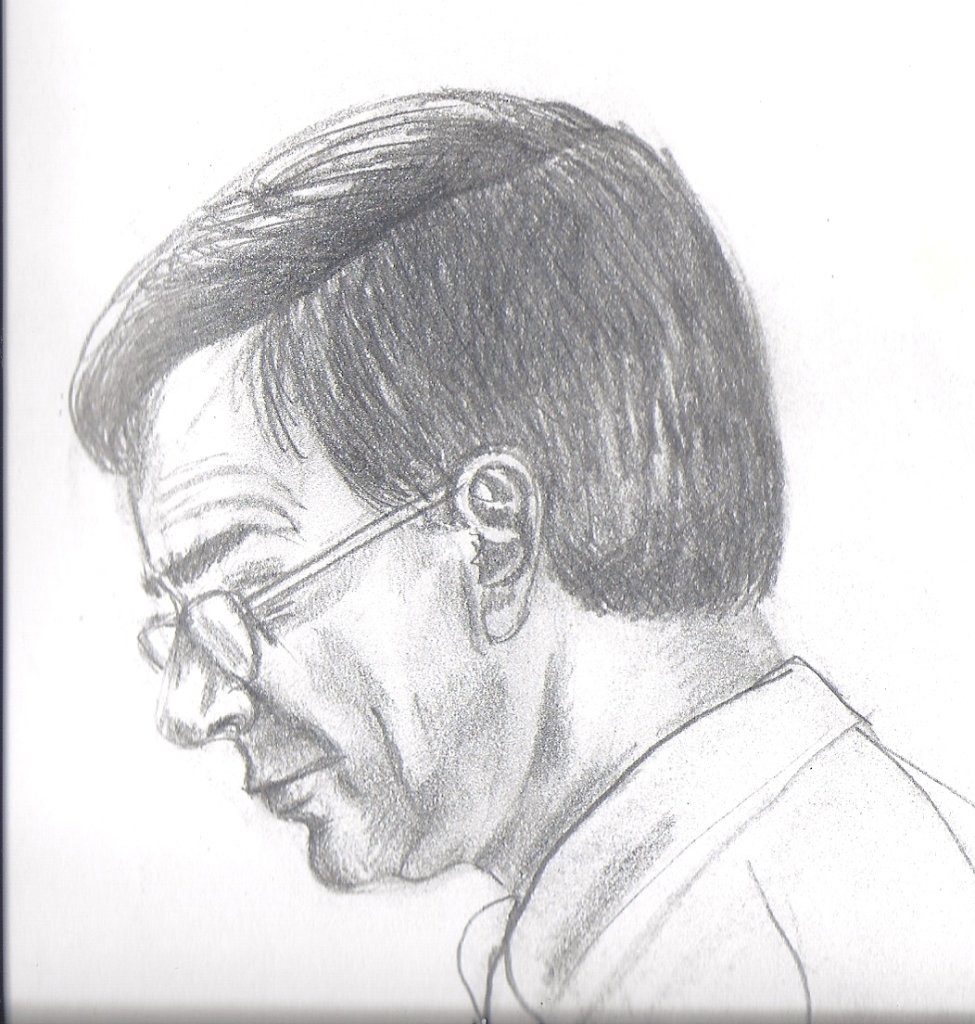
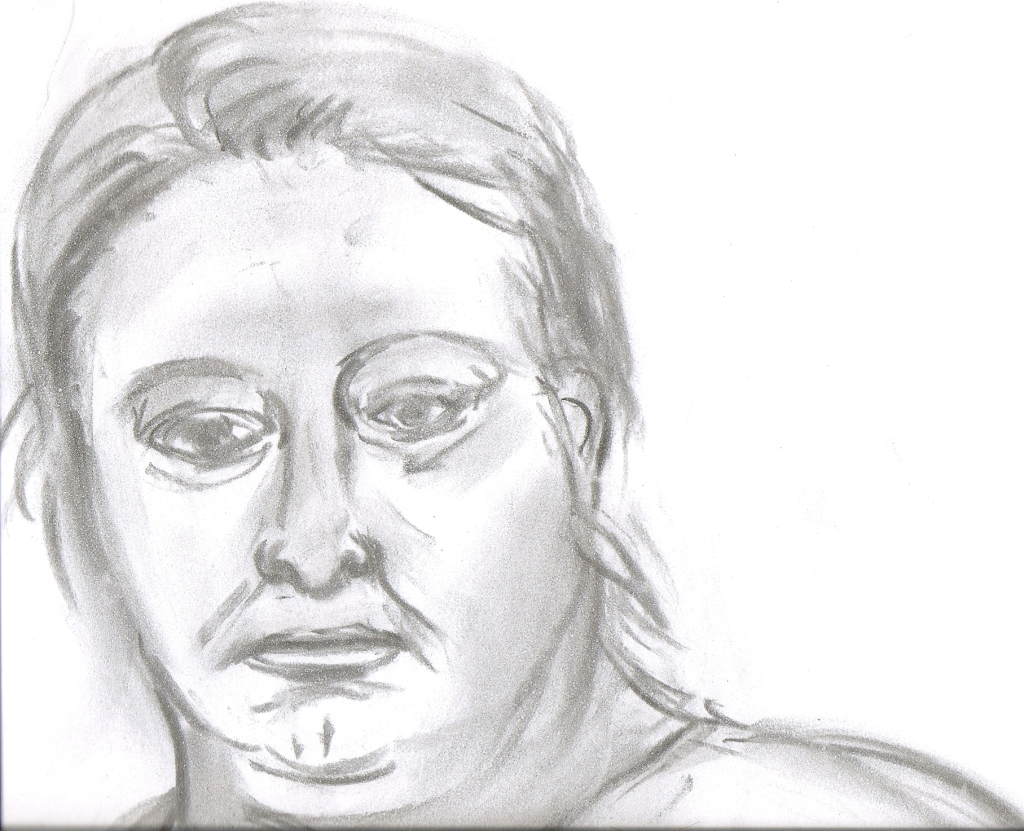
Exercise Three: Dark and Light
The use of light and dark will make the figure you draw look more real or three-dimensional. In the first exercise, you suggested movement. In this exercise, you will draw the illusion of light and dark.
Time Limit: 30 – 60 seconds
What you need: pencil, newsprint paper, timer, black and white watercolor paints, narrow and wide soft bristle brushes, clean jar, watercolor paper, water, drawing board or lap desk, masking tape, paper towels, palette, paper stump (optional) and a model.
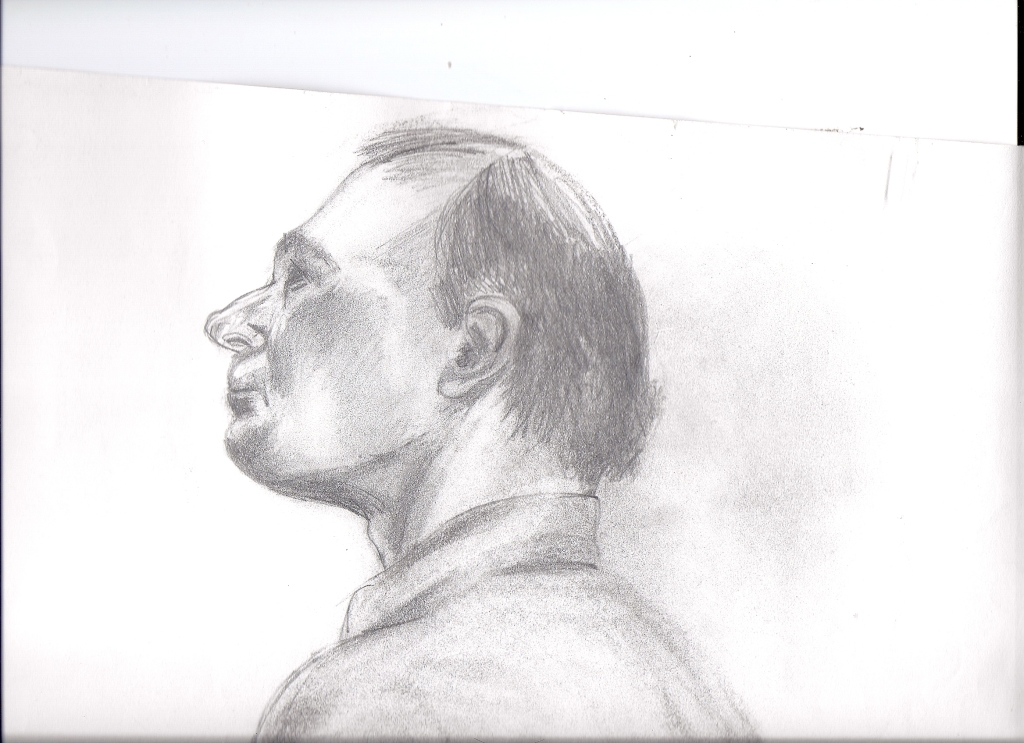
Lesson: Light and dark shadows help to define the features on the face and the figure, giving a three-dimensional appearance to the drawing.
Materials: pencil, newsprint paper
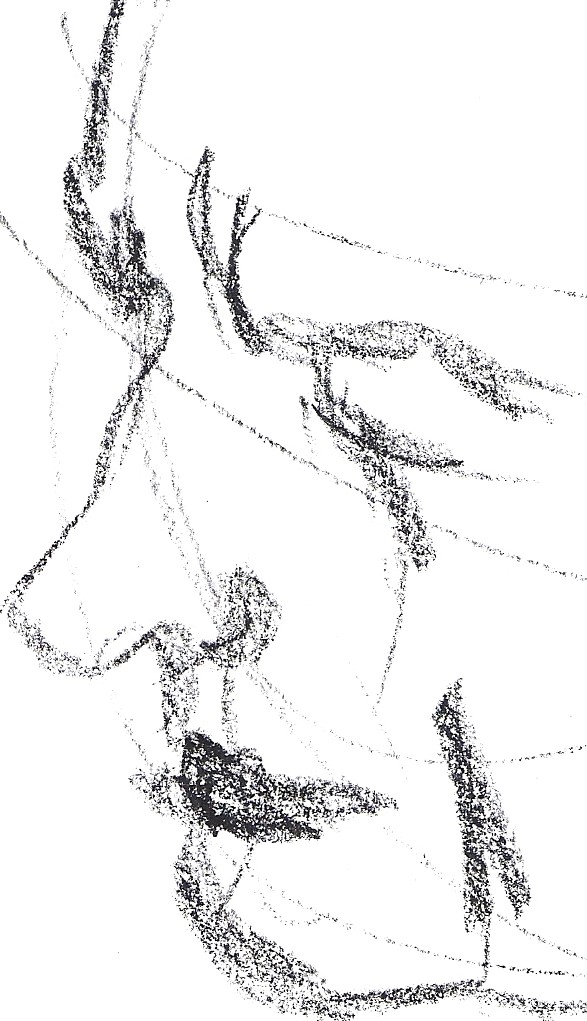
Project: Draw the figure utilizing the lessons you previously learned: gesture and contour drawings and uses of dark and light. Draw several quick gesture and contour drawings to warm up. Give yourself 30 seconds. Work quickly. As you draw the model, see where the light hits the face and body of the model. Add the shadows lightly with the pencil. Then press with the pencil in areas that are very dark. You can smooth the transition from light shadow to dark shadow or vice versa with your finger or by using a paper stump. Use your eraser to enhance “white” areas on the paper. Then set the timer for sixty seconds. Repeat the lesson. This time you will have a bit more time to define the figure.
Set the timer. Using the techniques you learned in the previous lesson, draw the figure quickly. Keep your eye on the figure not on the paper. After 30 seconds, stop. Mix black and white to make gray. Dilute it with water and with a broader brush, add shadows just as you see them on the model. Set the timer again. With a clean brush, use white for highlights. After another 30 seconds, stop. Repeat lesson by having the model pose in different ways.
Materials for Alternative Project: watercolor paper, board, brush, black and white watercolor paints, water in a clean jar, paper towels, masking tape, palette
Alternative Project: Tape the watercolor paper to the board. Dip the brush in the clean water and wet the paper. Then thin the black paint with water. Observe where the light hits the face and figure. Then dip the narrow brush into black paint and begin to lay down washes of black paint to create shadows. Wait for the first washes of paint to dry and then add more washes especially in the dark areas.


Share this: