WHAT IS A BANNER?
A banner is a piece of cloth suspended between two poles and often bearing a design, symbol or slogan. Banners can celebrate the seasons, holidays or bear slogans. The designs in this series of Art Tutorials celebrate summer, spring, winter and fall.
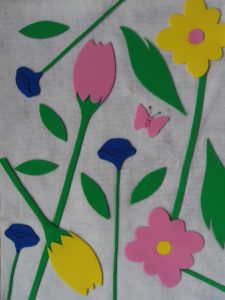
SPRING IS HERE! BANNER
Ages: 5 – 12 years
Time: ½ hour – 1 hour
MATERIALS:
White felt 36” x 36”
Green Fun Foam
Pink Fun Foam Pink Fun Foam
Blue Fun Foam
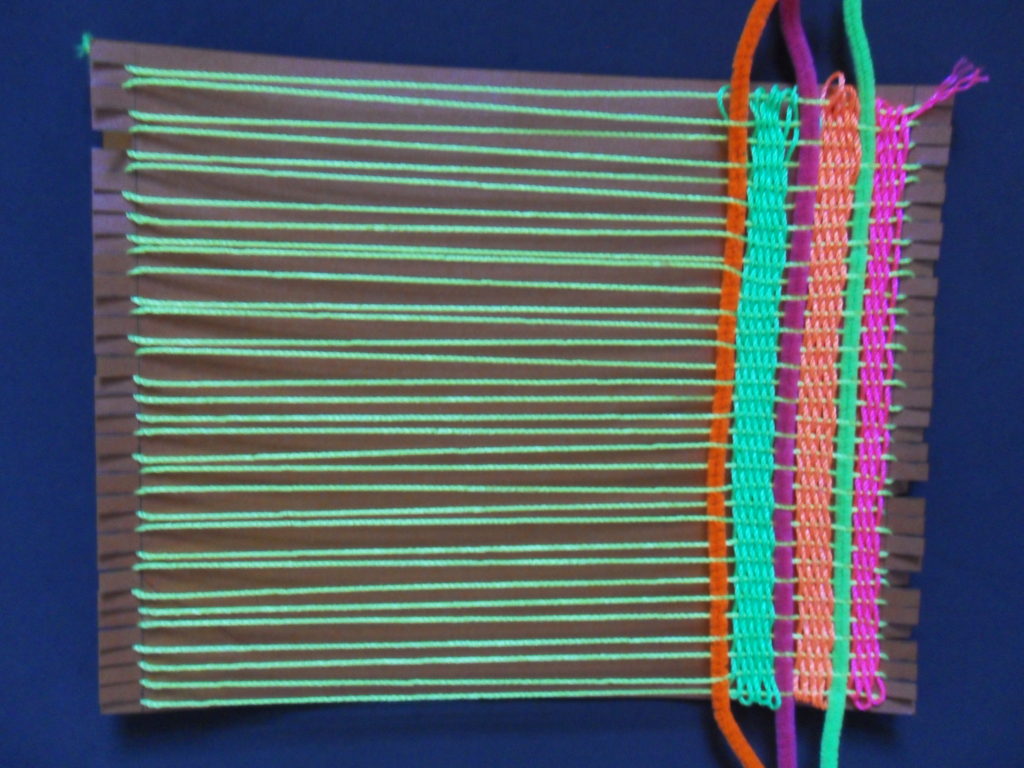
1. Measure and trim white felt to 14” x 20”. Place the piece vertically in front of you. Measure and fold a 1” seam at the top and iron. Fold another 1” seam. Iron and glue the second fold. The dowel rod will go through this loop.
2. Enlarge the photo of the completed banner above. Then trace and cut the flower shapes: yellow Fun Foam for one tulip and one daisy; pink for the second tulip and daisy; blue for the three morning glories; pink for the butterfly and green for the stems and leaves. (NOTE: The daisy and the tulip have different leaves.)
3. Cut one small yellow circle for the center of the pink daisy and one small pink circle for the yellow daisy.
4. Glue all the pieces, scattering the shapes randomly to create a cascading effect. Avoid placing two flowers of the same color next to each other.
5. Draw the centers of the morning glories with a black marker. Add antennae to the butterfly and dots in its center.
6. Cut the dowel rod like the other ones, insert, tie the string to the ends of the dowel rod and han


Share this: