Tag Archives: feathers

WEAVING PROJECT: WEAVING WITH A SIMPLE FRAME

WEAVING PROJECT: WEAVING WITH A SIMPLE FRAME

The craft WEAVING WITH A SIMPLE FRAME is an updated adaption of the project “A Simple Weaving Frame” found in The Reinhold Book of Arts and Crafts Techniques published by Van Nostrand Reinhold Co., a division of Litton Education Publishing Inc. in 1976. Many important events happened in 1976.

Challenge yourself and always use your imagination!

Materials:

Cardboard

String

Ruler

Pencil/eraser

Scissors

Yarn

Large-eyed tapestry needle (optional)

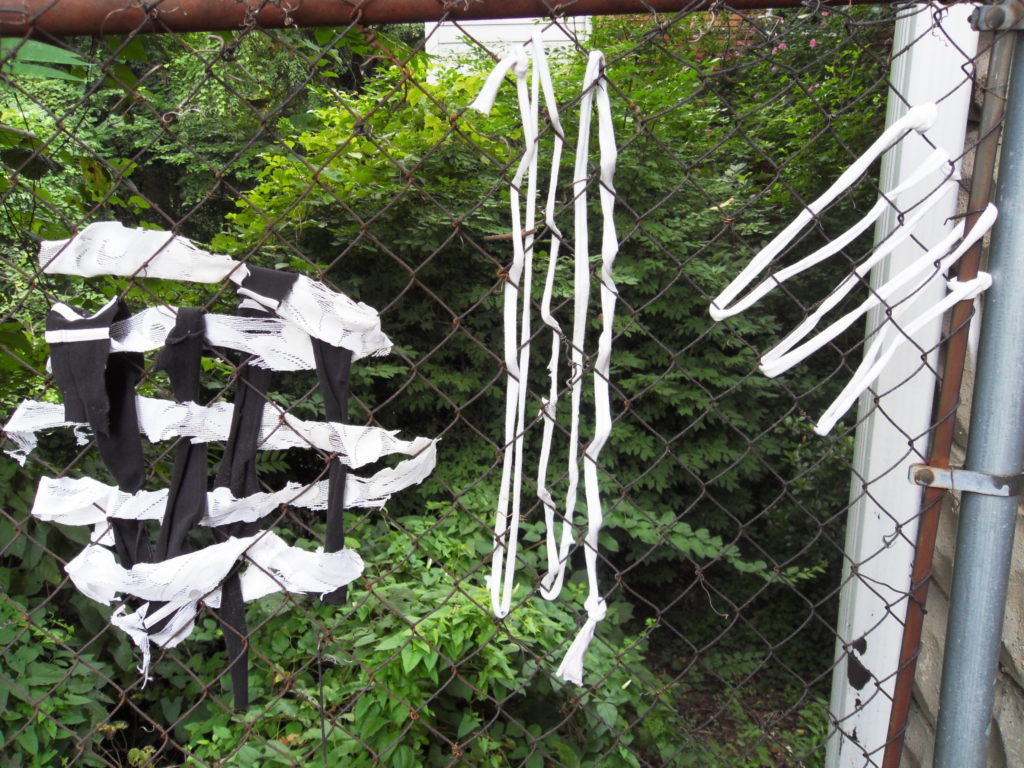
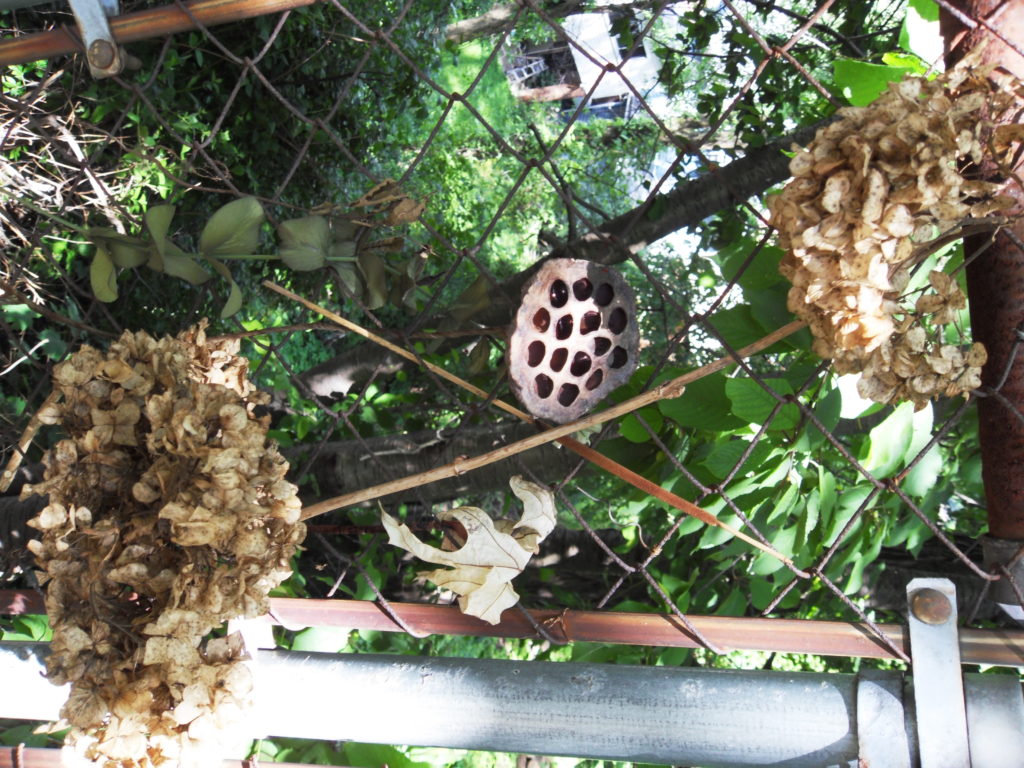
Ribbon, feathers,  wool and other strips of fabric, leaves, twigs, string

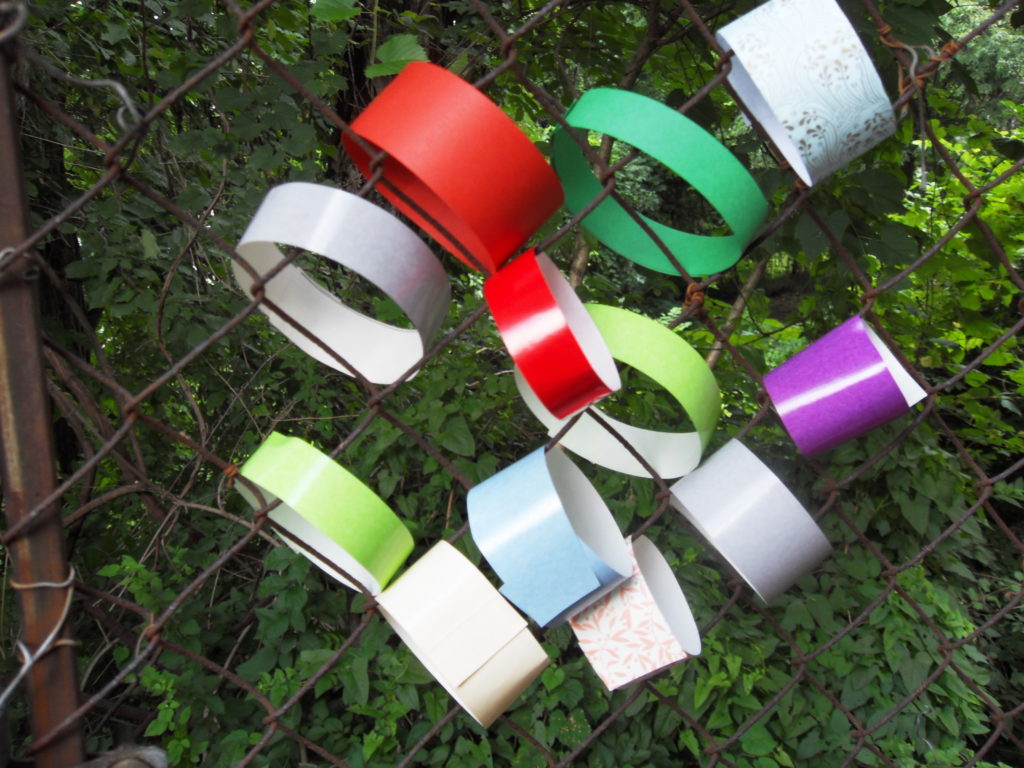
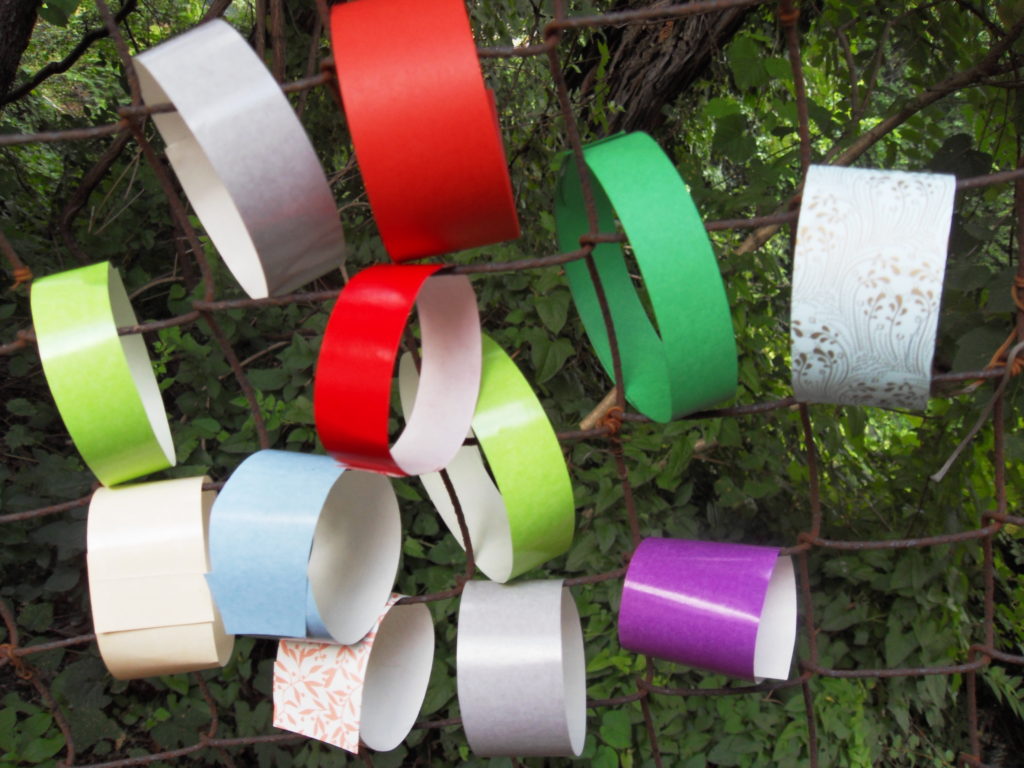
At all times refer to the photo illustrations.

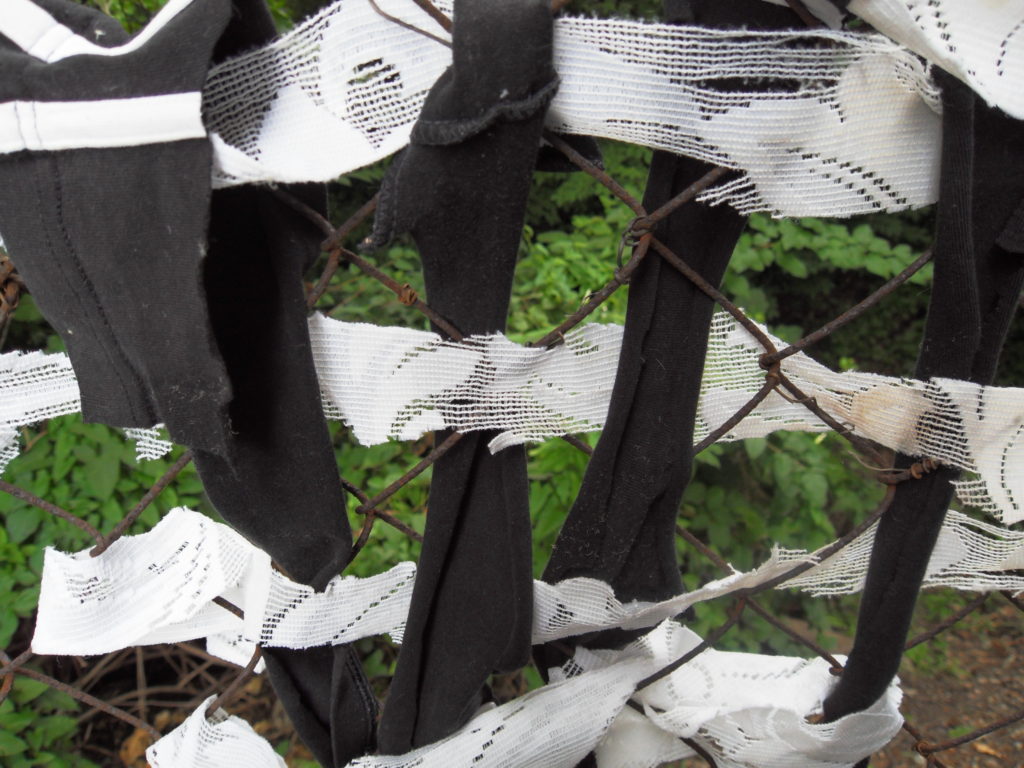
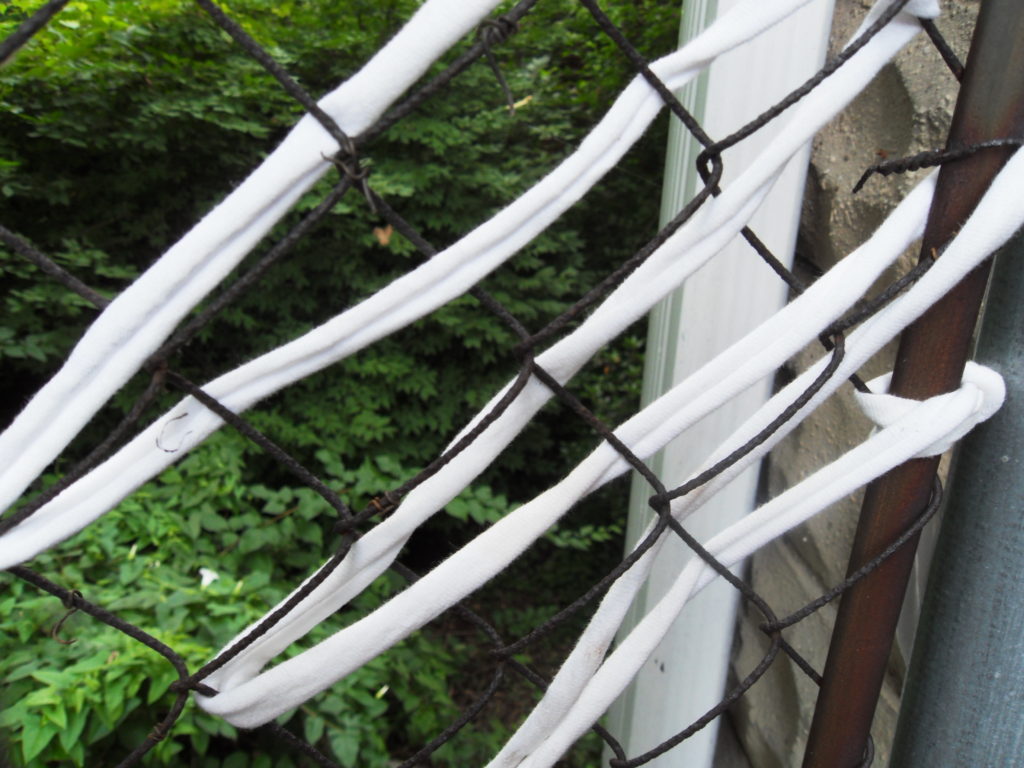
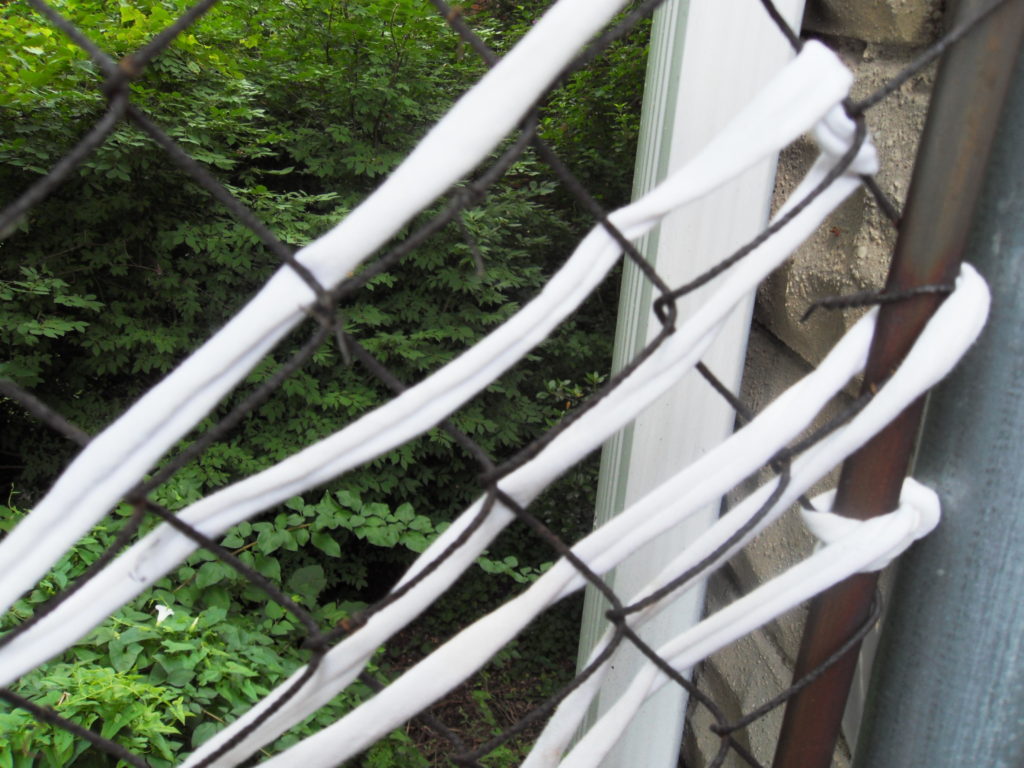
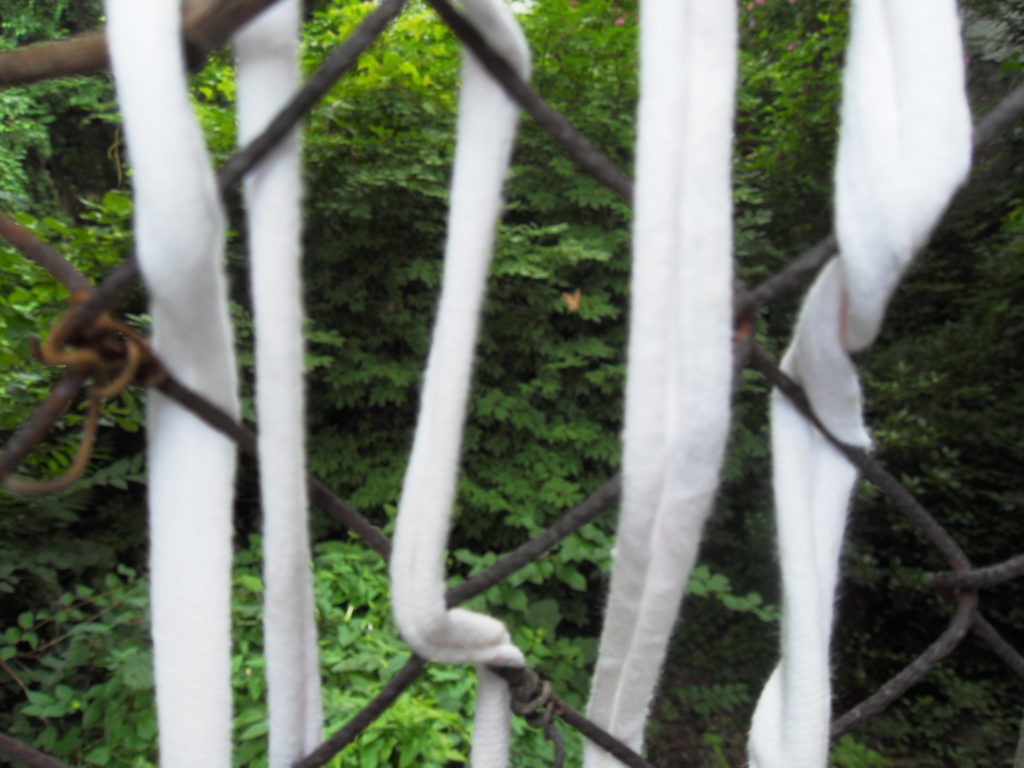
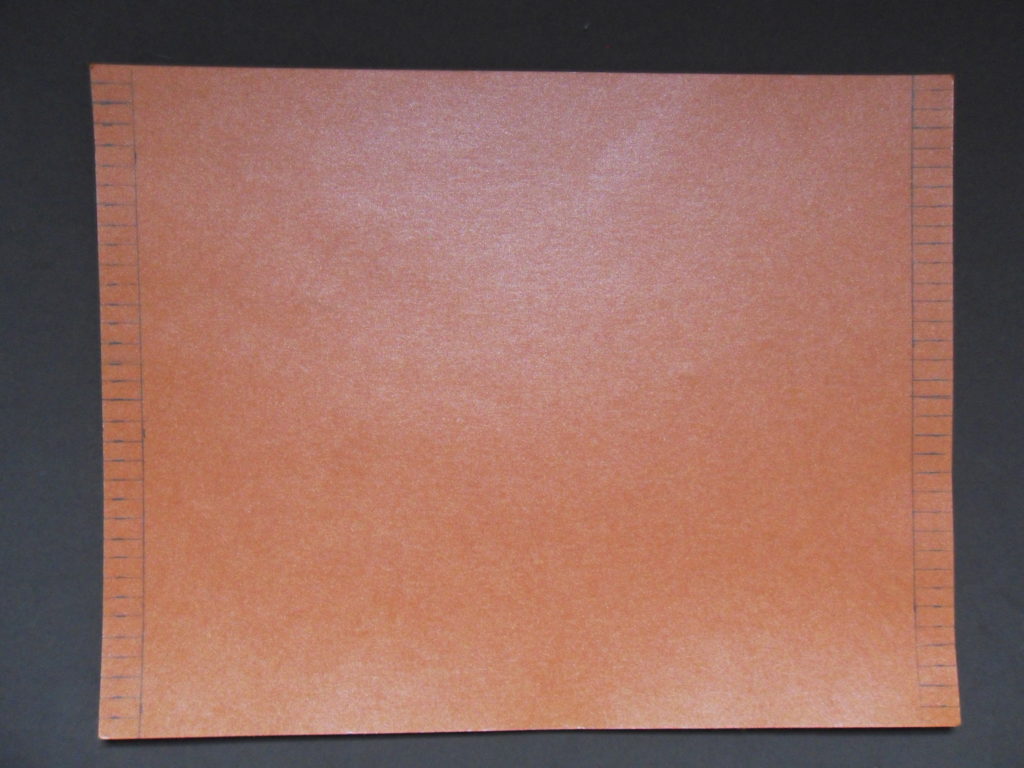
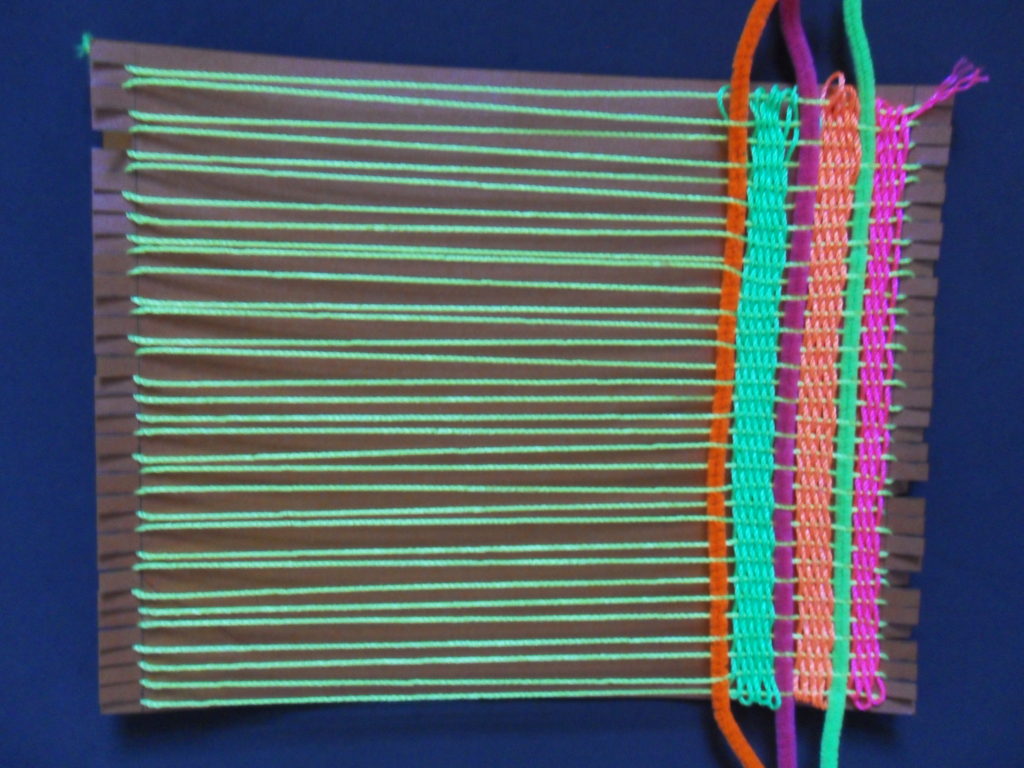
  1. Weaving consists of a warp and a weft. The warp comprises the vertical strings of the loom while the weft consists of the yarn interlaced through the weft. Take a piece of strong cardboard. Measure and cut ¼” incisions at regular intervals of ¼” to 1/8” on both ends of the cardboard.
  2. To make the warp: Take heavy string (i.e., kite string) and make a knot at one end. Loop the string from one end of the cardboard to the other and back up again. When finished, cut and make a knot in the back or tape the end of the string to the back of the cardboard. (Always leave a little extra string at either end.)
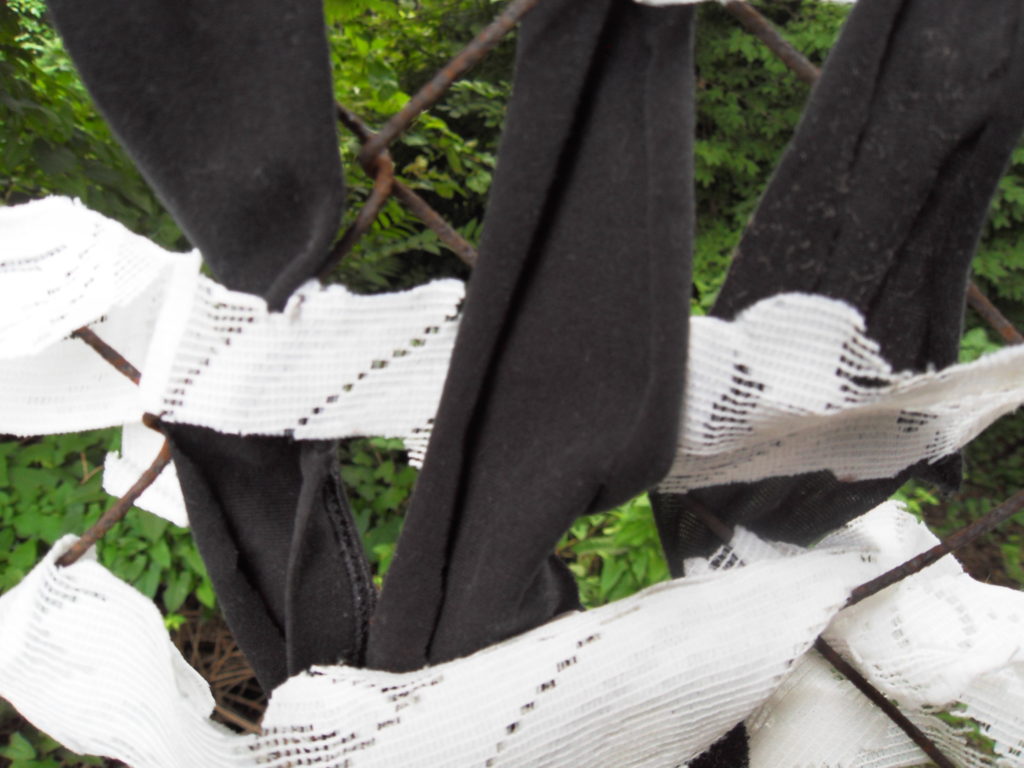
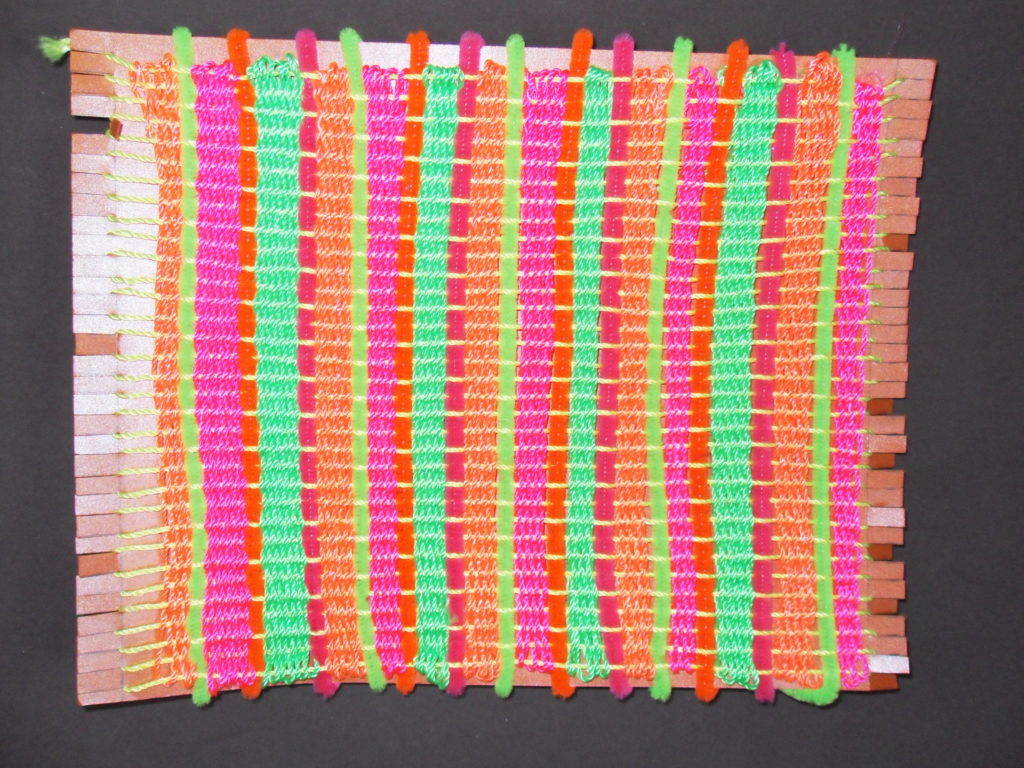
  3. To make the weft: Think of a theme or a design for the weaving. The design is up to you! Use a variety of materials to weave in and out as you did with the paper weaving. (The weaving below was woven with pipe cleaners and kite string but almost anything goes!)
  4. Start with about an inch and a half of warp at the bottom. Make sure strips of material alternate with each row. Roll the material into a ball if possible and pass it through the warp back and forth for several rows depending on the design. Tuck the end in the back of the warp. Do not tie a knot.
  5. Tips: Consider using a the tapestry needle to weave the yarn and string. A ruler will help you lift the warp so you can pass material through easily but you must lift every other string (see step 4.)
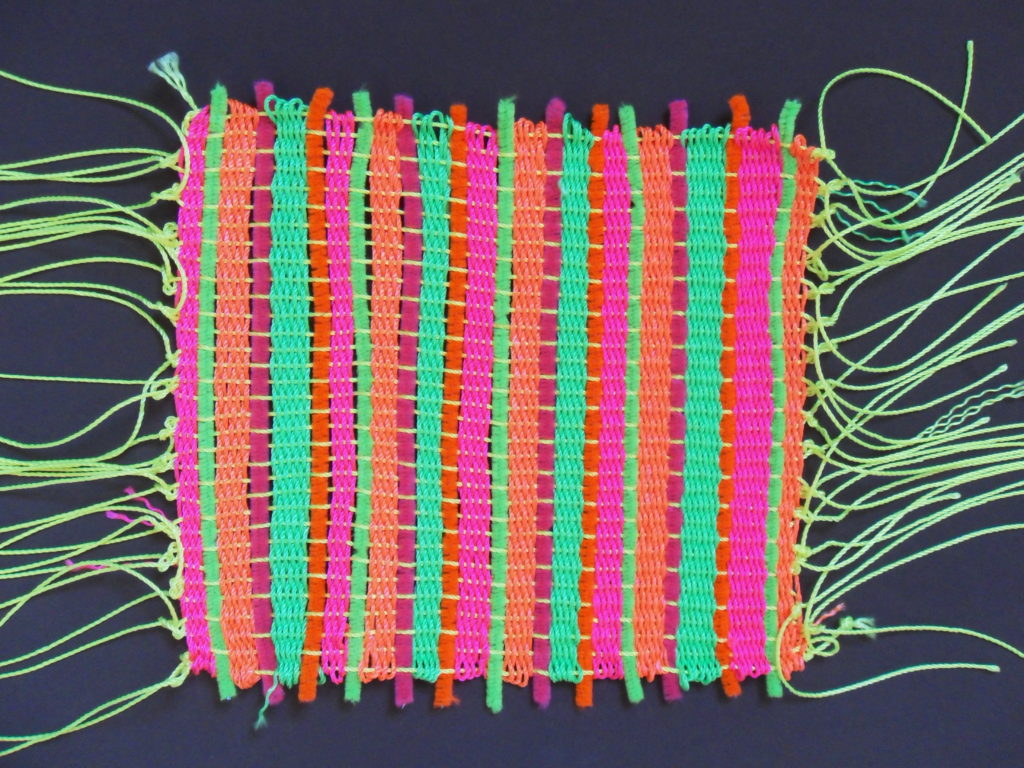
  6. When the weaving is finished, cut any loose thread in the back of the warp but don’t cut too close to the weft.
Share Button

WEAVING PROJECT: FENCE WEAVING II

WEAVING PROJECT: FENCE WEAVING II

The craft Fence Weaving was adapted from the project “From the Yard/Fence Weaving” found in All-Around-the-House Art and Craft Book by Patricia Z. Wirtenberg and published by Houghton Mifflin Company in1968.

Materials:

One fence preferably a chain link fence

Ribbon, yarn, pipe cleaners, tassels, string, rope, feathers, strips of fabric or paper, and anything else that easily woven through or tied on a chain link fence

Pompoms, beads, tiny shells, paper dessert cups, and anything else  glued to ribbon, yarn, strips of fabric or paper, etc. and attached to the links in the fence. Bits of drawings or photographs can also be used.

Scissors

Glue

1)      Weave, loop or tie materials such as pipe cleaners, ribbon, yarn, rope, strips of fabric or paper and string diagonally, vertically or horizontally through the links in the fence.

2)      Weave or loop or tie the ends of fabric, ribbon or paper through the links in the fence and secured with glue. The more you material you use, the more festive the fence looks.

3)      Glue artificial flowers, beads, tiny shells, and similar items to ribbon, strips of fabric or paper, etc. Weave the ends through the links in the fence.

4)      Make a garland of paper or similar material and attach the ends to the fence. Celebrate the Fourth of July with a red, white and blue garland!

5)      Cut paper letters and/or numbers and glue to a long strip of paper or ribbon and attach to the links in the fence at each end. Anything goes! The signs can say “Happy Summer!”  “Enjoy Summer Camp!” “Hooray for Summer!”

6)      Another idea: decorate the fence according to themes: nature; summer/seashells; art; Disney; cars/trains/airplanes; sports, etc.N

Share Button

WEAVING PROJECTS: FENCE WEAVING I

WEAVING PROJECTS: FENCE WEAVING I

The craft Fence Weaving was adapted from the project “From the Yard/Fence Weaving” found in All-Around-the-House Art and Craft Book by Patricia Z. Wirtenberg and published by Houghton Mifflin Company in 1968.

MATERIALS:

One fence preferably a chain link fence

Ribbon, yarn, pipe cleaners, tassels, string, rope, feathers, strips of fabric or paper, and anything else that easily woven through or tied on a chain link fence

Pompoms, beads, tiny shells, paper dessert cups, and anything else  glued to ribbon, yarn, strips of fabric or paper, etc. and attached to the links in the fence. Bits of drawings or photographs can also be used.

Scissors

Glue

PROJECT:

1)      Weave, loop or tie materials such as pipe cleaners, ribbon, yarn, rope, strips of fabric or paper and string diagonally, vertically or horizontally through the links in the fence.

2)      Weave or loop or tie the ends of fabric, ribbon or paper through the links in the fence and secured with glue. The more you material you use, the more festive the fence looks.

3)      Glue artificial flowers, beads, tiny shells, and similar items to ribbon, strips of fabric or paper, etc. Weave the ends through the links in the fence.

4)      Make a garland of paper or similar material and attach the ends to the fence. Celebrate the Fourth of July with a red, white and blue garland!

5)      Cut paper letters and/or numbers and glue to a long strip of paper or ribbon and attach to the links in the fence at each end. Anything goes! The signs can say “Happy Summer!”  “Enjoy Summer Camp!” “Hooray for Summer!”

6)      Another idea: decorate the fence according to themes: nature; summer/seashells; art; Disney; cars/trains/airplanes; sports, etc.


Share Button

Indigenous Crafts: Dream-catchers

Indigenous Crafts: Dream-catchers
Dream-catchers

Dream-catchers

The Lakota hang dream-catchers where they sleep or over the cradles of babies. Good dreams go through the hole in the center of the dream-catcher while bad dreams are caught in the webbing like flies in a spider web.

MATERIALS:

6 inch embroidery hoop or large metal ring

2 yards of string or yarn

Beads, wood, feathers

Scissors

Glue

PROJECT:

  1. With a pencil make 8 equidistant marks around the embroidery hoop. If using a metal ring, make the marks with the black marker.
  2. Knot one end of the string or yarn on one of the marks. Leave about 3 inches hanging.
  3. Tie the yarn to the next mark and so on until there is yarn looped to each mark.
  4. Tie and loop the string from the middle of one loop to the middle of the next. Do not pull the string or yarn tightly. Continue to loop in this way making three or four rows of loops while occasionally stringing a bead. This is optional.
  5. When only a small “hole” is left in the center, pull the string tightly and knot the end of the string to the previous row. Tie a second knot to prevent unraveling. Trim excess string. A bit of glue will reinforce the knot. This is optional.
  6. Take the original 3 inch piece of string and tie it to the inside of the web. Tie a second knot and trim any excess. A bit of glue will reinforce the second knot.
  7. Tie a piece of string about 5 inches or more to the bottom of the dream-catcher. Toward the bottom half of the string loop two or three (or more) beads and tie a knot. Leave enough string to tie around the tip of a feather. You can make as many as two or three of these but vary the lengths to make a more interesting design.
  8. Reinforce the knots if necessary with glue. Insert feathers into the web of the dream-catcher. This is optional.
  9. Tie a loop of the string or yarn at the top of the dream-catcher so you can hang it up.

NATIVE AMERICAN ART – A BRIEF INTRODUCTION

Native Americans imbued art into everyday objects: baskets, textiles/weaving and pottery. They placed all their hopes and fears into their art. Colors, patterns and symbols reflected their views of the creator and the inner spirit of people and animals.  These colors, shapes and symbols held different meanings for different tribes but some general meanings apply.

Colors:

Blue: female, moon, sky, water, thunder, sadness

Black: male, cold, night, disease, death, underworld

Green: earth, summer, rain, plants

Red: war, day, bold, wounds, sunset

White: winter, death, snow

Yellow: day, dawn, sunshine

Shapes:

Curves and spirals

Parallel lines

Flowing lines, i.e. plants and flowers

Birds, fish and human faces

Triangles, rectangles, squares and other geometric shapes

Bibliography

Haslam, Andrew. Make It Work! Native Americans. Minnetonka, MN: Two Can Publishing, 1995.

Gooch, Randall and Temko, Florence. Traditional Crafts from Native North America. Minneapolis, MN: Lerner Publications, 1996.

Share Button