Tag Archives: arts and craft project for elementary school children

WEAVING PROJECT: FENCE WEAVING II

WEAVING PROJECT: FENCE WEAVING II

The craft Fence Weaving was adapted from the project “From the Yard/Fence Weaving” found in All-Around-the-House Art and Craft Book by Patricia Z. Wirtenberg and published by Houghton Mifflin Company in1968.

Materials:

One fence preferably a chain link fence

Ribbon, yarn, pipe cleaners, tassels, string, rope, feathers, strips of fabric or paper, and anything else that easily woven through or tied on a chain link fence

Pompoms, beads, tiny shells, paper dessert cups, and anything else  glued to ribbon, yarn, strips of fabric or paper, etc. and attached to the links in the fence. Bits of drawings or photographs can also be used.

Scissors

Glue

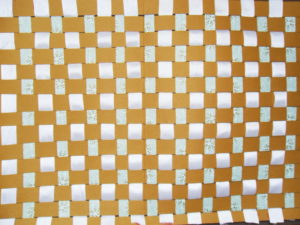
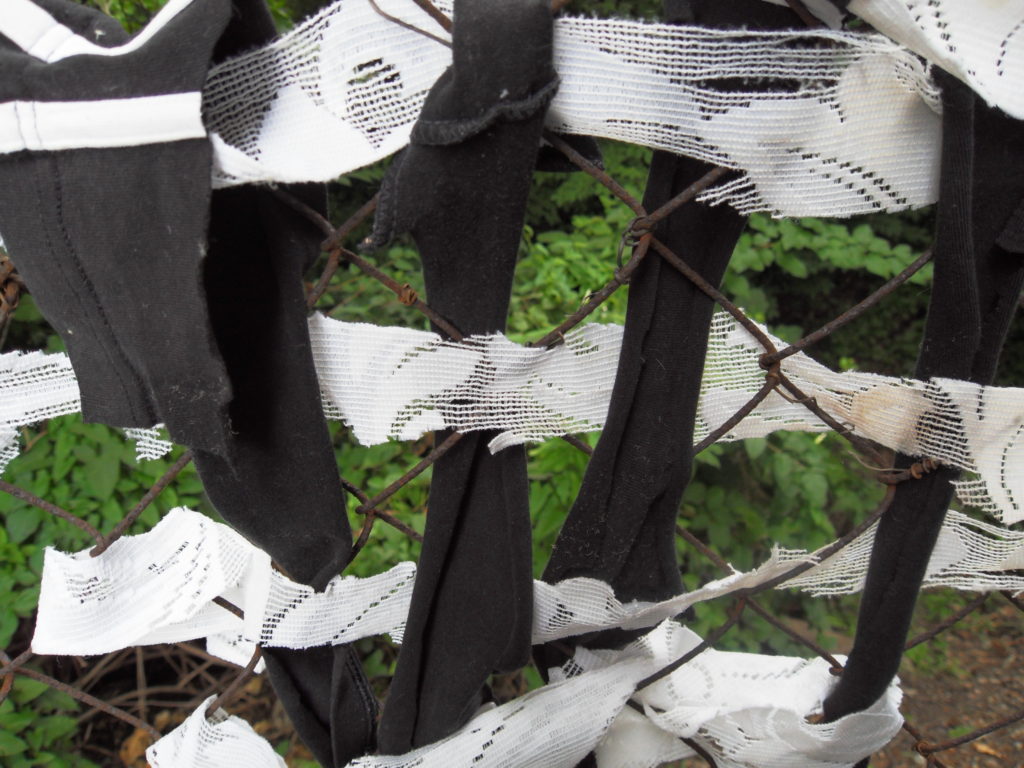
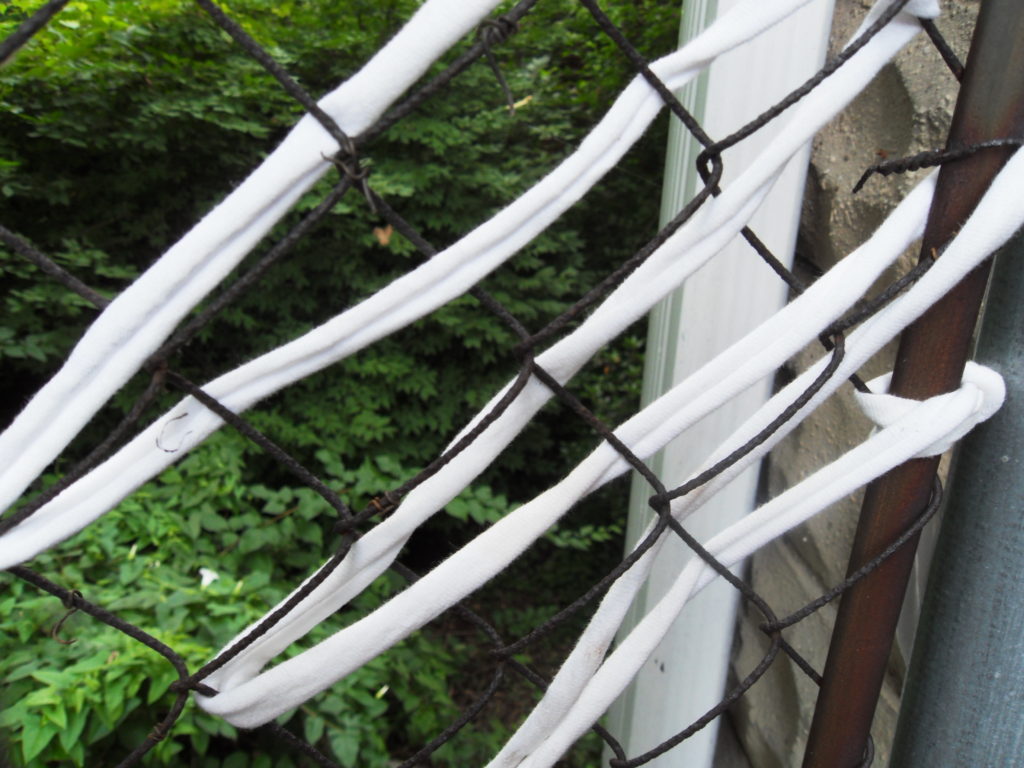
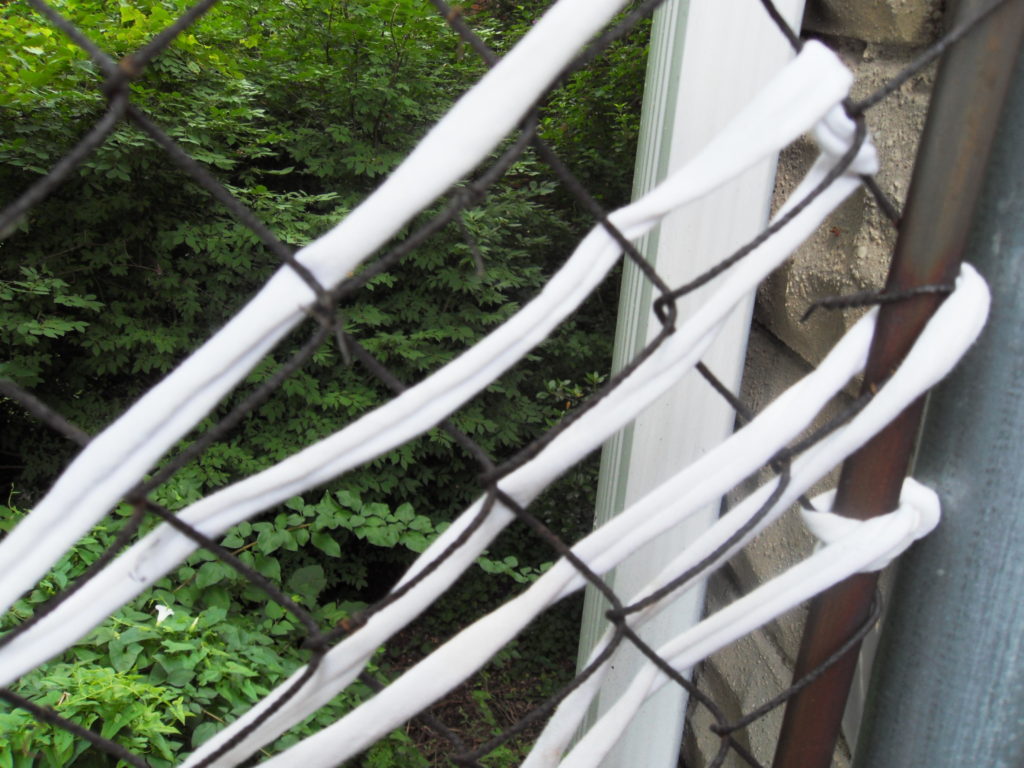
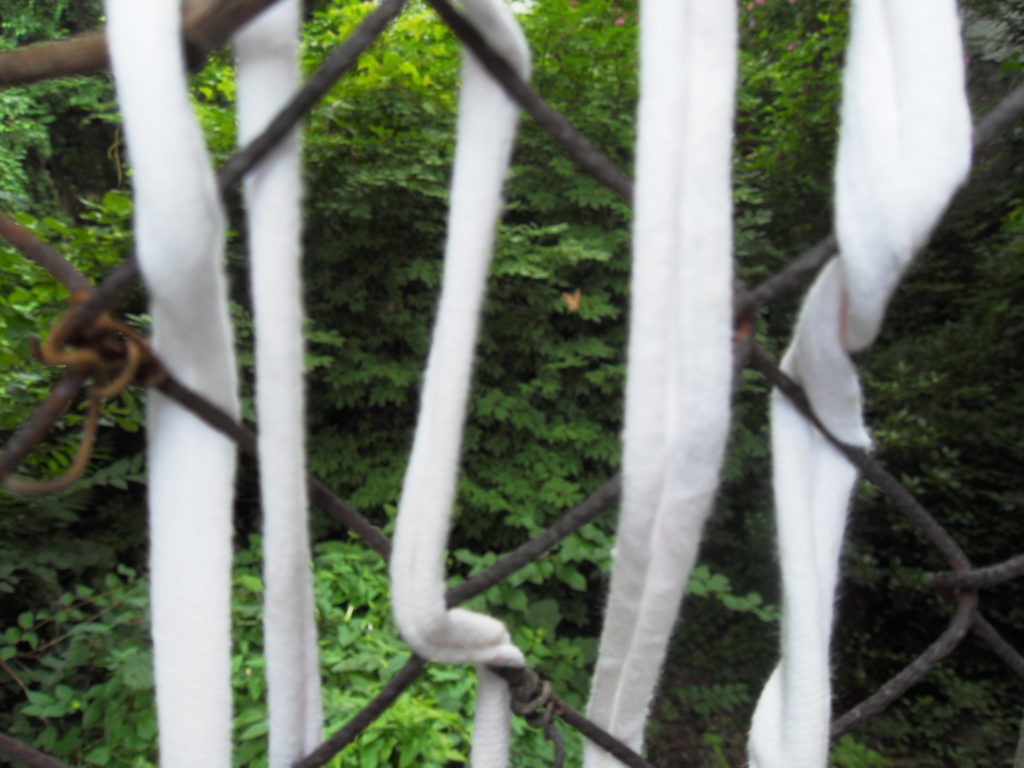
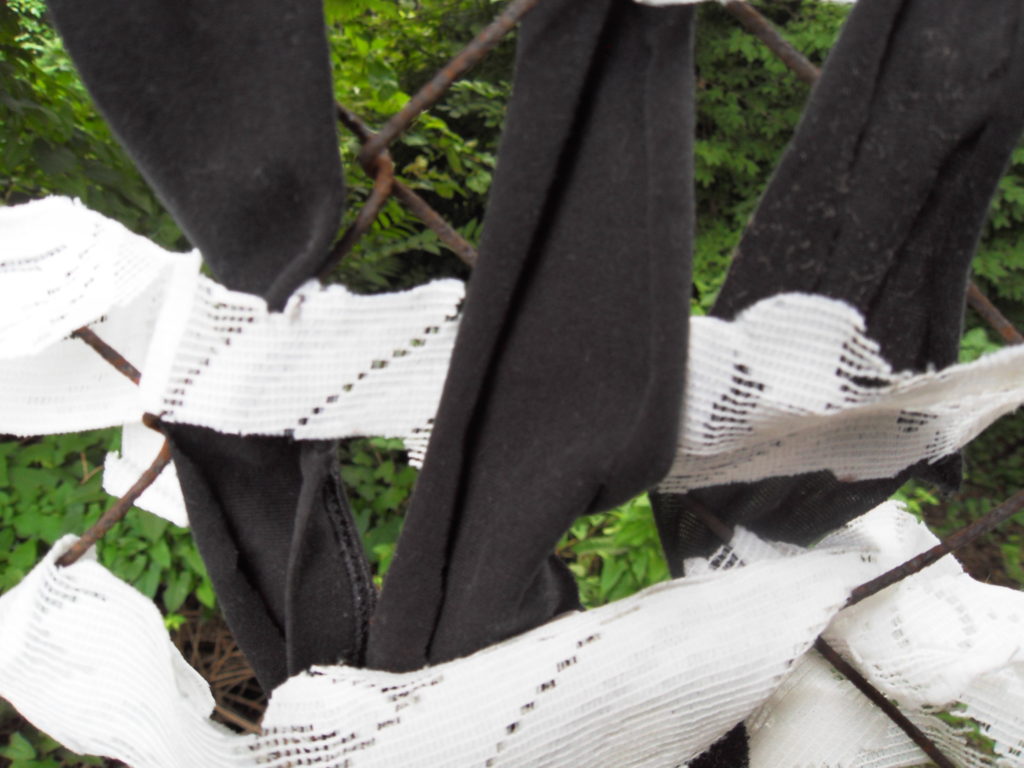
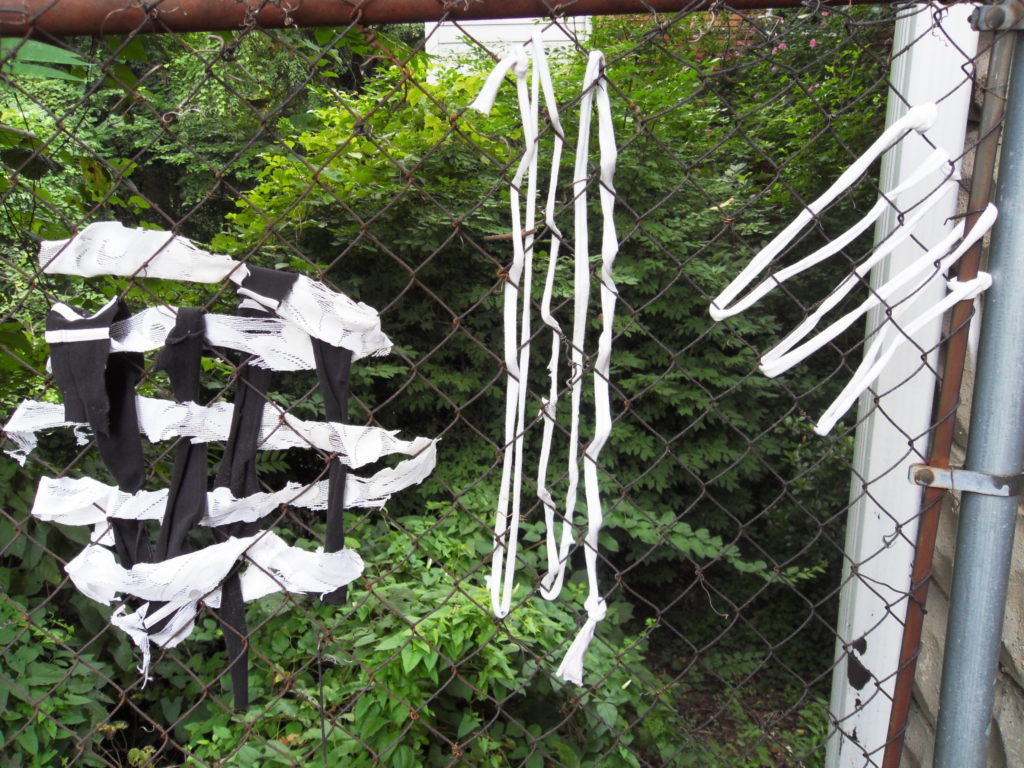
1)      Weave, loop or tie materials such as pipe cleaners, ribbon, yarn, rope, strips of fabric or paper and string diagonally, vertically or horizontally through the links in the fence.

2)      Weave or loop or tie the ends of fabric, ribbon or paper through the links in the fence and secured with glue. The more you material you use, the more festive the fence looks.

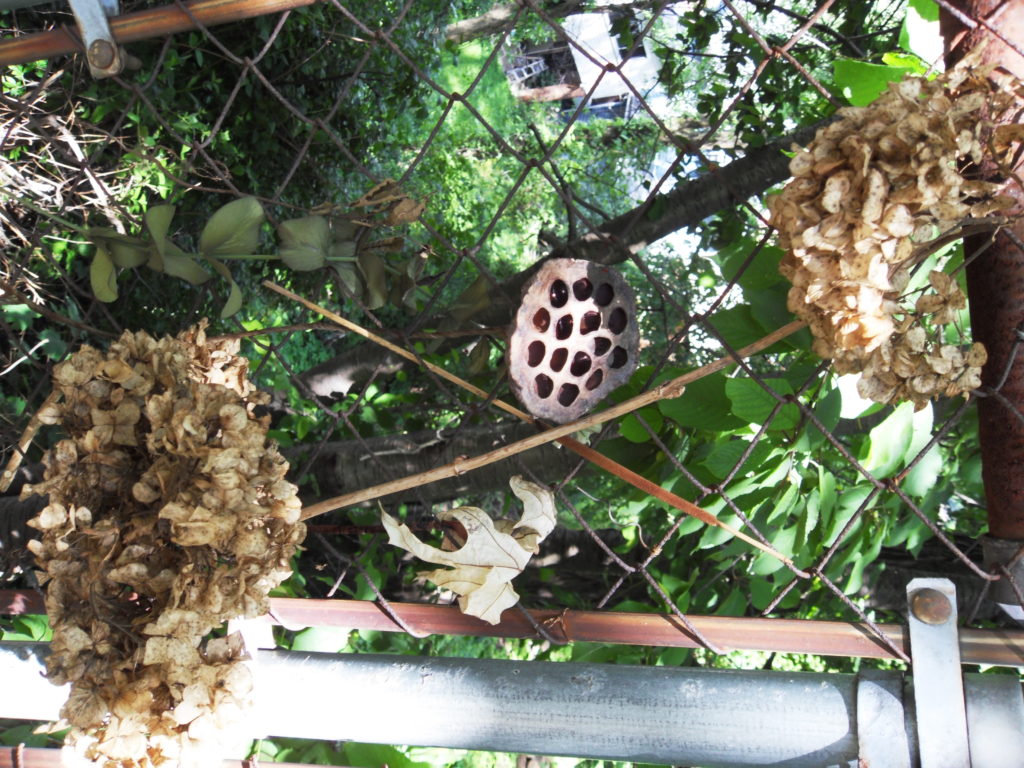
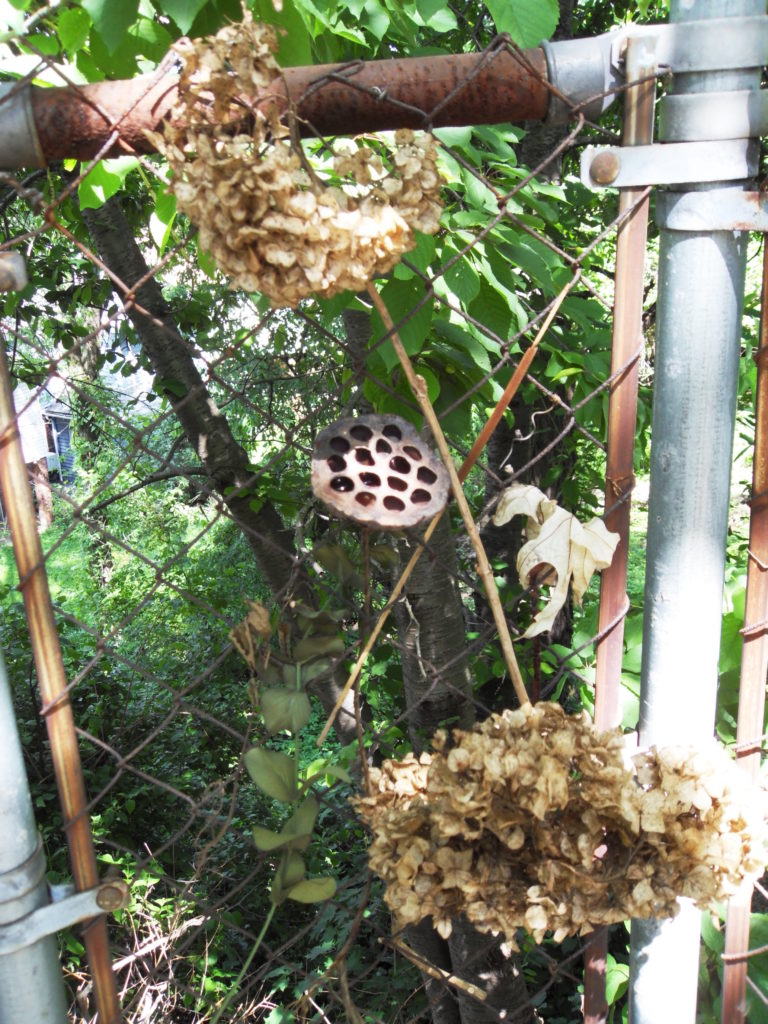
3)      Glue artificial flowers, beads, tiny shells, and similar items to ribbon, strips of fabric or paper, etc. Weave the ends through the links in the fence.

4)      Make a garland of paper or similar material and attach the ends to the fence. Celebrate the Fourth of July with a red, white and blue garland!

5)      Cut paper letters and/or numbers and glue to a long strip of paper or ribbon and attach to the links in the fence at each end. Anything goes! The signs can say “Happy Summer!”  “Enjoy Summer Camp!” “Hooray for Summer!”

6)      Another idea: decorate the fence according to themes: nature; summer/seashells; art; Disney; cars/trains/airplanes; sports, etc.N

Share Button

WEAVING PROJECTS: PAPER WEAVING

WEAVING PROJECTS: PAPER WEAVING

PAPER WEAVING

PAPER WEAVING

PAPER WEAVING

PAPER WEAVING

PAPER WEAVING

PAPER WEAVING

PAPER WEAVING

PAPER WEAVING

PAPER WEAVING

PAPER WEAVING

The craft PAPER WEAVING was adapted from the  project “Stitches, Scraps and Haute Couture/Paper Weaving” found  in Arts and Crafts Activities Desk Book by Joyce Novis Laskin and published by Parker Publishing Company in 1971.

MATERIALS:

Large sheet of thick paper or cardboard for the frame of the mock loom

Two or three different colored and/or pattered papers cut into strips

Ribbon (optional)

Scissors

Ruler

Pencil with eraser

Glue stick or scotch tape

  1. Fold paper in half. (Choose any size paper or cardboard from 8 ½” x 11” and up.) Draw lines ¼” to ¾” apart down the length of the fold.
  2. Look at Step II below. Make incisions with the scissors, starting from the fold up to ½” of the edges of the paper. Don’t cut all the way to the end or you will cut the paper/cardboard into strips! Cut up to ½”  at each the end of the paper/cardboard and draw a line across. (In other words, leave an uncut margin at both ends.) This is the weaving “frame” or “loom.” Open the paper or cardboard.
  3. Measure and cut strips of paper to weave in and out of the paper loom. To minimize mistakes, make sure that the strips are a little longer than the width of the loom.
  4. Choose two or three different colored papers to weave through the paper loom. (Alternate ribbon with paper for a different look to the weaving.)  Start at one end and work your way up to the other end. Alternate the in-and-out pattern with each row. (Refer to photograph.)
  5. Trim loose ends and glue the ends down using a glue stick.
  6. Use your paper weaving as a placemats or give it as a gift.  What else can you do with your paper weaving?
Share Button