ST. VALENTINE’S DAY
Lupercalia was a Roman holiday held in honor of Lupercus, the god of the pasture and fertility. The event was held on February 5th in a cave on Palatine Hill in Rome. The priests who were known as the Luperci, conducted the rituals associated with the Lupercalia festival. These rituals included sacrificing animals like goats and dogs; feasting followed. The celebrations continued when the Luperci cut thongs from the skins of the sacrificed animals. The priests divided into two groups and ran around the city swatting people with the thongs. The festival participants believed that a blow from one of the thongs encouraged fertility.
The early Christian Church tried to convert unbelievers such as the followers of the Luperci, by combining pagan customs with their own beliefs. The feast day of two Roman martyrs (both named Valentine) had its origins in the Lupercalia festival. The one saint had been a priest and the other had been the Bishop of Terni, and both died in the same day in the third century A. D.
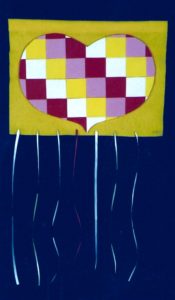
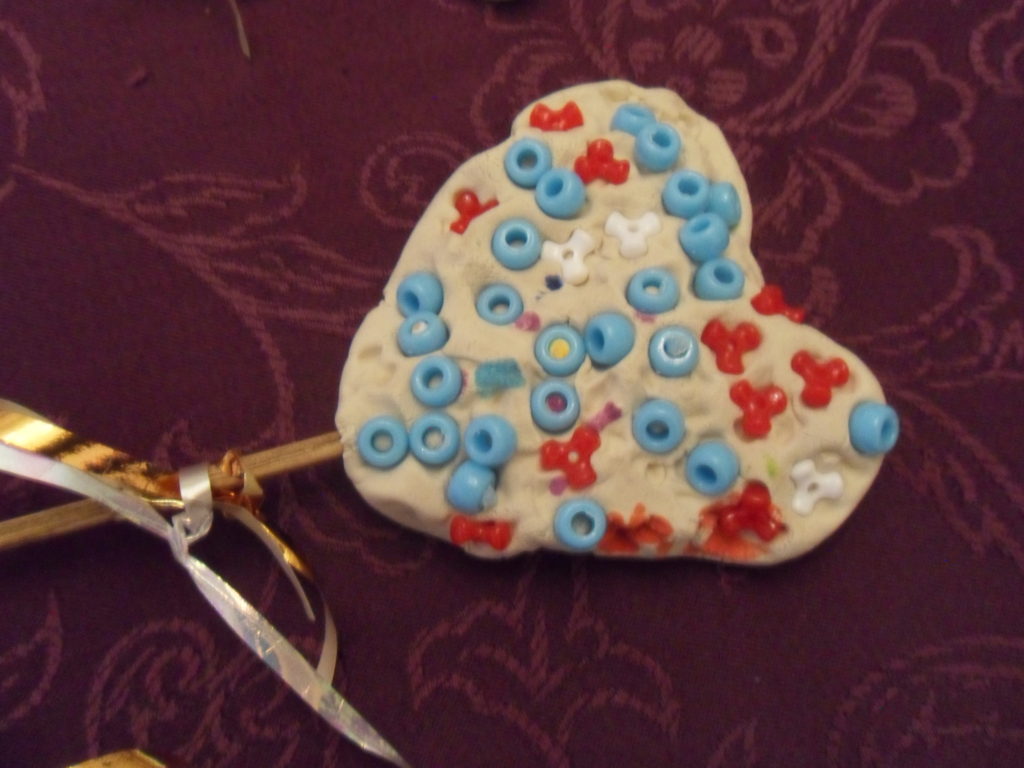
QUILTED HEART BANNER
QUILTED HEART
Ages: 5 – 12 years
Time: one hour
MATERIALS:
Yellow felt square 16” x 14”
Dowel rod 18”
Red, pink, yellow, and white craft foam cut into 2″ x 2″ squares
¼” ribbon in red, yellow, pink and white.
String – double the length of the dowel rod
poster board or single sheet of craft foam of any color
Using a template or a stencil or drawing by hand, trace the heart on to poster board or a single sheet of craft foam of any color and cut. The heart should measure about 13 3/4″ x 10.”
Cut 8 yellow, 11 red, 10 white and 10 pink squares from the craft foam sheets. The squares should measure 2″ x 2.” Divide the heart in half vertically and in half again horizontally. (Refer to the photo of the banner.)
Lay the squares down along the horizontal fold in the following pattern: white, yellow, pink and red. Place the next row of squares below the first row. Stagger the colored squares so that the second row is not directly beneath the first row. Repeat the pattern until the squares cover the heart. Glue. Allow the pieces to dry.
Fill in the odd-shaped areas with the appropriately colored squares and glue. When those pieces are dry, turn the heart around and trim along the outline of the heart. Measure and cut the felt to 16” x 14”. Place it horizontally. Make a loop by measuring and folding a 1” seam. Iron. Measure and fold a second 1” seam. Iron and glue the second fold. You will be inserting the dowel rod through this loop. (The length of the banner will be about 16” x 12.” This does not include the ribbons.)
Measure and cut two 18” lengths of each color of ribbon. Poke a hole every two inches along the bottom of the felt with a sharp tool. Alternate the colors, pull the ribbon through and tie a knot in the back so that the ribbon is held in place. (Small children should let adults do this for them.) Glue the heart on the felt. Cut the dowel rod to 18” and insert through the loop at the top. Cut the string to a length suitable for hanging. Tie the string to each end of the dowel rod.
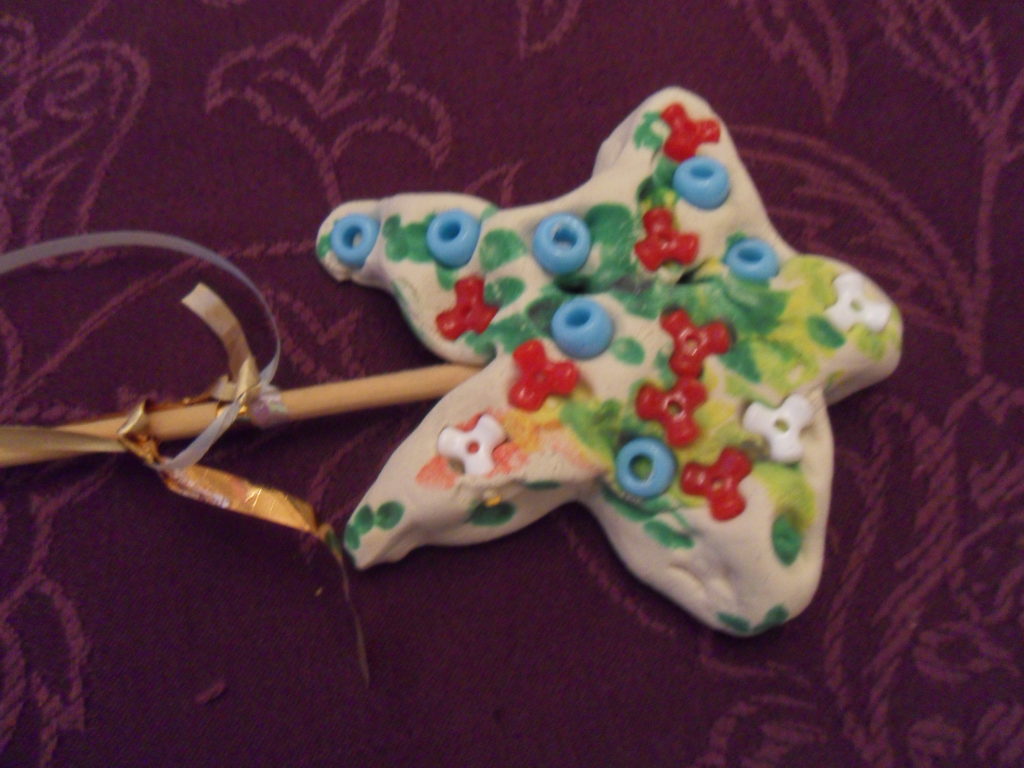
VARIATION: Use other shapes to decorate your heart banner: circles/dots, flowers, squiggle lines, triangles, etc. Today, Valentine’s Day honors lovers. We celebrate Valentine’s Day on February 14th by sending gifts like candy and cards.
Happy Valentine’s Day!
COPYRIGHT 2013 Marion Constantinides
Like this:
Like Loading...