Tag Archives: drawing

ART PROJECT FOR KIDS: Sgrafitto

ART PROJECT FOR KIDS: Sgrafitto


Sgrafitto

Sgrafitto

Sgrafitto is an etching technique that uses a pointed tool to scratch through a covered surface to show the art work beneath it.

Materials:

Wax crayons (Do not use black)

India ink or back poster paint

Pointed tool for etching such as a knitting needle or a toothpick

Cardboard or mat board

Brush

    1. Draw and color various abstract shapes on the cardboard or mat board. Make sure to use a heavy hand and leave a thick layer of wax crayon.
    2. Paint the cardboard or mat board with India ink or black poster paint. Allow the surface to dry completely. If the wax crayons show through, you need a second coat of paint or ink. Allow this coat to dry.
    3. Select the pointed tool you will use. You can experiment with different tools on a scrap of cardboard and then decide which one is best for your work of art.
    4. Have an image or design in mind or draw one on sketch paper first. Etch the design directly on the painted cardboard or mat board using various strokes: long, short, or circular going in various directions: horizontal, vertical or diagonal. Etch deeply enough to penetrate the first layer of ink or poster paint.
    5. Frame the sgrafitto and don’t forget to etch your name in the lower right-hand corner.

    Inspired by: All-Around-the-House Art and Craft Book by Patricia Z, Wirtenberg

    Art Work by Jeffrey J. Bennett

Share Button

Drawing the Human Body: Drawing The Human Body in Motion

Drawing the Human Body: Drawing The Human Body in Motion

Exercise Four: Drawing the Human Body in Motion

What you need: pencil, newsprint paper, timer, black and white watercolor paints, narrow and wide soft bristle brushes, clean jar, watercolor paper, water, drawing board or lap desk, masking tape, paper towels, palette, and a model

Time Limit: 60 seconds

Lesson: Complete a drawing of the body in motion.

Materials: pencil, newsprint paper, timer, black and white watercolor paints, narrow and wide soft bristle brushes, clean jar, watercolor paper, water, drawing board or lap desk, masking tape, paper towels, palette

Project: Begin by drawing several quick sketches of the body in motion to loosen up. Set the timer for sixty seconds. Following the first two exercises, complete a drawing of the human body with watercolor paints. It won’t look perfect but it will be a drawing showing the contour of the figure, dark and light and the figure in motion.

Remember to practice, practice, practice!

Share Button

Drawing the Human Body: Study in Dark and Light

Drawing the Human Body: Study in Dark and Light


Exercise Three: Dark and Light

The use of light and dark will make the figure you draw look more real or three-dimensional. In the first exercise, you suggested movement. In this exercise, you will draw the illusion of light and dark.
Time Limit: 30 – 60 seconds

What you need: pencil, newsprint paper, timer, black and white watercolor paints, narrow and wide soft bristle brushes, clean jar, watercolor paper, water, drawing board or lap desk, masking tape, paper towels, palette, paper stump (optional) and a model.

Lesson: Light and dark shadows help to define the features on the face and the figure, giving a three-dimensional appearance to the drawing.

Materials: pencil, newsprint paper

Project: Draw the figure utilizing the lessons you previously learned: gesture and contour drawings and uses of dark and light. Draw several quick gesture and contour drawings to warm up. Give yourself 30 seconds. Work quickly. As you draw the model, see where the light hits the face and body of the model. Add the shadows lightly with the pencil. Then press with the pencil in areas that are very dark. You can smooth the transition from light shadow to dark shadow or vice versa with your finger or by using a paper stump. Use your eraser to enhance “white” areas on the paper. Then set the timer for sixty seconds. Repeat the lesson. This time you will have a bit more time to define the figure.

Set the timer. Using the techniques you learned in the previous lesson, draw the figure quickly. Keep your eye on the figure not on the paper. After 30 seconds, stop. Mix black and white to make gray. Dilute it with water and with a broader brush, add shadows just as you see them on the model. Set the timer again. With a clean brush, use white for highlights. After another 30 seconds, stop. Repeat lesson by having the model pose in different ways.

Materials for Alternative Project: watercolor paper, board, brush, black and white watercolor paints, water in a clean jar, paper towels, masking tape, palette

Alternative Project: Tape the watercolor paper to the board. Dip the brush in the clean water and wet the paper. Then thin the black paint with water. Observe where the light hits the face and figure. Then dip the narrow brush into black paint and begin to lay down washes of black paint to create shadows. Wait for the first washes of paint to dry and then add more washes especially in the dark areas.

Share Button

Drawing the Human Body: Contour Drawings

Drawing the Human Body: Contour Drawings

Exercise Two: Contour Drawings
What you need: pencil, newsprint paper, timer, black and white watercolor paints, narrow and wide soft bristle brushes, clean jar, watercolor paper, water, drawing board or lap desk, masking tape, paper towels, palette, and two models.

Time Limit: No time limit

Lesson: Contour drawings enable students to “loosen up.” Looking at the figure and not the drawing forces the student to closely study the model. Contour drawings also reinforce the three-dimensionality of the human body even though the artist is drawing the figure on a flat surface.

Materials: pencil, newsprint paper

Project: Set the timer for three minutes. Draw a standing figure using one continuous line. Do not take your eyes off the model as you draw and do not lift your hand off the paper. Draw a seated figure in the same way, then a close-up of a face and finally, a group of two or more figures. Overlap them in some way: one can stand behind the other or one can lean into the face of the other. Keep on practicing by setting the timer for two minutes and draw the face and figure standing or siting in one continuous stroke; then set the timer for one minute and draw the face and figure as you did above.

Repeating these exercises will give you the confidence to draw the human form with accuracy over time.

Your figures will not look realistic; in fact, they may even look funny!

Share Button

Drawing the Human Body: Gesture Drawing

Drawing the Human Body: Gesture Drawing


Exercise One: Gesture Drawing

What you need: pencil, newsprint paper, timer, black and white watercolor paints, narrow and wide soft bristle brushes, clean jar, water, watercolor paper, drawing board or lap desk, masking tape, paper towels, palette, and a model.

Time Limit: 30 to 60 seconds

Lesson: Learn to capture the “gesture” or “pose” of the model

Materials: pencil, newsprint paper

Project: This is an exercise used in drawing classes to help students loosen up but it can also be used to help us learn to draw the human body in motion. Think of the human body as a series of imperfect shapes: circles, squares, triangles, and rectangles first.

Set the timer for thirty seconds. Pose the model in a relaxed sitting position first. The purpose of the lesson is to capture a gesture that suggests movement. Draw the whole figure and draw as quickly as possible. Keep your eyes on the model, not the paper. When the 30 seconds are up, stop. Repeat this process with the model in a standing pose for another 30 seconds. Create other poses for the model: bending down, climbing the stairs, turning the head, carrying books, etc. Practice by drawing many sketches quickly and be sure to keep your eyes on the model, not the paper at all times.

Your drawings won’t be perfect but they will suggest movement.

Share Button

The Early Life of Alexander the Great

The Early Life of Alexander the Great
Alexander the Great

Alexander the Great

Alexander the Great was born in Pella, in the city-state of Macedonia on July 20, 356 BC and died under mysterious circumstances in 323 BC in Babylon.

Alexander was the product of a dysfunctional family. His father was King Phillip of Macedonia. His mother was Olympias, daughter of the King of Epirus, a city-state in northern Greece. She was a beautiful eccentric woman who did odd things like worship snakes. She also sought power in her own right and was willing to use her son to get it. Olympias would tell Alexander that the great warrior Achilles who died fighting in the Trojan War was his ancestor and Alexander believed her.

His parents’ conflicts with each other placed a strain on Alexander and taxed his loyalties. Alexander was a mama’s boy yet he was also influenced by his father who was a brilliant warrior, scholar and statesman.

Alexander showed his genius at a very early age so Phillip hired the best teachers to tutor him. Leonidas, a relative of Olympias’, taught Alexander, who was a natural athlete, physical endurance. Lysimachus taught him reading and writing. The great Greek philosopher Aristotle taught Alexander a love for the Greek playwrights, law, medicine, natural and physical science, philosophy, and more importantly, how to think critically.

When Alexander was ten, Phillip took him to see war horses offered for sale. One particular horse was very wild and his owner wanted a lot of money for him. Phillip was furious that anyone would think he would want to buy such a horse but Alexander was confident that he could tame it.

Alexander noticed that the animal was afraid of his own shadow. He took the bridle and turned the horse to face the sun. He stroked it to calm its fears, mounted it and rode the horse down the length of the field. Phillip and the owner looked on nervously until Alexander and the horse returned.

“My boy,” Phillip said, “you must find a kingdom big enough for your ambitions. Macedonia is too small for you.” Alexander named the horse Bucephalus (“Ox head”) and Alexander rode him through most of his military campaigns. Bucephalus became one of Alexander’s best friends.

When Alexander was sixteen, Phillip appointed him as regent in his absence. During this time, Phillip and the Macedonian army fought one Greek city-state after the other. When Phillip’s attempts to defeat the rebellious cities in southern Thrace were not doing well, he summoned Alexander who successfully beat them. Phillip’s confidence in his son’s abilities grew so much that he sent Alexander back to Macedonia to continue to rule as regent.

But Alexander never stopped aiding his father in his campaign to conquer Greece. Phillip, emboldened by his victories, marched south toward his last opponent, Athens. Phillip extended an offer of peace to the city. The city rejected the offer. The two armies squared off. Although their armies were equal in strength, the Greeks had no important generals. Macedonia had Phillip and Alexander. Phillip divided his army into three sections with Alexander on his left and the Macedonian army on his right; in the center were his allies. The formation worked and Alexander and Phillip marched into Athens victorious.

Thus in 338 BC, Phillip achieved his dream of conquering Greece with the help of his eighteen-year-old son. But Phillip’s victory celebration wouldn’t last long. Shortly after his conquest of Greece, he married a Macedonian noble woman named Cleopatra. (Phillip had many wives in addition to Olympias.) This caused a rift in Alexander’s relationship with Phillip. When Cleopatra gave birth to a son, Caranus, Alexander felt even more isolated from his father.

Phillip’s next goal was to conquer Persia. He sent his generals ahead to plan this next invasion while he celebrated the wedding of Alexander’s sister. But on the second day of the wedding festivities, a Macedonian nobleman, Pausanias, murdered Phillip. Alexander inherited the throne as his father’s rightful heir but he first eliminated anyone who posed a threat to him including Caranus.

These events molded Alexander’s later life and character. They lay the ground work for his later leadership of Greece and his conquest of the known world. His greatest battles lay ahead.  

To read more about Alexander:

Doherty, Paul. The Death of Alexander the Great. Carroll and Graf Publishers, NY, 2004.

Hammond, N. G. L. The Genius of Alexander the Great. University of North Carolina Press, Chapel Hill, 1997.

Lamb, Harold. Alexander of Macedon, The Journey to the World’s End. Doubleday and Company, Garden City, NY, 1946.

Macdonald, Fiona. The World in the time of Alexander the Great. Chelsea House Publishers, London, 2001. ,

Tsouras, Pete G. Alexander, Invincible King of Macedonia. Brassey’s, Inc., Dulles, VA, 2004
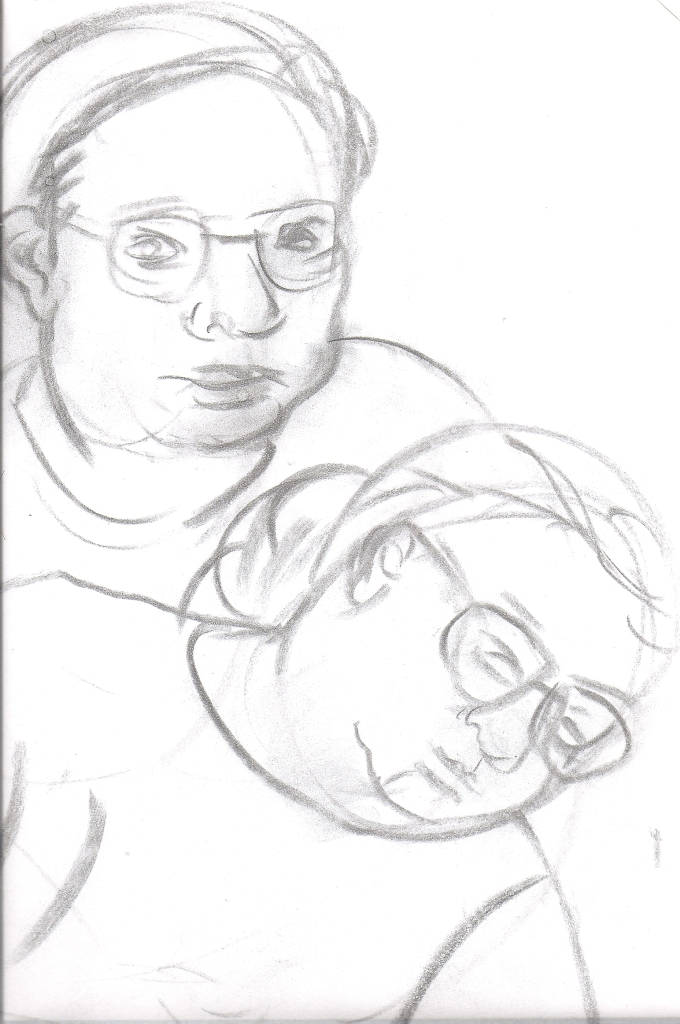
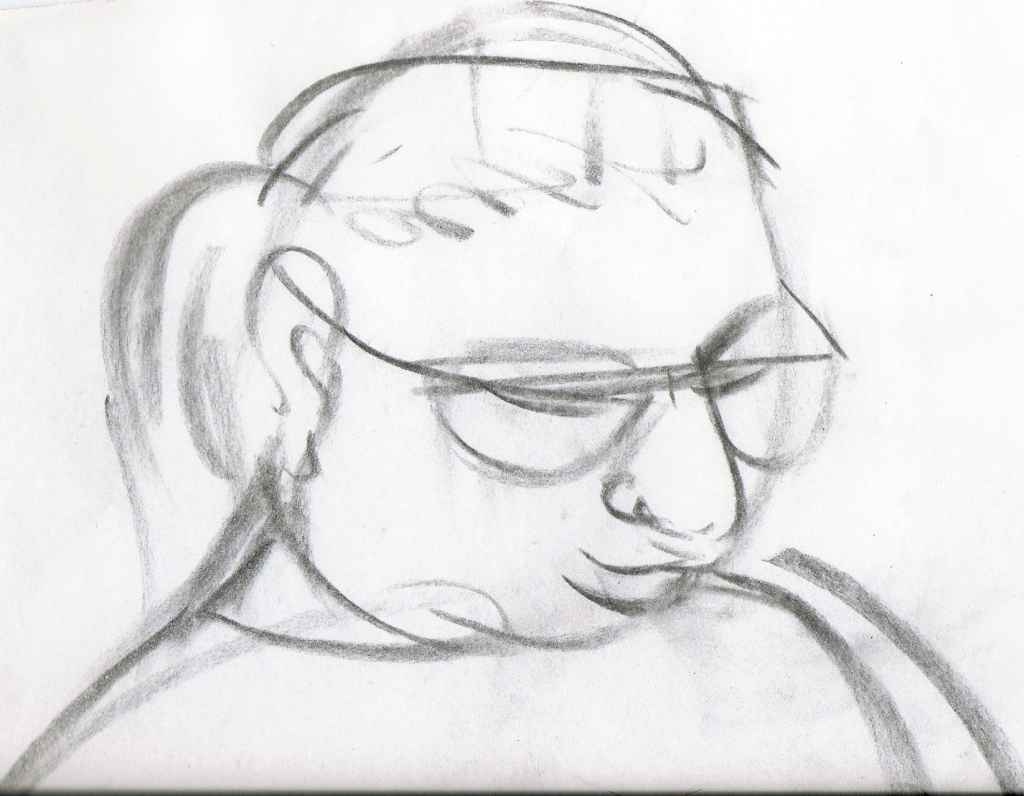
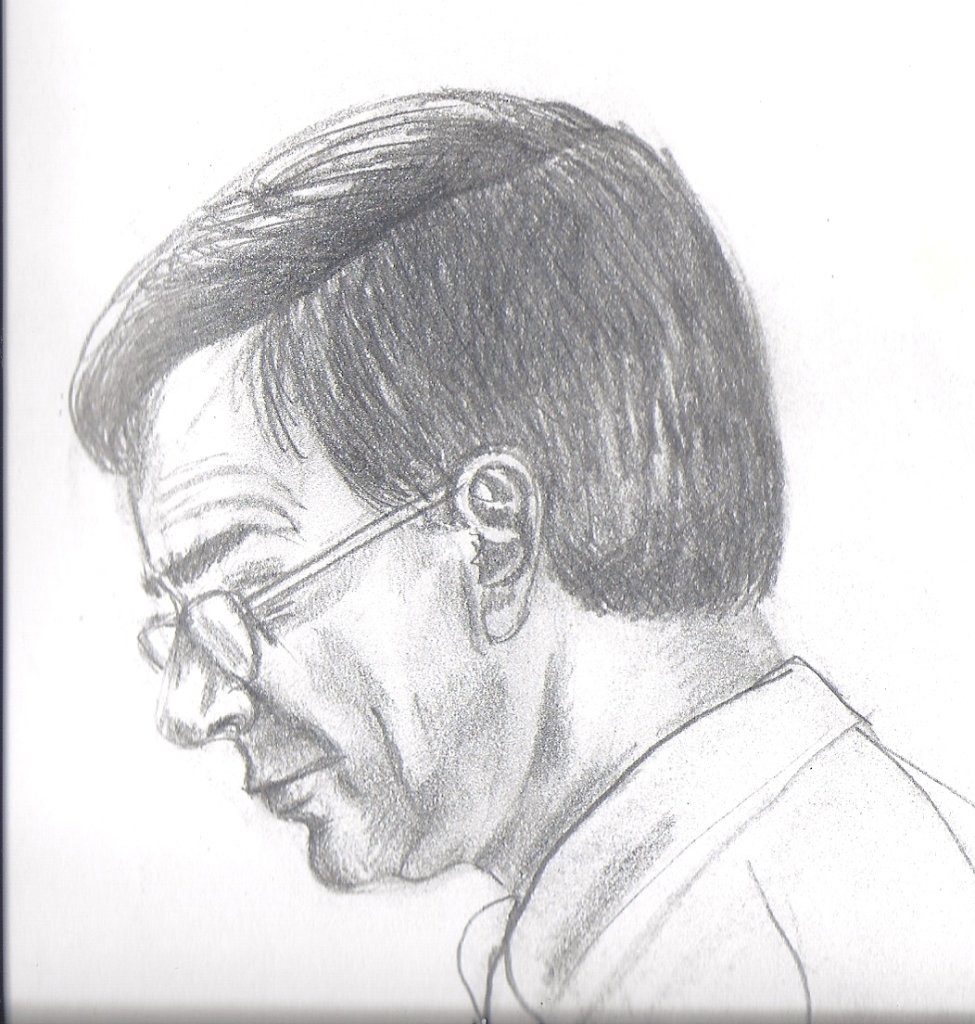
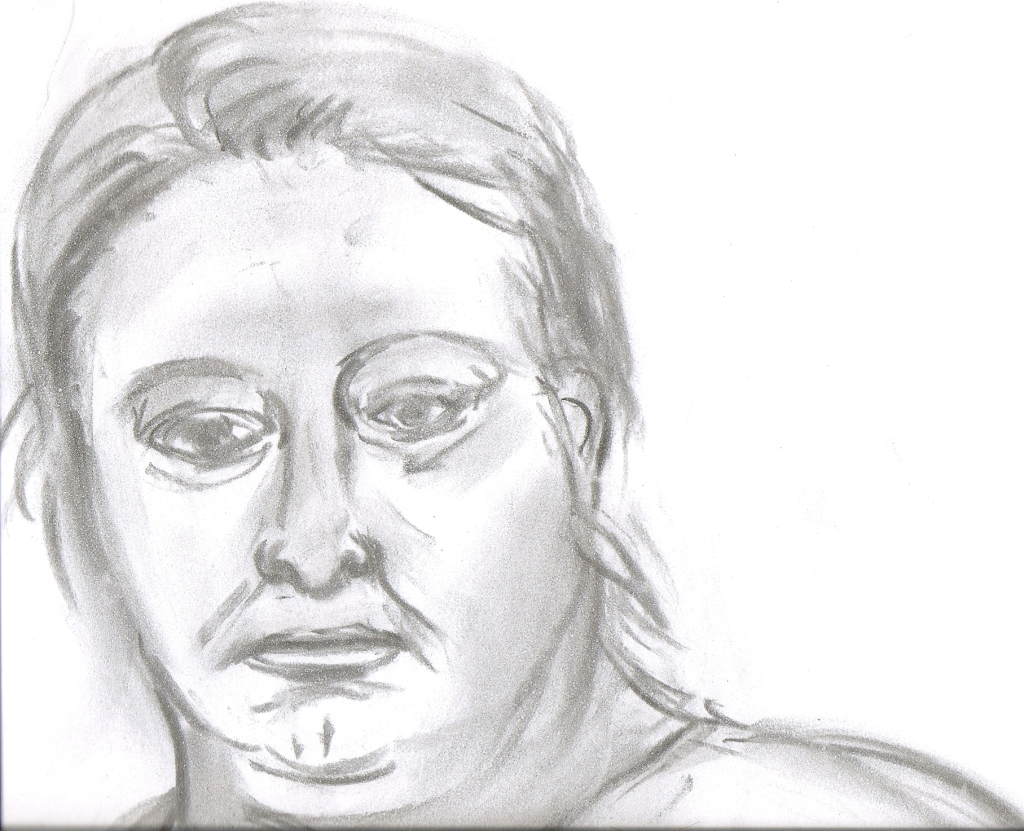
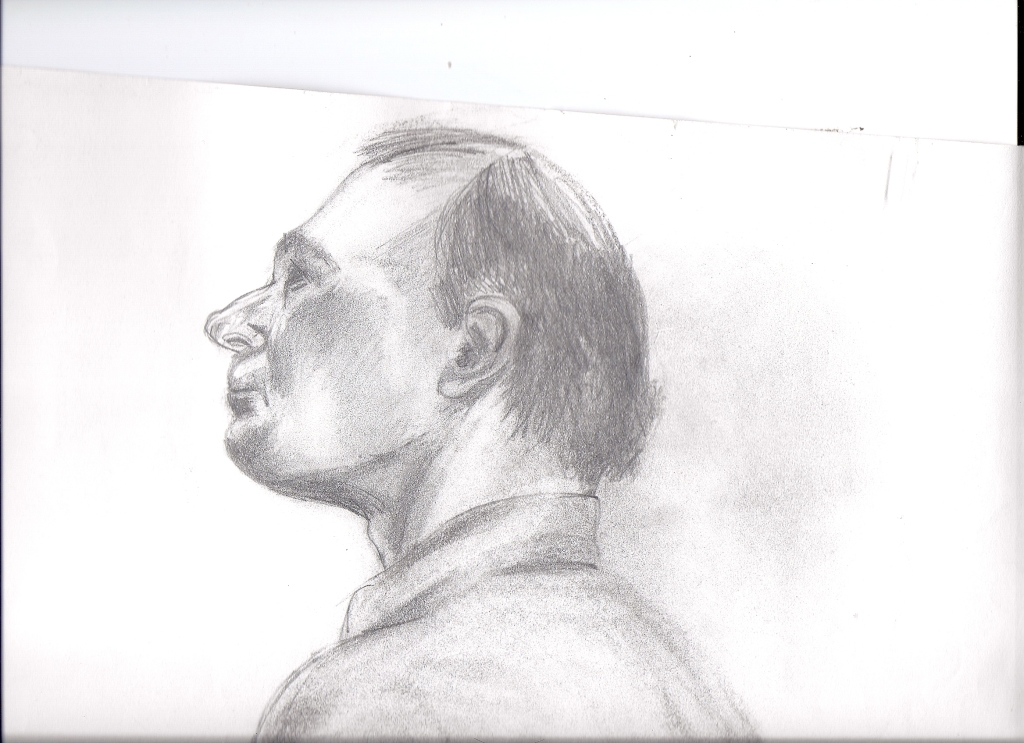
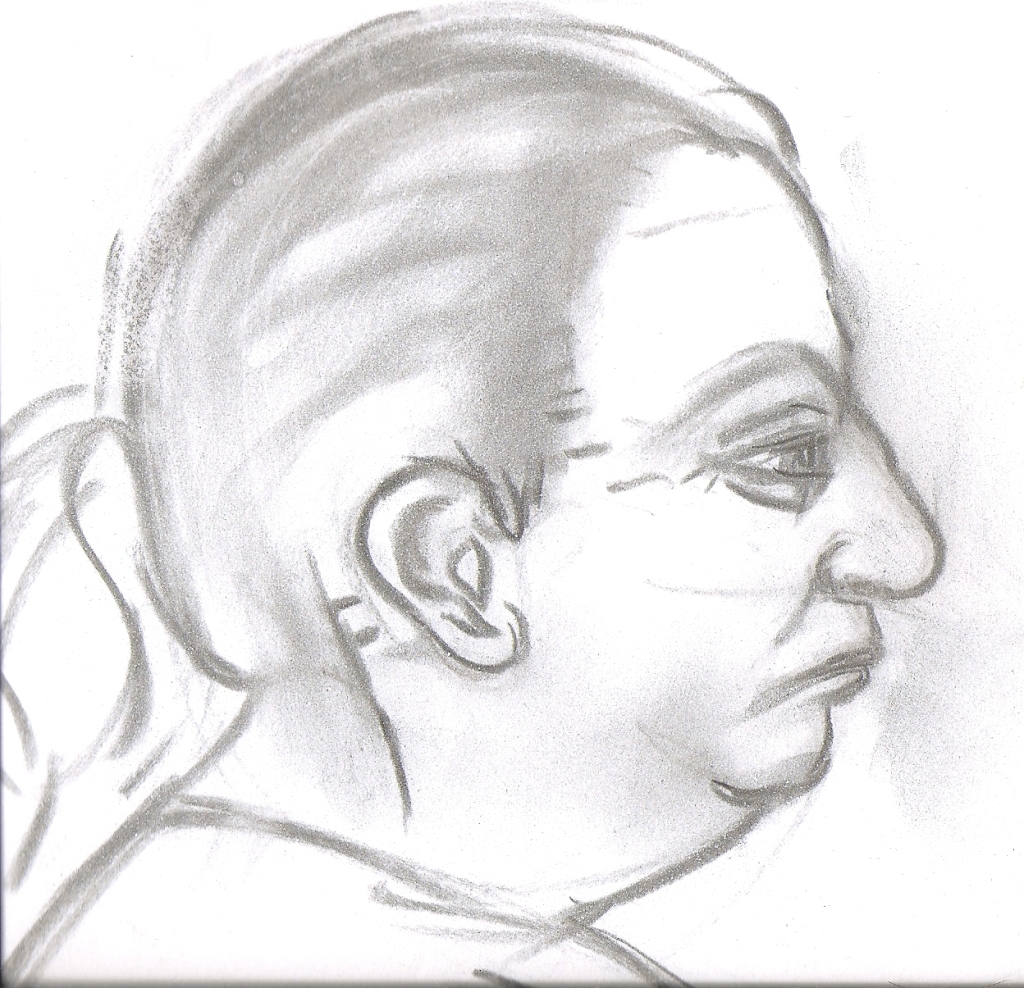
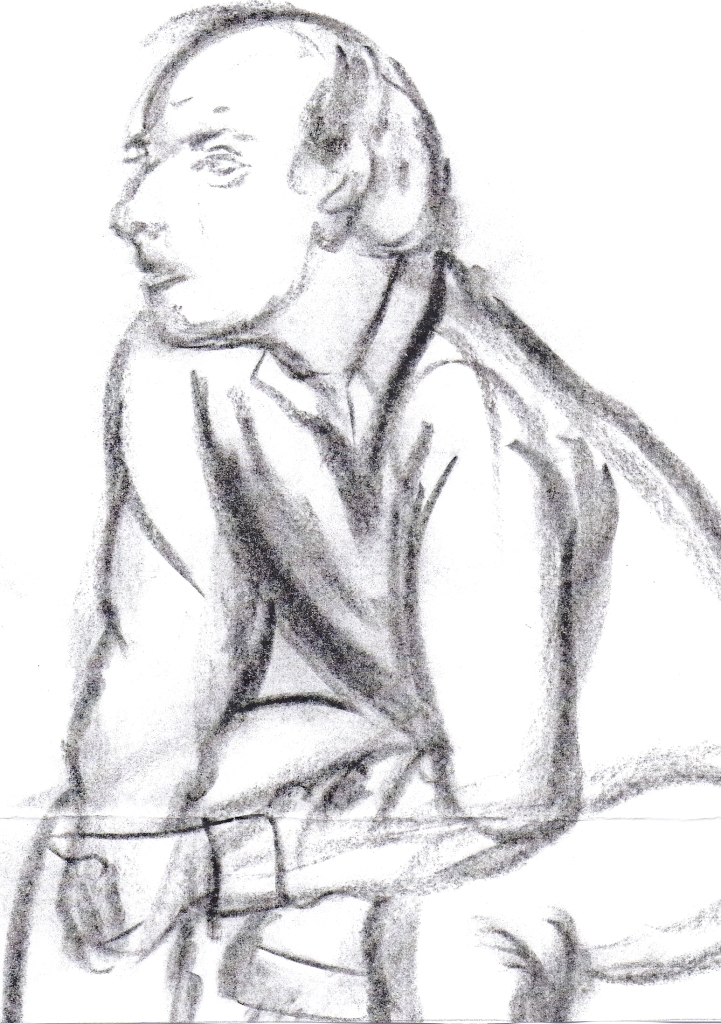
 

ART PROJECT

Alexander the Great of Macedonia and Greece

Alexander the Great of Macedonia and Greece


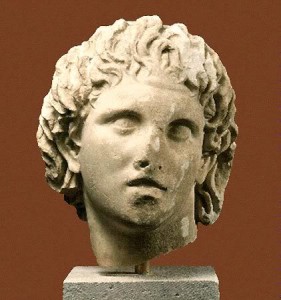
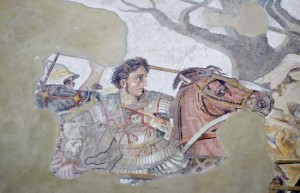
One of the few known images of Alexander the Great is his profile on a gold coin. Other images include statues, busts and mosaics. Do you think those images are correct? What do you think he really looked like? Use a search engine to see the existing images of him and draw a portrait of him.

For more help in drawing faces, here are links with tutorials on drawing faces:

Share Button