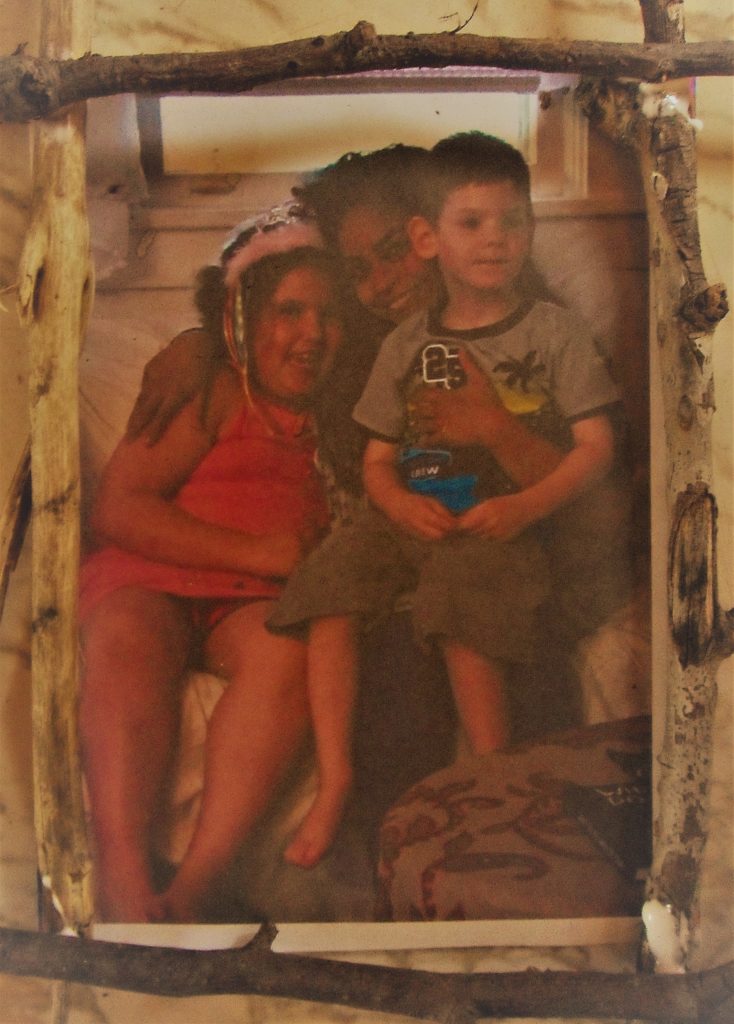
Tag Archives: cardboard

RECYCLED CRAFT PROJECT: TWIG FRAME

RECYCLED CRAFT PROJECT: TWIG FRAME


MATERIALS:

Twigs

cardboard or poster board

white glue

colored raffia (twine or string can be substituted)

scissors

pencil

ruler

photo

glue stick


PROJECT:

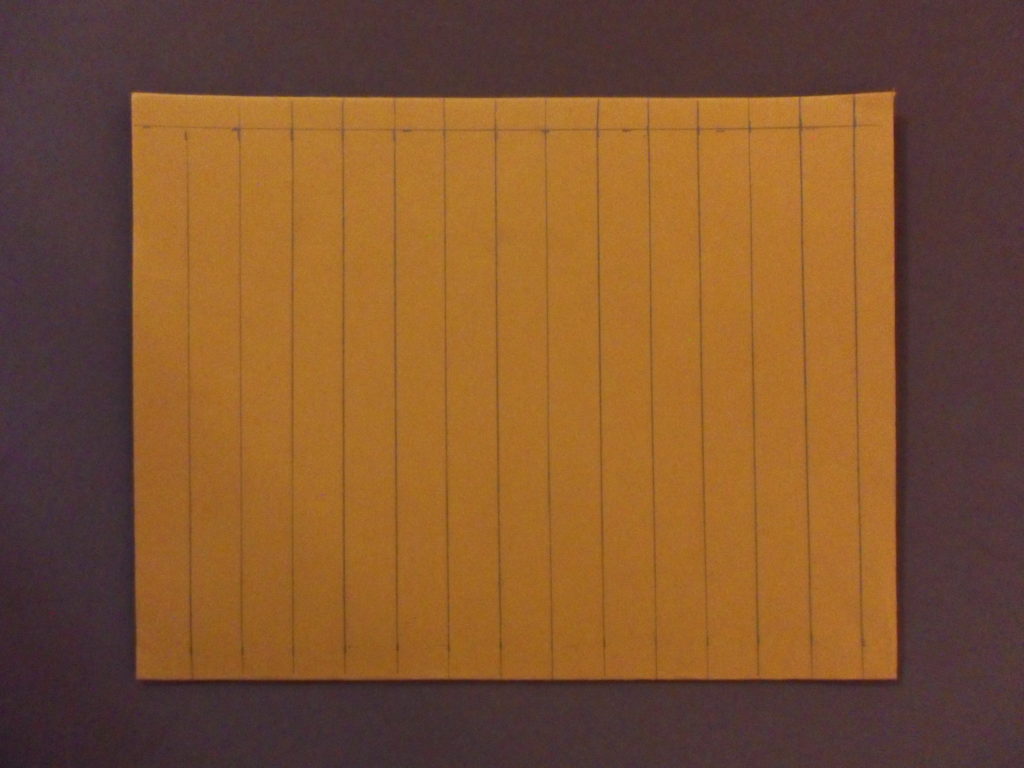
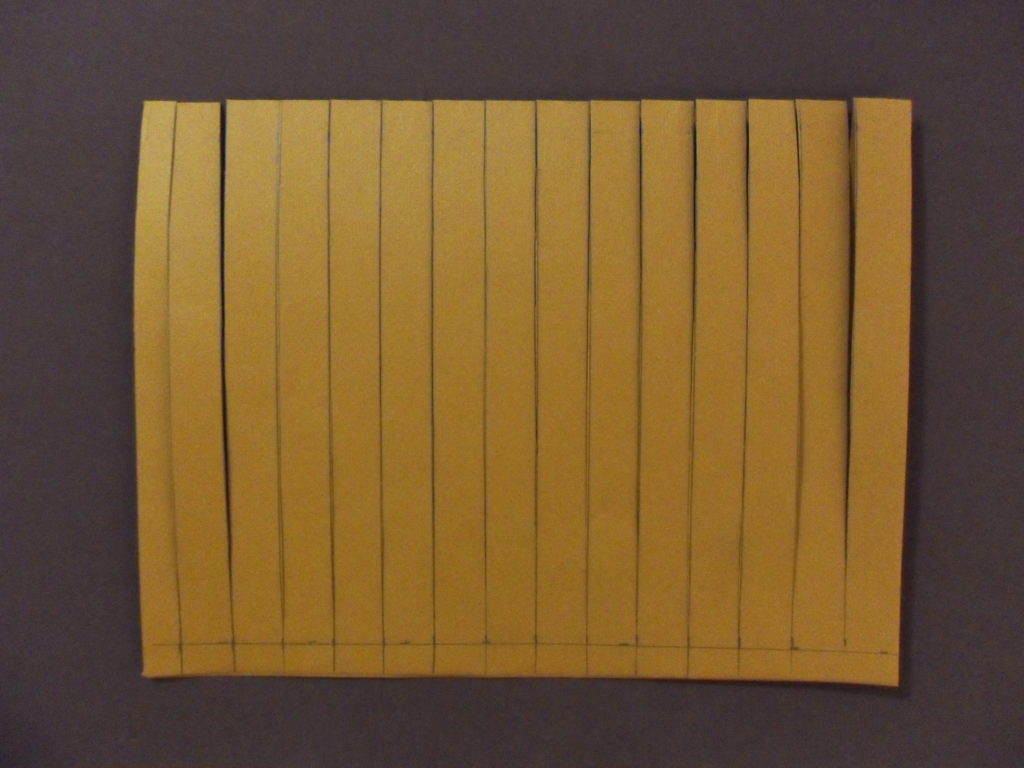
  1. Measure the photo. Measure and cut the board to the size of the photo.
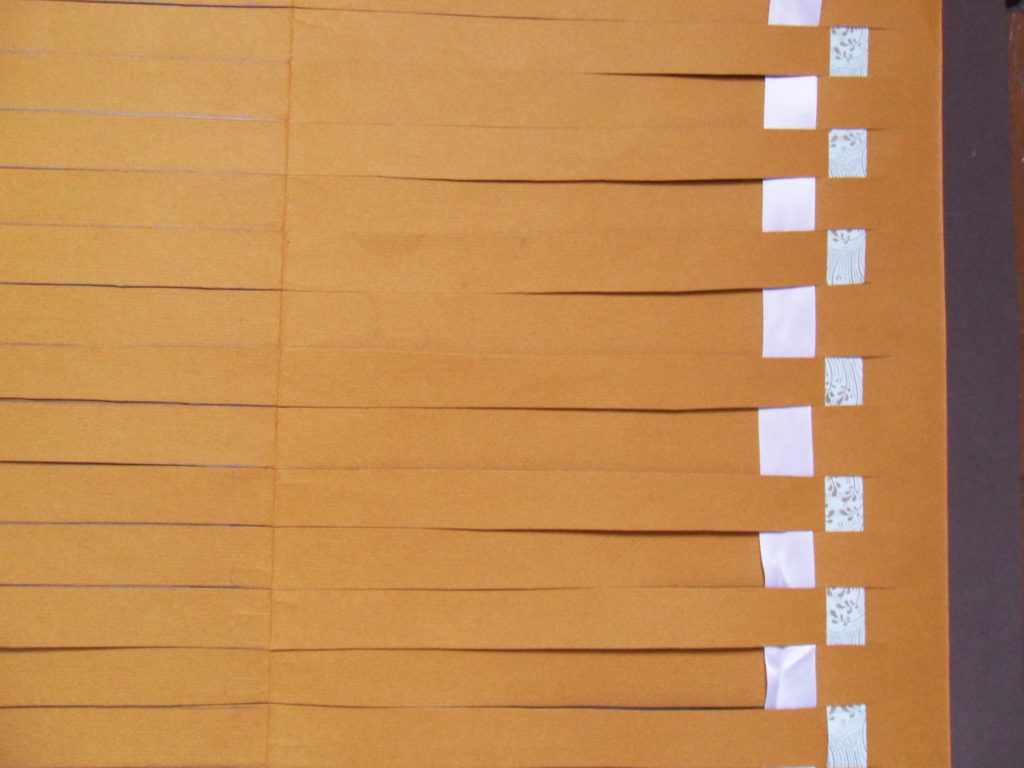
  2. Collect twigs the size of the photo maybe a little longer. You will need three or four twigs for each side of the frame.
  3. Trim the twigs if needed with the scissors. Or get an adult to help you.
  4. Bundle three or four twigs and wrap the raffia around each end. Do this for all four sides of the frame.
  5. Glue the photo to the cardboard using a glue stick.
  6. Apply white glue to the bundled sticks and glue along one side of the photo. Glue the bundled twigs to the other sides. Allow to dry.
  7. Make a loop with any remaining raffia and glue it to the back of the cardboard. When that is dry, hang the photo.
Share Button

ART PROJECT FOR KIDS: Paper Weaving.

ART PROJECT FOR KIDS: Paper Weaving.


The craft PAPER WEAVING was adapted from the project “Stitches, Scraps and Haute Couture/Paper Weaving” published in Arts and Crafts Activities Desk Book by Joyce Novis Laskin and published by Parker Publishing Company in 1971.

MATERIALS:

Large sheet of thick paper or cardboard for the frame of the mock loom

Two or three different colored and/or pattered papers cut into strips

Ribbon (optional)

Scissors

Ruler

Pencil with eraser

Glue stick or scotch tape

  1. Fold paper in half. (Choose any size paper or cardboard from 8 ½” x 11” and up.) Draw lines ¼” to ¾” apart down the length of the fold.
  2. Look at Step II below. Make incisions with the scissors, starting from the fold up to ½” of the edges of the paper. Don’t cut all the way to the end or you will cut the paper/cardboard into strips! Cut up to ½”  at each the end of the paper/cardboard and draw a line across. (In other words, leave an uncut margin at both ends.) This is the weaving “frame” or “loom.” Open the paper or cardboard.
  3. Measure and cut strips of paper to weave in and out of the paper loom. To minimize mistakes, make sure that the strips are a little longer than the width of the loom.
  4. Choose two or three different colored papers to weave through the paper loom. (Alternate ribbon with paper for a different look to the weaving.)  Start at one end and work your way up to the other end. Alternate the in-and-out pattern with each row. (Refer to photograph.)
  5. Trim loose ends and glue the ends down using a glue stick.
  6. Use your paper weaving as a place mats or give it as a gift.  What else can you do with your paper weavings?
Share Button

ART PROJECT FOR KIDS: Sgrafitto

ART PROJECT FOR KIDS: Sgrafitto


Sgrafitto

Sgrafitto

Sgrafitto is an etching technique that uses a pointed tool to scratch through a covered surface to show the art work beneath it.

Materials:

Wax crayons (Do not use black)

India ink or back poster paint

Pointed tool for etching such as a knitting needle or a toothpick

Cardboard or mat board

Brush

    1. Draw and color various abstract shapes on the cardboard or mat board. Make sure to use a heavy hand and leave a thick layer of wax crayon.
    2. Paint the cardboard or mat board with India ink or black poster paint. Allow the surface to dry completely. If the wax crayons show through, you need a second coat of paint or ink. Allow this coat to dry.
    3. Select the pointed tool you will use. You can experiment with different tools on a scrap of cardboard and then decide which one is best for your work of art.
    4. Have an image or design in mind or draw one on sketch paper first. Etch the design directly on the painted cardboard or mat board using various strokes: long, short, or circular going in various directions: horizontal, vertical or diagonal. Etch deeply enough to penetrate the first layer of ink or poster paint.
    5. Frame the sgrafitto and don’t forget to etch your name in the lower right-hand corner.

    Inspired by: All-Around-the-House Art and Craft Book by Patricia Z, Wirtenberg

    Art Work by Jeffrey J. Bennett

Share Button

Summer Camp: Sgrafitto

Summer Camp: Sgrafitto
Sgrafitto

Sgrafitto

Sgrafitto is an etching technique that uses a pointed tool to scratch through a covered surface to show the art work beneath it.

Materials:

Wax crayons (Do not use black)

India ink or back poster paint

Pointed tool for etching such as a knitting needle or a toothpick

Cardboard or mat board

Brush

  1. Draw and color various abstract shapes on the cardboard or mat board. Make sure to use a heavy hand and leave a thick layer of wax crayon.
  2. Paint the cardboard or mat board with India ink or black poster paint. Allow the surface to dry completely. If the wax crayons show through, you need a second coat of paint or ink. Allow this coat to dry.
  3. Select the pointed tool you will use. You can experiment with different tools on a scrap of cardboard and then decide which one is best for your work of art.
  4. Have an image or design in mind or draw one on sketch paper first. Etch the design directly on the painted cardboard or mat board using various strokes: long, short, or circular going in various directions: horizontal, vertical or diagonal. Etch deeply enough to penetrate the first layer of ink or poster paint.
  5. Frame the sgrafitto and don’t forget to etch your name in the lower right-hand corner.

Inspired by: All-Around-the-House Art and Craft Book by Patricia Z, Wirtenberg

Art Work by Jeffrey J. Bennett


Share Button