MOTHER’S DAY CRAFT IDEAS
When Mother’s Day rolls around, kids want to show their moms just how special they are. Store-bought gifts and cards are nice, but they lack that personal touch. Something made just for Mom has much more sentimental value, and kids don’t have to spend much money (if any) on it.
Even toddlers can make Mother’s Day crafts with a little help. Here’s a sampling of things kids can make for Mom.
FRAMED PHOTOS OR PHOTO ALBUM
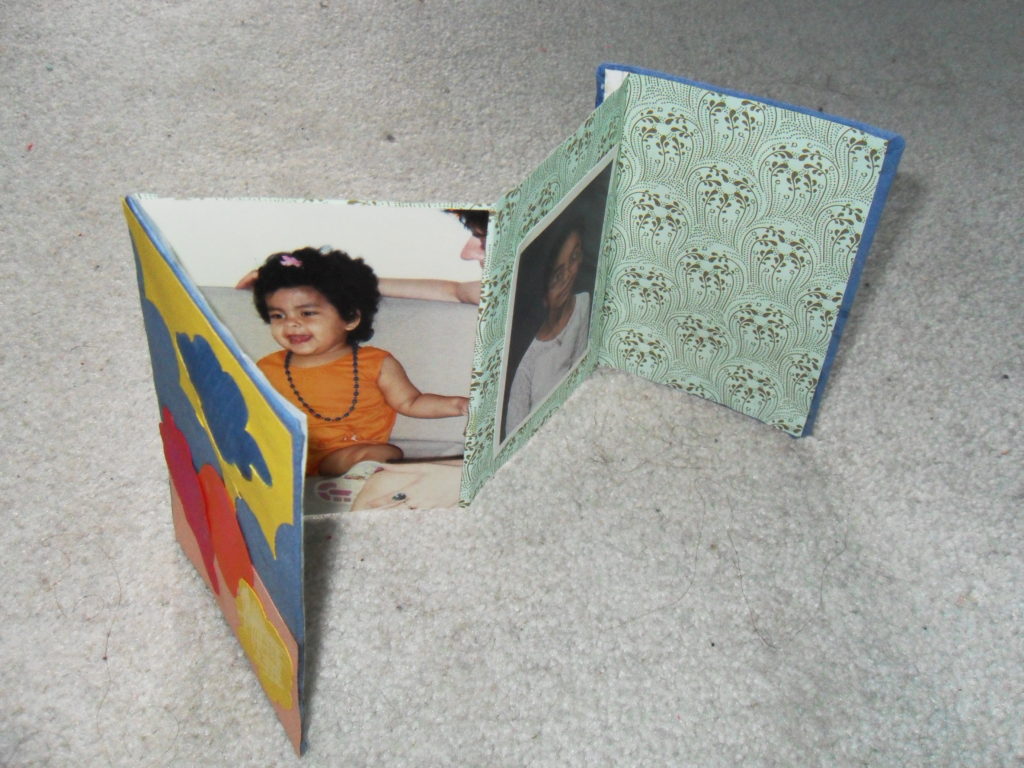
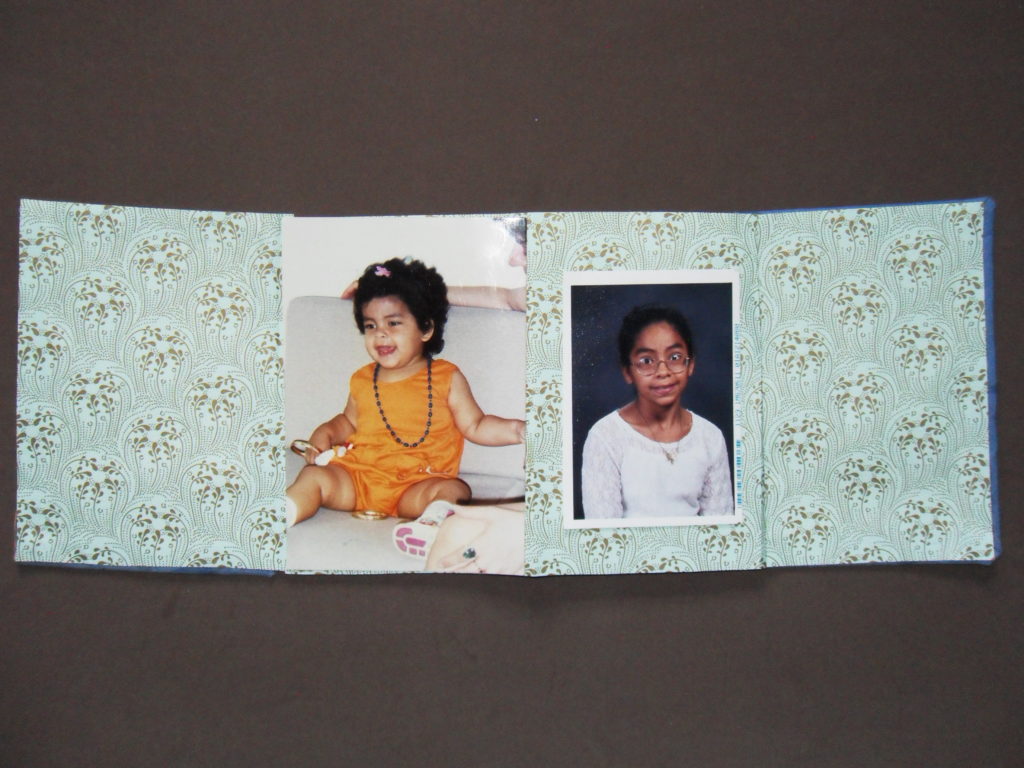
Every mother loves to look at pictures of her kids. So why not pick out a favorite picture or yourself with Mom and create a beautiful frame for it? There are many ways you can go about making photo frames.
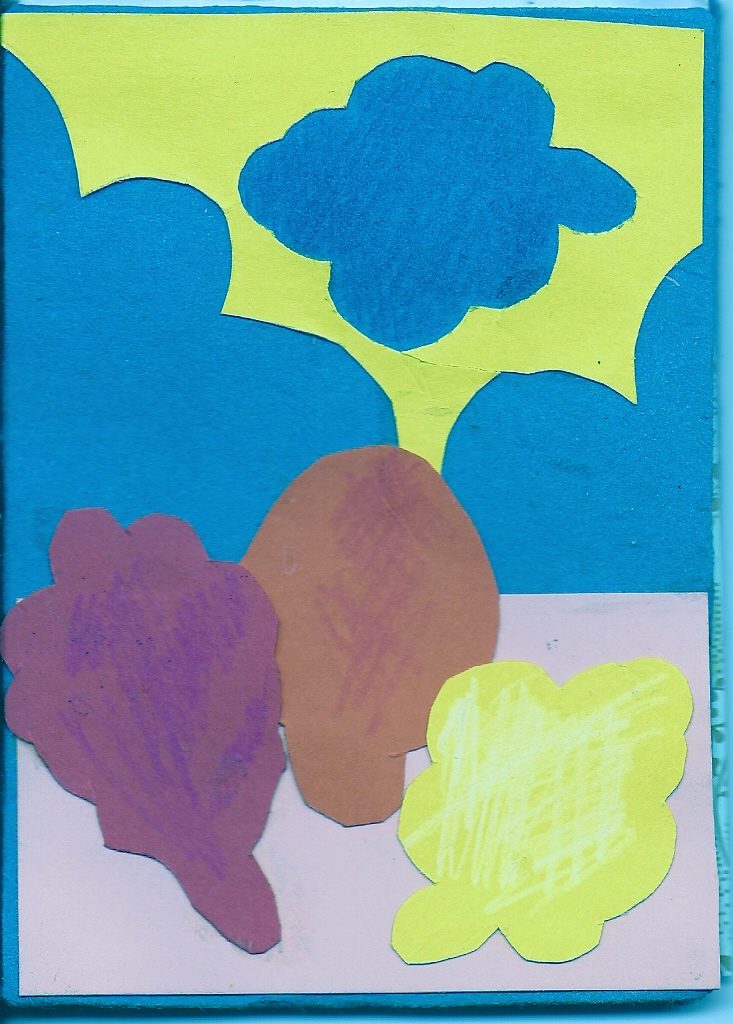
One of the cheapest and simplest ways to make a picture frame is to cut one out of paper. Construction paper, card stock and thick scrapbook paper are good choices. Or, if you want to make the frame even sturdier, use corrugated cardboard. Just make sure the opening in the middle is large enough to show the part of the photo you want to display, and make the frame any shape you like. Decorate with paint, glitter and stickers. Add a magnet to the back for easy display on the refrigerator.
You can also make frames out of craft sticks. Just glue the ends of four sticks together to make a square, and decorate with markers or paint. Or if you prefer, buy a plain photo frame and decorate it as you please.
Variation: Mini Photo Album (Tutorial available on this website under Father’s Day Crafts)
CANDLE HOLDERS/VOTIVE
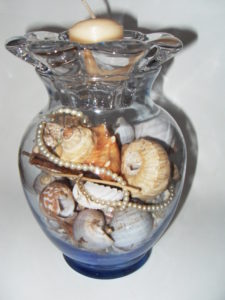
Votive/vase with sea shells and pearls
It’s easy to make a lovely candle holder out of a small jar. Larger baby food jars work well for tea lights and votive. Pint jars can hold a votive or small pillar candles.
To decorate, use tissue paper. Mix equal parts white glue and water, and stick the paper on the outside of the jar, stopping below the rim. Use pieces of different colors to create a stained glass look. Cut some shapes out of the paper if you like, arrange them in a pretty pattern, and glue on top of the larger pieces. Coat with the glue mixture to seal, and let dry.
Variation: Buy a clear jar or vase. Gather objects mom will love: a string of pearls, small hand-made soaps, candy, shells, etc. Scatter the objects in the jar or vase and top with a small candle holder and scented candle. (Tutorial available on this website.)
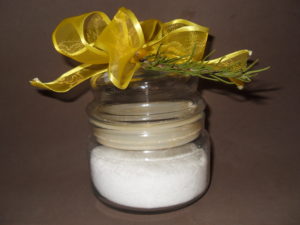
Home-made Bath Salts
BATH SALTS
Want to help Mom pamper herself on her special day? Make her some homemade bath salts. They will help her relax and leave her skin feeling great.
Just mix 3 cups of Epsom salts, 2 cups of baking soda, and 1 cup of table salt. Add about twenty drops of a fragrant essential oil. Lavender, sandalwood and chamomile are good choices. Mix thoroughly. Present the bath salts to Mom in a pretty jar tied with a ribbon or lace and a bow on top. Tuck a sprig of rosemary or lavender or basil under the bow.


Share this: