WHAT IS A BANNER?
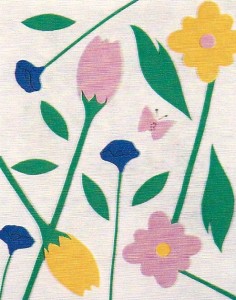
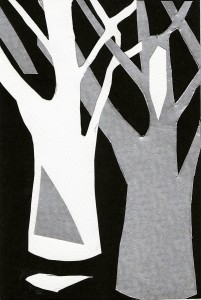
A banner is a piece of cloth suspended between two poles and often bearing a design, symbol or slogan. Banners can celebrate the seasons, holidays or bear slogans. The designs in this series of Art Tutorials celebrate summer, spring, winter and fall.
(For the first tutorial, the Winter Banner, scroll down.)
MATERIALS
Here are some basic supplies that you will need on hand for all the banner designs:
Yardstick iron/ironing board (optional) string
Ball point pen or marker scissors tacky glue
Dowel rods Fun Foam pencil/eraser
Poster board felt or fabric squares paper towels
*Unless indicated otherwise, all felt squares should measure 9” x 12” and all sheets of Fun Foam measure 12’ x 18”.
STUFF TO KNOW
How to copy a pattern: Trace a pattern or object by placing tracing paper on its surface and tracing the design with a pencil. Turn the tracing paper over and blacken the reverse side. Then flip the tracing paper original side up again. Lay the tracing paper on the surface you want the design to transfer on to and trace the outline of the design.
Cutting a Square:
Technique #1: Measure with a ruler the desired size of the square.. Draw the outline of the square.
Technique #2: Hold the paper flat and bring the top right corner down to the left edge. Then fold the paper so the edges line up on the left side. Cut off the extra strip of paper and unfold the square.
BIBLIOGRAPHY
Holz, Loretta. Mobiles You Can Make. New York: Lothrop, Lee and Shepard Company, 1965
Zubrowski, Bernie. Mobiles: Building and Experimenting with Balancing Toys. New York: Morrow Junior Books, 1993.
Constantinides, Marion. Banners! (Unpublished)
WINTER BANNER
Ages: 5 – 12 years
Time: ½ hour – 1 hour
MATERIALS:
Blue felt square 36” x 36”
Black Fun Foam
Black Marker
White Fun Foam
Brown Fun Foam
Silver glitter pen
Blue Fun Foam
Orange Fun Foam
Red Fun Foam
1. Measure and trim blue felt square to 14” x 20”. Place felt vertically. Measure and fold a 1” seam at the top. Iron. Fold a second 1” seam. Iron and glue the second fold. (You will be inserting the dowel rod through this loop.)
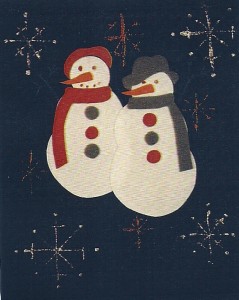
2. Using the patterns provided, trace and cut two large, two medium, and two small circles from the white Fun Foam. Glue these pieces to the blue background towards the center of the material.
3. Trace and cut the following:
The snow woman’s scarf and beret from the red Fun Foam
The snowman’s and snow woman’s noses from the orange Fun Foam
The snow woman’s buttons from the blue Fun Foam
The snowman’s hat, pipe and buttons from the black Fun Foam
The snowman’s scarf from the brown Fun Foam
4. Glue these pieces.
5. Make snowflakes and dots to show the mouths with the glitter pen. Draw sticks to show the hands.
6. Trim the dowel rod to about 16” – 18”. Insert dowel rod through the loop. Cut the string to a length suitable for hanging and tie to each end of the dowel rod. Hang from a window, door or wall.
Like this:
Like Loading...