Fun Toddler Craft Ideas
Getting a toddler to sit still is often a near-impossible feat. They’re constantly exploring the world around them. That’s a good thing, but sometimes they need some creative downtime. That’s where toddler crafts come in.
Crafting is great for toddlers for a number of reasons. It can help them develop longer attention spans. Most crafts help develop hand-eye coordination. And young children can benefit from learning how to follow simple instructions. Let them explore and create their own versions of projects.
Here are some craft ideas that your toddler can do (with supervision and the encouragement to use his or her imagination ).

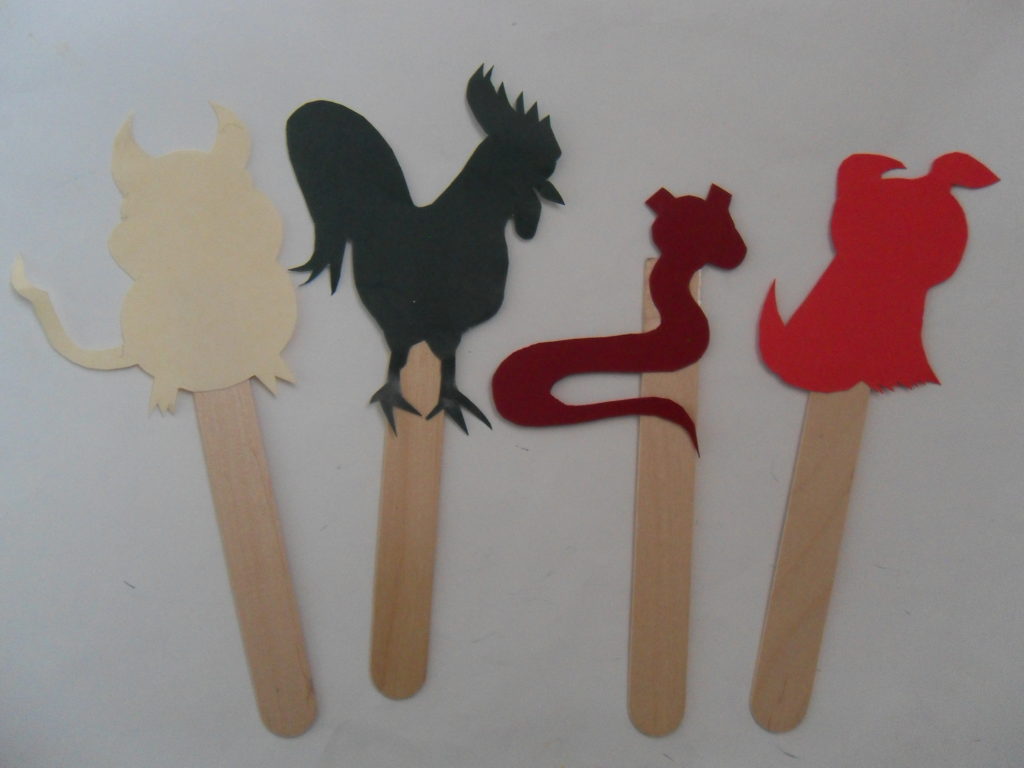
Craft Stick and other Puppets
Puppets are fascinating to toddlers. Creating their own puppets is easy, and it’s lots of fun. All you really need are some craft or Popsicle sticks, construction paper, safety scissors, markers and glue.
Help your toddler cut animal shapes out of construction paper. He can draw faces and other details with washable markers. Glue the stick to the back of the shape, let dry, and he’s ready to put on a puppet show. If you want to make more elaborate puppets, try cutting shapes out of foam. Glue on a pom-pom for the nose, and add some google eyes.
Variation: Make puppet figures based on favorite storybook characters.
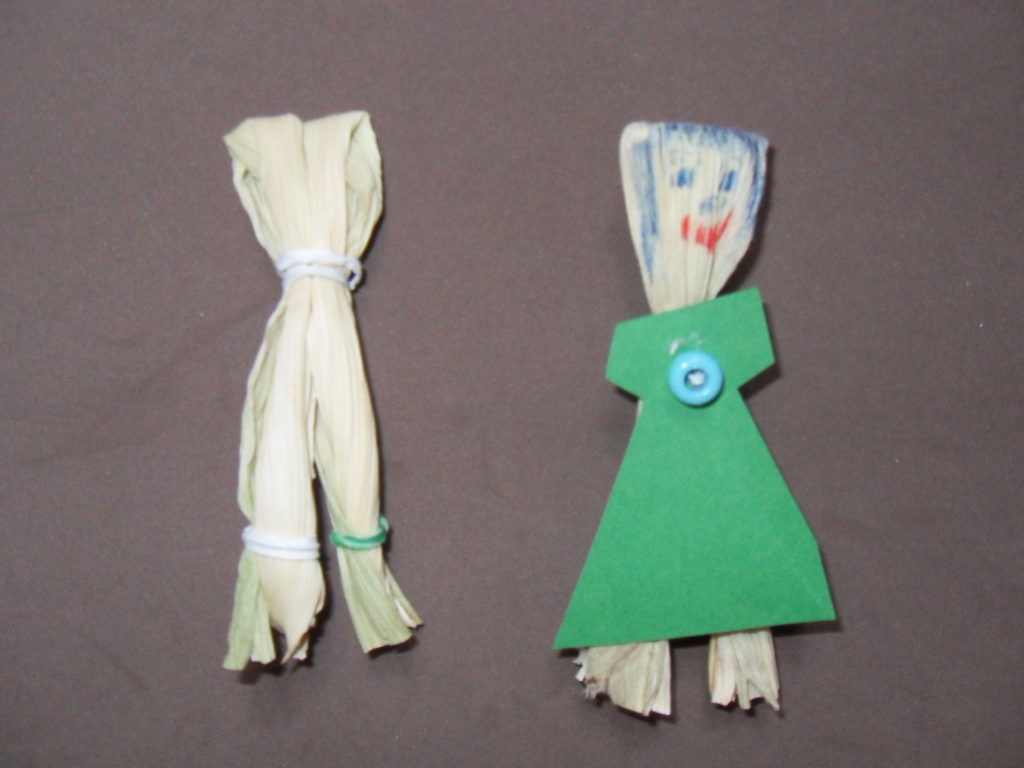
Variation: Colonial Corn Husk Dolls and Paper Bag People and Animals. Tutorials are available found on this website.
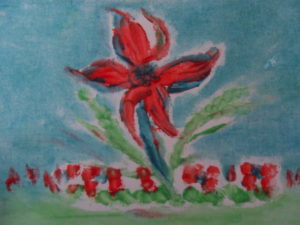
Paint with Pudding
Paint with Pudding
Kids love to finger paint, but it’s so messy. And there’s also the concern about them eating the paint. Even if the paints are nontoxic, it can make cautious parents uneasy. The solution? Let them paint with pudding!
You don’t need different flavors to make different colors. Just use one serving of plain vanilla pudding, divide it up into small portions, and add food coloring to create various shades. Give your child a paper plate to use as a canvas for his masterpiece. When he’s done, he can eat it with no worries.
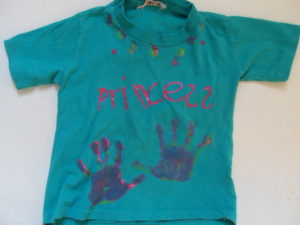
Kid’s T-Shirt Design
Design a T-Shirt
If your toddler sees you sewing or painting clothes with fabric paint, she may want to try her hand at designing clothes. But needles are small and sharp, and fabric paint is messy. What to do? Break out the markers!
Kids can have a blast decorating a plain white t-shirt with colorful markers. If you use washable ones, they can create a design, wear it, and start over after you wash the shirt. For a more permanent design, however, you’ll have to let him use non-washable markers. You can avoid a mess by covering the work area with newspaper and putting a smock on your toddler.
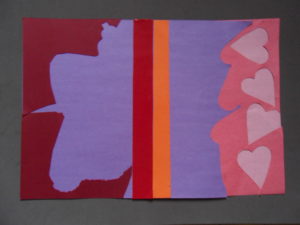
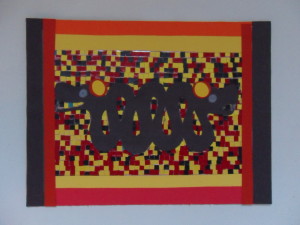
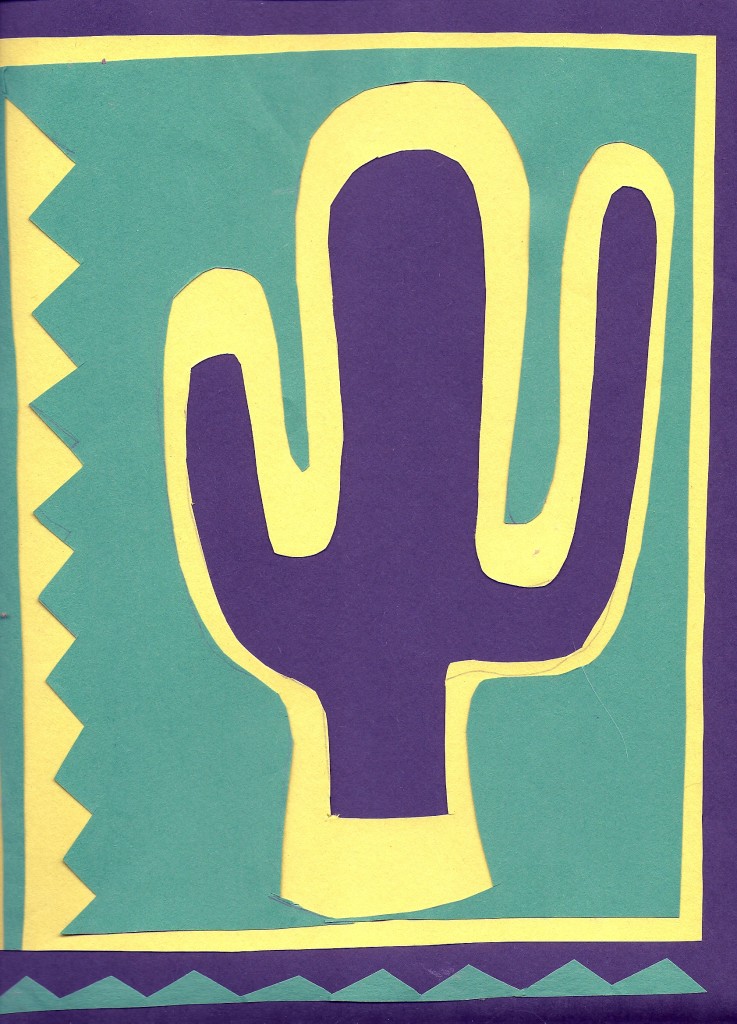
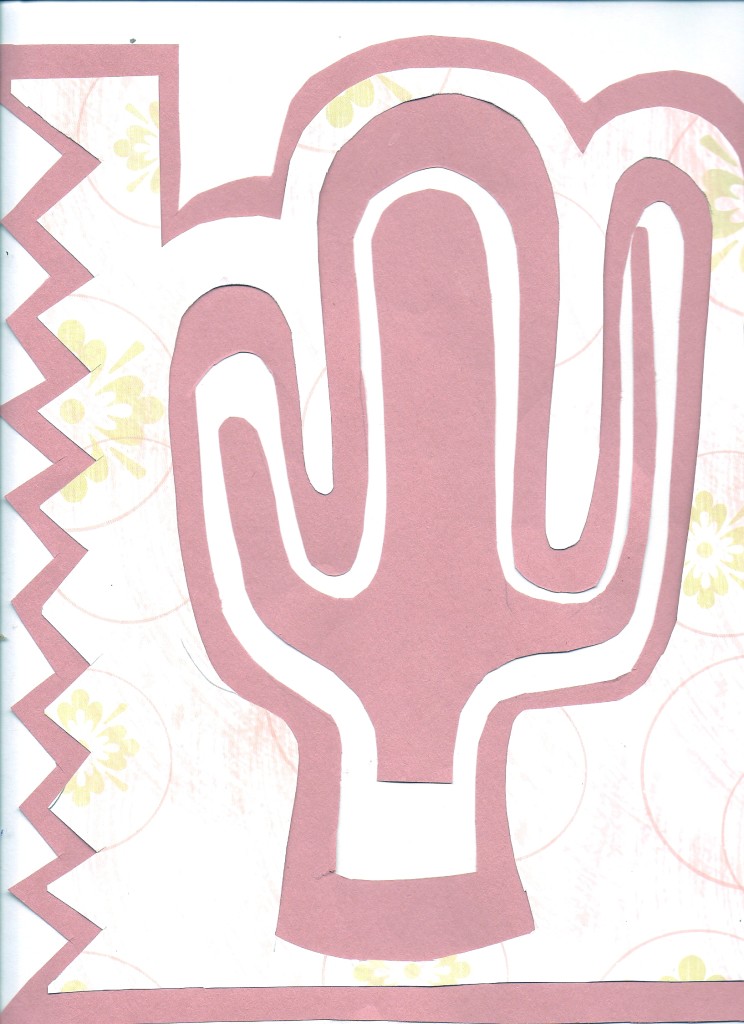
Kid’s place mat project
Place mats
Making place mats out of contact paper is very easy. Have your toddler cut shapes out of construction paper and glue them on a whole piece with a glue stick. He can add detail with markers or embellish with stickers. When he’s done, place the artwork on a piece of contact paper, sticky side up. Place another sheet of contact paper on top, sticky side down.
Most toddlers will only enough patience to make one place mat at a time. But he or she can make another one tomorrow, continuing until there are enough for the table. He or she will be so proud to know that everyone sees his artwork at every meal!
Crafting can help your toddler learn important skills while keeping him quietly occupied. Whether it’s a rainy day or he’s just feeling creative, seize the opportunity to let him channel his imagination into something you can both admire.
The place mat sample in the photograph above was made with remnants of other paper projects.


Share this: