Tag Archives: banner

EL DIA DE LOS MUERTOS BANNER

EL DIA DE LOS MUERTOS BANNER
ELDIA DE LOS MUERTOS BANNER

ELDIA DE LOS MUERTOS BANNER

El Dia de los Muertos Banner 

Materials:

Felt in various colors

Puffy paint in bright and metallic colors

Pencil/eraser

Scissors

Glitter glue (optional)

Hole punch

Paper in various colors (optional)

Scraps of material (optional)

Decorative gems (optional)

String

Cardboard

White glue


Project:               

  1. Select a piece of felt for the background of the banner. Decide if the banner will be placed vertically or horizontally.
  2. Using different colors of the felt and using the letter stencils, trace and cut three letter E; one A; two L; one D; one I; two O; two S; one T; one U; and one R.
  3. Arrange the letters on the felt background. Glue. Allow to dry.
  4. Some objects associated with the Day of the Dead are skeletons, marigolds and skulls. Draw and cut flowers, skulls and skeletons out of the remaining felt or use paper or another material. Glue and let dry.
  5. Add sequins, glitter, beads, etc. to the overall design or add starbursts, the sun or other symbols appropriate to the holiday. Let dry.
  6. Punch holes in the top corners of the felt. Pass a piece of string longer than the length of the banner through one hole, tie a knot and then pass it through the second hole. Glue a strip of cardboard that fits between the holes and glue it to the back of the banner at the top. Let dry and hang up. Celebrate El Dia de los Muertos!
Share Button

EASTER EGG BANNER

EASTER EGG BANNER


EASTER EGG BANNER PROJECT

EASTER EGG BANNER

Ages: 5 – 12 years

Time: one hour

MATERIALS:

Pink craft foam sheet

Blue craft foam sheet

Yellow craft foam sheet

Yellow felt square 14” x 20”

Dowel rod 18”

String – double the length of the dowel rod

Measure and cut the yellow felt square to 14” x 20” and place it vertically. Make a loop by measuring and folding a 1” seam and iron. Measure and fold a second 1” seam. Iron and glue the second fold. You will be inserting the dowel rod through this loop. (This felt piece should now measure  14”x18”.)

Using templates or stencils (use a search engine on the internet to assist you with this) trace and cut a large egg from the pink craft foam sheet. Glue it on the center of the yellow felt piece. Cut the double cross pattern, 5 small eggs, six small petals, and 4 large petals out of the blue craft foam sheet. Cut six small petals and 4 large petals from the yellow craft foam sheet. Cut 5 small eggs and 2 tiny circles from the pink craft foam sheet.

Glue the double cross on the large egg. Place 4 large yellow petals near the center of the top cross. Glue a pink dot in the center of the cross. Arrange 6 blue petals near the top and sides of the cross. Glue 4 large blue petals near the intersection at the bottom of the cross. Glue a pink dot in the center of the bottom cross. Arrange 6 small yellow petals near the bottom and sides of the cross and glue. Glue small blue and pink eggs in a random pattern around the central egg.

Cut the dowel rod to about 18”. Insert a loop at the top. Cut the string to a length suitable for hanging. Tie the string to the ends of the dowel rod. Decorate your home by hanging the Easter Egg Banner from a window, on a wall or door.

VARIATION: What other symbols have special meaning to you? Use them in your own Easter Egg Design.

Share Button

KID’S CRAFTS: Red,White and Blue Banner

KID’S CRAFTS: Red,White and Blue Banner

Fourth of July Banner

Red, White and Blue Banner

Ages: 5 – 12 years

Time: one hour

MATERIALS:

White felt 14” x 18”

Red, white, blue craft foam sheets

Sharp tool like an awl

¼” red, white and blue ribbon

Dowel rod 18”

String – double the length of the dowel rod

Measure and cut white felt to 14” x 20”. Place felt horizontally. Make a loop by measuring and folding and ironing a 1” seam. Measure and fold a second 1” seam. Iron and glue the second fold. You will be inserting the dowel rod through this loop. (This piece of felt should now measure  14” x 16”.)

Using templates or stencils trace the large star pattern and cut one large star out of the white craft foam sheet. Cut 13 smaller stars out of the white craft foam using the smaller star pattern. Trace and cut a large circle out of the blue craft foam sheet. Glue the large star in the center. Arrange the smaller stars around the circle. Make sure that they all face the same way. Lay aside.

Measure and cut 7 stripes ¾” x 16” out of the red craft foam sheet. Arrange the stripes on the banner so that there is a ¾” stripe of white felt showing between them. (Refer to the photo of the banner.) Glue the stripes down and trim if necessary.

Glue the blue circle with the stars in the center of the red and white stripes.

At the bottom of the banner, poke holes every 1” with a sharp tool like an awl. (Small children should let adults do this for them.) Insert the ribbon in the holes, alternating the colors. Pull the ribbon through and tie a knot in the back.

Trim the dowel rod to 18”. Cut a piece of string to a length suitable for hanging. Tie the string to each end of the dowel rod. The first Fourth of July celebration occurred in Philadelphia, PA. Eventually, all the states celebrated the holiday which included parades, picnics, military displays and fireworks.

VARIATION: You can also hang your banner on Memorial Day or Labo

Share Button

Let’s Celebrate! El Dia de los Muertos Banner

Let’s Celebrate! El Dia de los Muertos Banner
El Dia de Los Muetos Banner Design

El Dia de Los Muertos Banner Design

Materials:

Felt in various colors

Puffy paint in bright and metallic colors

Pencil/eraser

Scissors

Glitter glue (optional)

Hole punch

Paper in various colors (optional)

Scraps of material (optional)

Decorative gems (optional)

String

Cardboard

White glue


Project:              

  1. Select a piece of felt for the background of the banner. Place the banner  vertically or horizontally.
  2. Using different colors of the felt and using the letter stencils, trace and cut three-letter E; one A; two L; one D; one I; two O; two S; one T; one U; and one R.
  3. Arrange the letters on the felt background. Glue. Allow to dry.
  4. Some objects associated with the Day of the Dead are skeletons, marigolds and skulls. Draw and cut flowers, skulls and skeletons out of the remaining felt or use paper or another material. Glue and let dry.
  5. Add sequins, glitter, beads, etc. to the overall design or add starburst, the sun or other symbols right to the holiday. Let dry.
  6. Punch holes in the top corners of the felt. Pass a piece of string longer than the length of the banner through one hole, tie a knot and then pass it through the second hole. Glue a strip of cardboard that fits between the holes and glue it to the back of the banner at the top. Let dry and hang up. Celebrate El Dia de los Muertos!
Share Button

El Dia de los Muertos Banner Design

El Dia de los Muertos Banner Design
El Dia de los Muertos Banner

El Dia de los Muertos Banner


Materials:

Felt in various colors

Puffy paint in bright and metallic colors

Pencil/eraser

Scissors

Glitter glue (optional)

Hole punch

Paper in various colors (optional)

Scraps of material (optional)

Decorative gems (optional)

String

Cardboard

White glue


Project:              

  1. Select a piece of felt for the background of the banner. Place the design vertically or horizontally.
  2. Using different colors of the felt and using the letter stencils, trace and cut three Es; one A; two L; one D; one I; two O; two S; one T; one U; and one R.
  3. Arrange the letters on the felt background. Glue. Allow to dry.
  4. Some objects associated with the Day of the Dead are skeletons, marigolds and skulls. Draw and cut flowers, skulls and skeletons out of the remaining felt or use paper or another material. Glue and let dry.
  5. Add sequins, glitter, beads, etc. to the overall design or add a starburst, the sun or other symbols appropriate for the holiday. Let dry.
  6. Punch holes in the top corners of the felt. Pass a piece of string longer than the length of the banner through one hole, tie a knot and then pass it through the second hole. Glue a strip of cardboard that fits between the holes and glue it to the back of the banner at the top. Let dry and hang up. Celebrate El Dia de los Muertos!
Share Button

Intro to Summer Camp: Paper Garland Sign

Intro to Summer Camp: Paper Garland Sign

Materials:

Paper in various colors

Scissors

Pencil/eraser

Ruler or yard stick

Markers

Glue stick

Hole puncher

Pipe cleaners, string, paper twists or similar material

Number stencils or templates (optional)

One chain link fence

  1. Make a sign for your clubhouse or to celebrate the beginning of summer and the end of school. Make a loop for every letter of your sign and for the space between the words. Make a loop at the beginning of your sign which will be blank and a loop for the end of your sign which will also be blank. For example, a sign that says “School is out!” will have 11 loops for the words, one for the exclamation mark, two for the spaces between words and an extra loop at each end. That would be a total of sixteen loops.
  2. Use four or five different colored papers. Measure and cut the colored papers into six or more ½” x 8” strips.
  3. Glue one strip of paper measuring ½” x 8” overlapping the ends. Then glue a strip of paper measuring ½” x 8” through the first loop. Alternate the colors of the paper strips until you have the required number of paper loops forming a garland. Use the photograph for reference.
  4. Next, cut paper rectangles in various colors about 1 1/2” by 3.” Make enough to spell out your message.
  5. Trace a letter on each paper rectangle by using a template, stencil or free hand. Trace any exclamation, question mark or symbol, too.
  6. Punch a hole at the top of each paper rectangle. Punch a hole in the loops. Do not punch holes in the first and last loops and the loops that represent spaces between words.
  7. Cut string or pipe cleaners or similar material and loop it through the holes.
  8. Or use your imagination and glue seeds, glitter, sequins and other decorative objects!
  9. Tie a string through the first and last loops and tie them on to the fence. Don’t forget to add extra loops when you change the message!
Share Button

The Life and Death of Joan of Arc

The Life and Death of Joan of Arc
Joan of Arc

Joan of Arc

Joan of Arc grew up during a difficult time in French history. The Hundred Year’s War with England, which began in 1337 as a dispute over the French throne, destroyed the country’s economy. England occupied much of France and the part it didn’t occupy was frequently at war.

Joan was born in Domremy, France in 1412. She was one of five children. Her parents, Jacques D’Arc and Isabelle Romee, were peasants who owned a 50-acre farm. Her father was also a minor official who collected taxes and headed the local watch.

Life for Joan followed the same pattern as that of her parents and grandparents. The center of that life revolved around hard work, family and the Roman Catholic church.  Society expected young women to marry but Joan had resisted her parents’ attempts to arrange a marriage for her when she was sixteen.

Joan was about twelve-years old when she started to hear voices. These voices instructed her to defeat the English army and crown Charles VII king. After the death of his father and four brothers, Charles, known as the Dauphin, became the uncrowned king of France. By this time Joan was sixteen. French tradition dictated that the King of France be crowned at the Cathedral of Reims but the English occupied Reims. Charles and his court, instead, lived in Chinon, located 226 miles away.

Joan asked her cousin, Durand Lassois, to escort her to nearby Vaucouleurs so she could ask the garrison commander, Count Robert de Baudricourt, for permission to visit the French court at Chinon. Single young women like Joan were not allowed to travel alone. The count said no. The next January, she had a second interview with Baudricourt where she made a remarkable prediction about a military victory in Orléans.

When news from the front confirmed her prediction, Baudricourt provided her with an escort to visit Chinon. She traveled through hostile territory in male disguise. When she arrived at the royal court she impressed Charles VII during a private meeting revealing something to him that no one else could know.

Charles granted Joan permission to travel with the army and wear the armor and carry the equipment that knights carried.

Her habits as a soldier were eccentric. Once she became a French soldier, Joan no longer wore dresses. She decided she was too young to marry and would stay a virgin, calling herself The Maid or Jehanne la Pucelle. On the battlefield, Joan ate very little food and her periods stopped.

Joan didn’t care that no one understood her because she had a single vision: to crown the Dauphin king of France.

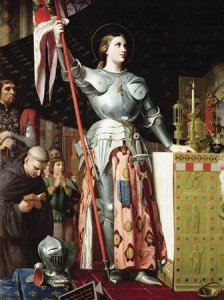
Joan led the army at Orléans riding a white horse and carrying her personal banner decorated with the fleur-de-lis*. Joan never used her sword which she found at the shrine of St. Catherine, and didn’t wear a helmet. She hated killing and instead preferred to encourage the soldiers to fight hard.

The English army surrounded Orléans. The only way into the city was across the Loire River and through a gate in the wall of the fortress. Joan sustained a wound in Orléans but she stayed on the battle field. This act inspired the French army and after an all-out attack, Orléans was finally in French hands.

Joan tried unsuccessfully to persuade the Dauphin to go to Reims for his coronation as King of France. Hoping to influence him, Joan fought a series of battles around Reims which she won and he was finally persuaded. Charles wore gold robes to his coronation at the beautiful Cathedral as the crowds outside cheered. Joan stood next to him wearing her armor and carrying her banner.

But Joan’s work was not finished.

Joan asked the king permission to capture Paris next but King Charles preferred to negotiate a compromise with the English. Disheartened, Joan stopped listening to her voices. She lost one battle after the other even breaking the sword of St. Catherine.

The King again declared that he wanted to make a truce with England and disbanded the army. According to her voices, Joan only had a year to save France.

In the spring of 1430, Joan defiantly moved the fighting north. Joan marched on to Compeigne but the battle there did not go well. Her soldiers fled and enemy soldiers captured Joan.

The French people begged the King to pay for her ransom but Charles refused.

Her English captors charged Joan with the crimes of witchcraft and heresy, punishable by burning at the stake. The English moved Joan to a prison in Rouen, the center of English power in France. They shackled her and guarded her day and night.

Joan’s trial was held at the Great Justice Hall at Rouen. One of the 200 judges facing her questioned why she wore men’s clothing. Joan responded that it was for her safety, and that it was better if the soldiers didn’t think of her as a woman.

“Besides,” she added, “my voices commanded it.”

Another judge asked why saints would speak to an illiterate peasant girl. These voices must surely come from the devil. Joan insisted that they were heavenly because they brought her comfort and courage. The judges were furious at her stubbornness and threatened her with torture and death.

Joan eventually broke down under the pressure and confessed that her voices were from the devil. She expected her captors to free her if she signed the confession but was disheartened when she found out that her punishment would be life imprisonment. The soldiers shaved off her hair and forced her to wear a dress.

Her voices told her how wrong she had been to confess a lie. So Joan tore off her dress and put on the boys’ clothes that had been left in her cell. This action guaranteed that Joan would be burned at the stake. The head judge visited her in prison when he learned about what she had done. Joan admitted that she had signed the confession out of fear and that her voices really had been from God.

On May 30, 1431, ten thousand people watched in silence as the soldiers tied Joan to the stake. A kind English soldier gave her a crude cross made of two sticks which Joan stuck inside her dress. Then the fire was lit, quickly engulfing her. Joan called out, “Jesus! Jesus!” Nineteen-year-old Joan of Arc was dead within minutes.

After Joan’s death, the English began to lose ground on the battlefield and eventually, lost all their French possessions. Later, a guilt-ridden Charles sent for a copy of Joan’s trial. When he saw how one-sided it had been, he ordered a re-trial. The church cleared Joan of witchcraft and heresy.

In 1920, the Pope decreed Joan of Arc a saint of the Catholic Church.

* The fleur-de-lis or “flower of the lily” is a symbol used in heraldry.

* Don’t forget to do the art project below!

To learn more about Joan of Arc:

___________ Medieval World, Vol. 5 House and Home, Joan of Arc. Danbury, CT: Grolier, 2000

Bull, Angela, Joan of Arc. NY: Dorling Kindersley Publishing, Inc. 2000.

Fraioli, Deborah. A. Joan of Arc and the Hundred Years War. Westport, CT: Greenwood Press, 2005.

Spoto, Donald. Joan: the Mysterious Life of the Heretic who became a Saint. San Francisco: HarperSanFrancisco, 2007

Tompert, Ann. Joan of Arc: Heroine of France. Honesdale, PA: Boyds Mills Press, 2003.


ART PROJECT

JOAN OF ARC BANNER

Fleur de lis

“I loved my banner forty times better than my sword.” Joan of Arc

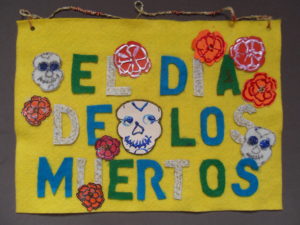
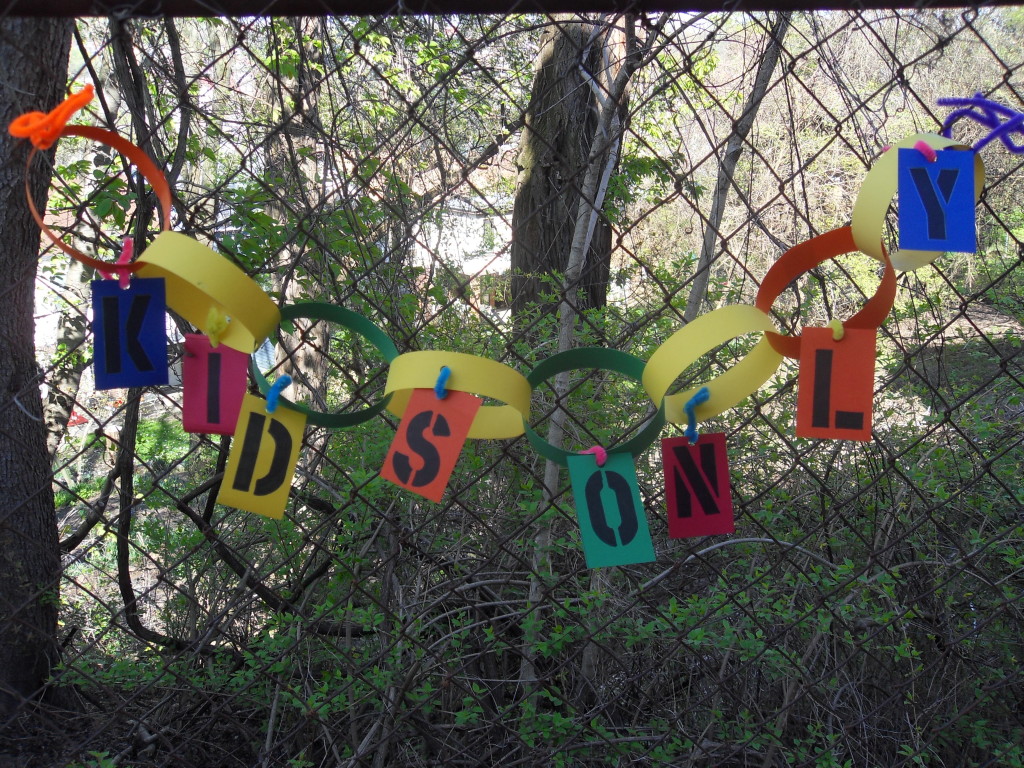
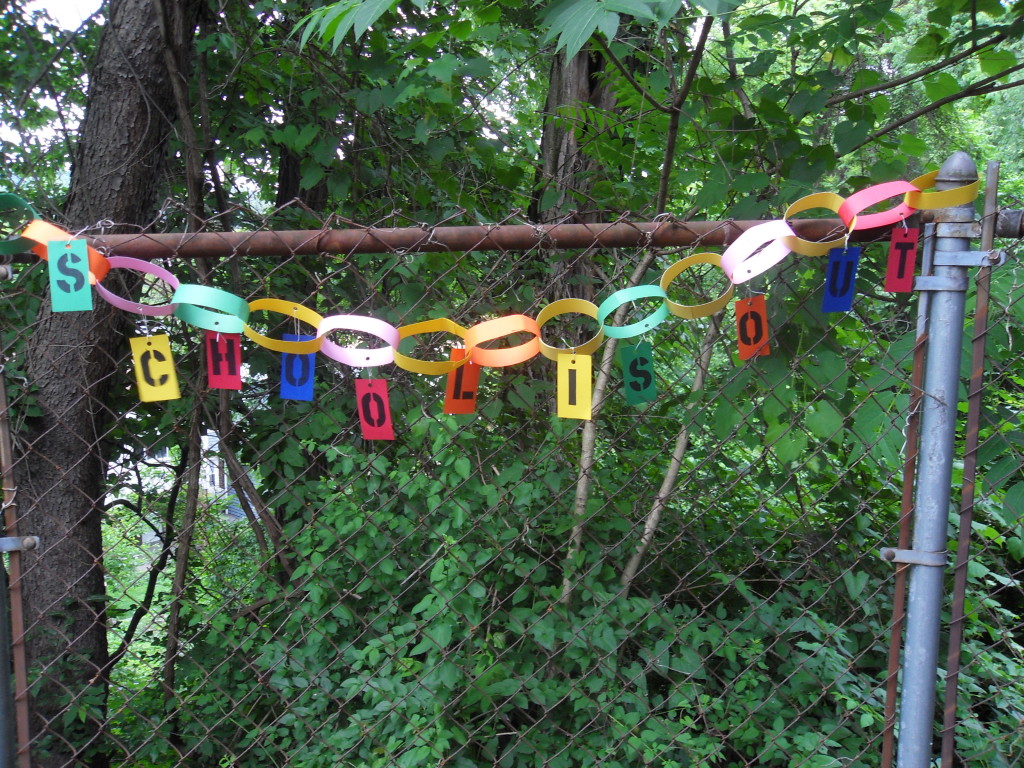
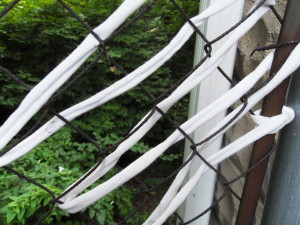
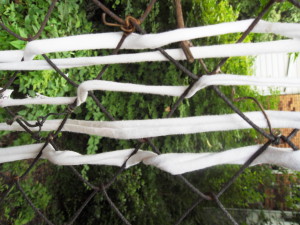
Joan of Arc’s banner depicted a fleur-de-lis pattern. The standard was made of white boucassin which is a material similar to bucrum, and fringed in silk. The words “Jesus Maria” were written on it. Banners come in three shapes: banner, standard and pennon. Joan of Arc’s banner was a standard banner. Refer to the photographs below.

Banner with fleur de lis design

Banner with fleur de lis design

Materials:

Paper such as sketch paper, bond paper, watercolor paper (any size)

Watercolors

Water/container for water/soft bristle brushes

Colored pencils

Markers

Pastels

Dowel rod


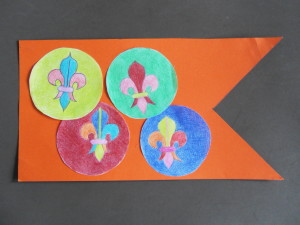
1) Joan of Arc’s banner symbolized the fight of the French people for their country’s independence from British rule. Make your own banner design for your team, school, scout troop or club.

2) Utilize designs that symbolize your team, troop, etc. Go to  a search engine like Google or Yahoo and research banner shapes. Decide if the banner will be a pennon, banner or standard and draw an outline first.

3) Draw the designs on the banner and color it  using any combination of materials.


For more information on fleur-de-lis designs:

http://www.shutterstock.com/s/fleur-de-lis/search.html

http://www.canstockphoto.com/illustration/fleur-de-lis.html

http://www.sharefaith.com/category/fleur-d-lis.html

http://www.thegrahicsfairy.com/vintage-clip-art-feur-d-lis-3-options


Share Button

Our Imaginations! Camp for Kids! Fence Weaving Part II

Our Imaginations! Camp for Kids! Fence Weaving Part II

Materials:

Chain link fence

Paper – solid colored paper, patterned paper, crêpe paper, tissue paper, rice paper, construction paper, newspaper, etc. as long as the paper is pliable

Fabric scraps

Ribbon

Foil

Anything that you can use to decorate a fence

Scissors

Wire or pipe cleaners or string for attaching various elements of the design

Tape

Markers, pencils, rub down lettering or crayons for writing messages


A chain link fence works best. Please get permission to use it first.

Colorful, funny, serious, or informative designs can cover the entire fence or a part of it. Decorate the fence alone or with friends. Think about celebrating the project with a “weaving” party! Each of your friends could design their personal section of the fence.

Themes are popular: nature, animals, the zodiac, outer space, the sea/ocean, beach, transportation, abstract art, etc.

You can take down your fence “weaving” if you don’t like it and start again.

Weave your design vertically, horizontally or diagonally!

Use your imagination!

If you are not allowed to leave the fence “weaving’ up for a long time, take a photo of all the designs and post them on Facebook or tweet the photos to your friends and family.

Fence "Weaving"

Fence “weaving” design made of two kinds of fabric

Chain link fence banner

I Love Summer! Banner

Fence "Weaving"

Fence “Weaving”

Fence "Weaving"

Fence “Weaving”


Fence "Weaving" Paper Loops

Fence “Weaving” Paper Loops


Share Button

Kid’s Crafts: St. Valentine’s Day Banner: Quilted Heart

Kid’s Crafts: St. Valentine’s Day Banner: Quilted Heart

KID’S CRAFTS: ST. VALENTINE’S DAY

Lupercalia was a Roman holiday held in honor of Lupercus, the god of the pasture and fertility. The event was held on February 5th in a cave on Palatine Hill in Rome. The priests who were known as the Luperci, conducted the rituals associated with the Lupercalia festival. These rituals included sacrificing animals like goats and dogs; feasting followed. The celebrations continued when the Luperci cut thongs from the skins of the sacrificed animals. The priests divided into two groups and ran around the city swatting people with the thongs. The festival participants believed that a blow from one of the thongs encouraged fertility.

The early Christian Church tried to convert unbelievers such as the followers of the Luperci, by combining pagan customs with their own beliefs. The feast day of two Roman martyrs (both named Valentine) had its origins in the Lupercalia festival. The one saint had been a priest and the other had been the Bishop of Terni, and both died in the same day in the third century A. D.

VALENTINE’S DAY CRAFT

QUILTED HEART BANNER PROJECT0002

QUILTED HEART

Ages: 5 – 12 years

Time: one hour

MATERIALS:

Yellow felt square 16” x 14”

Dowel rod 18”

Red, pink, yellow, and white craft foam cut into 2″ x 2″ squares

¼” ribbon in red, yellow, pink and white.

String – double the length of the dowel rod

poster board or single sheet of craft foam of any color

Using a template or a stencil or drawing by hand, trace the heart on to poster board or a single sheet of craft foam of any color and cut. The heart should measure about 13 3/4″ x 10.”

Cut 8 yellow, 11 red, 10 white and 10 pink squares from the craft foam sheets. The squares should measure 2″ x 2.” Divide the heart in half vertically and in half again horizontally. (Refer to the photo of the banner.)

Lay the squares down along the horizontal fold in the following pattern: white, yellow, pink and red. Place the next row of squares below the first row. Stagger the colored squares so that the second row is not directly beneath the first row. Repeat the pattern until the squares cover the heart. Glue. Allow the pieces to dry.

Fill in the odd-shaped areas with the appropriately colored squares and glue. When those pieces are dry, turn the heart around and trim along the outline of the heart. Measure and cut the felt to 16” x 14”. Place it horizontally. Make a loop by measuring and folding a 1” seam. Iron. Measure and fold a second 1” seam. Iron and glue the second fold. You will be inserting the dowel rod through this loop. (The length of the banner will be about 16” x 12.” This does not include the ribbons.)

Measure and cut two 18” lengths of each color of ribbon. Poke a hole every two inches along the bottom of the felt with a sharp tool. Alternate the colors, pull the ribbon through and tie a knot in the back so that the ribbon is held in place. (Small children should let adults do this for them.) Glue the heart on the felt. Cut the dowel rod to 18” and insert through the loop at the top. Cut the string to a length suitable for hanging. Tie the string to each end of the dowel rod.

VARIATION: Use other shapes to decorate your heart banner: circles/dots, flowers, squiggle lines, triangles, etc. Today, Valentine’s Day honors lovers. We celebrate Valentine’s Day on February 14th by sending gifts like candy and cards.

Happy Valentine’s Day!

COPYRIGHT 2013 Marion Constantinides

Share Button