Tag Archives: Valentine’s Day ideas

Recycled Valentines

Recycled Valentines

Recycled Valentines

Materials:

Paper in pink, red, purple, white

Greeting cards or images downloaded from the Internet

Lace Paper doilies

Sequins

Glitter

Pearls

Seeds

Beads

Stickers

Recycled cards

Scissors

Glue stick

White glue

Heart-shaped cookie cutters, templates, stencils or the patterns provided below

String or yarn

Markers or colored pencils

  1. Gather greetings cards that you no longer want and cut out shapes that are traditional for a Valentine’s Day theme: flowers, birds, kittens, hearts, puppies, etc. Or download images or clip art from a free program on the Internet.
  2. Using the heart patterns provided or a heart-shaped cookie cutter(s) or template(s) or stencil(s), trace and cut the heart out of colored paper. Use the largest pattern or cookie cutter or stencil for the main part of the valentine. Make more than one valentine and use papers of various colors. Trace and cut hearts of smaller sizes, too.
  3. Glue sequins, images from the greeting cards, small heart-shapes, etc in a pleasing design on the valentine.
  4. Using markers or colored pencils, write a message: “Happy Valentine’s Day!” or any other message suitable for the holiday
  5. Optional: Glue string or yarn on the back of the valentine and hang it up or give it to a friend of your choice.

HAPPY VALENTINE’S DAY!

Share Button

Valentine’s Day Votive/Vase Project

Valentine’s Day Votive/Vase Project

Beat the winter doldrums with a fun craft project! Use it as a Valentine’s Day decoration, give as a gift

 or use it all-year round! Super easy and cheap to make too!


VALENTINE'S DAY VOTIVE AND VASE

VALENTINE’S DAY VOTIVE AND VASE

Materials:

Shells in different sizes

Strand of pearls or beads

Large clear vase with a neck (See photo)

Small votive/candle holder (make sure it fits into the opening of the vase)

Small candle or tea light that fits into the votive holder

Optional: Red or pink ribbon (the neck of the vase will decide the width and length of the ribbon)

1. Wash and dry the vase and candle holder/votive so that they shine.

2. Let the shape of the vase dictate where the shells, pearls and other objects of choice will lay inside the vase. Intertwine one strand of beads or pearls. Add some shells. Mix again.

3. Place the larger shells and pearls or beads next and then intertwine another strand of beads or pearls.

  1. Finally, arrange the medium objects on top. Add the last strand of pearls or beads.  Mix. Make sure there is enough room for the candle holder/votive which should protrude above the neck of the vase just enough so that it is noticeable.
  2. Optional: Tie a bow around the neck of the vase. If the vase is narrow at the bottom, and widens just below the neck, place the small ones on the bottom. Refer to the photo of the finished craft.

Substitutions for the vase:

Potpourri

Small handmade soaps

Beads

Buttons

Heart-shaped paper cutouts

Ribbons

Mix it up!

Substitutions for the votive/candle holder:

Flower bud

Tiny beads

Colored water

Potpourri

Share Button

Kid’s Crafts: St. Valentine’s Day Banner: Quilted Heart

Kid’s Crafts: St. Valentine’s Day Banner: Quilted Heart

KID’S CRAFTS: ST. VALENTINE’S DAY

Lupercalia was a Roman holiday held in honor of Lupercus, the god of the pasture and fertility. The event was held on February 5th in a cave on Palatine Hill in Rome. The priests who were known as the Luperci, conducted the rituals associated with the Lupercalia festival. These rituals included sacrificing animals like goats and dogs; feasting followed. The celebrations continued when the Luperci cut thongs from the skins of the sacrificed animals. The priests divided into two groups and ran around the city swatting people with the thongs. The festival participants believed that a blow from one of the thongs encouraged fertility.

The early Christian Church tried to convert unbelievers such as the followers of the Luperci, by combining pagan customs with their own beliefs. The feast day of two Roman martyrs (both named Valentine) had its origins in the Lupercalia festival. The one saint had been a priest and the other had been the Bishop of Terni, and both died in the same day in the third century A. D.

VALENTINE’S DAY CRAFT

QUILTED HEART BANNER PROJECT0002

QUILTED HEART

Ages: 5 – 12 years

Time: one hour

MATERIALS:

Yellow felt square 16” x 14”

Dowel rod 18”

Red, pink, yellow, and white craft foam cut into 2″ x 2″ squares

¼” ribbon in red, yellow, pink and white.

String – double the length of the dowel rod

poster board or single sheet of craft foam of any color

Using a template or a stencil or drawing by hand, trace the heart on to poster board or a single sheet of craft foam of any color and cut. The heart should measure about 13 3/4″ x 10.”

Cut 8 yellow, 11 red, 10 white and 10 pink squares from the craft foam sheets. The squares should measure 2″ x 2.” Divide the heart in half vertically and in half again horizontally. (Refer to the photo of the banner.)

Lay the squares down along the horizontal fold in the following pattern: white, yellow, pink and red. Place the next row of squares below the first row. Stagger the colored squares so that the second row is not directly beneath the first row. Repeat the pattern until the squares cover the heart. Glue. Allow the pieces to dry.

Fill in the odd-shaped areas with the appropriately colored squares and glue. When those pieces are dry, turn the heart around and trim along the outline of the heart. Measure and cut the felt to 16” x 14”. Place it horizontally. Make a loop by measuring and folding a 1” seam. Iron. Measure and fold a second 1” seam. Iron and glue the second fold. You will be inserting the dowel rod through this loop. (The length of the banner will be about 16” x 12.” This does not include the ribbons.)

Measure and cut two 18” lengths of each color of ribbon. Poke a hole every two inches along the bottom of the felt with a sharp tool. Alternate the colors, pull the ribbon through and tie a knot in the back so that the ribbon is held in place. (Small children should let adults do this for them.) Glue the heart on the felt. Cut the dowel rod to 18” and insert through the loop at the top. Cut the string to a length suitable for hanging. Tie the string to each end of the dowel rod.

VARIATION: Use other shapes to decorate your heart banner: circles/dots, flowers, squiggle lines, triangles, etc. Today, Valentine’s Day honors lovers. We celebrate Valentine’s Day on February 14th by sending gifts like candy and cards.

Happy Valentine’s Day!

COPYRIGHT 2013 Marion Constantinides

Share Button

Kid’s Crafts: HOLIDAY BANNERS! Introduction

Kid’s Crafts: HOLIDAY BANNERS! Introduction

HOLIDAY BANNERS! 

INTRODUCTION

The Seasons, the Sun, the Moon, and the Stars

In the ancient world, people were fearful and ignorant of the ways of the sun, moon and stars, but they sought to understand nature and its power over their lives. They did not know how to read or write so they drew pictures when they wanted to express their fears, thoughts and feelings.

Ancient people lived and worked in groups or communities and hunted, fished and lived off the land. They planted crops, and at the end of the year, they held a festival to celebrate the results of their hard work. The ancient people called this festival the Harvest.  Festivals became a way for the community to express their appreciation of their heritage, to honor the dead, or to recognize important historical events and their national leaders as well as enjoy the bounty of their hard work. It was a time for the community’s leaders to pass on their wisdom and knowledge to the young. These are some of the reasons why we still hold festivals.

We still celebrate the Harvest every autumn with Oktoberfest celebrations and other similar events. Today, most people know how to read and write, but many continue to express themselves through art like our ancestors who lived long ago. We use art to express our celebration of a special holiday or season. Making banners are one way of doing this. We use them to decorate our homes, businesses and schools. We can make these banners large or small and as colorful as we want to make them. Now you, too, can make these banners, just follow the easy directions provided below. Children and adults can make them together or individually at home, school, place of worship, or community center.

BASIC SUPPLIES

Here are some basic supplies that you will need on hand for all the banner designs (some of which are found at home, at the office or school):

Yardstick/ruler

Iron/ironing board

String

Pen or marker

Scissors

Tacky glue

Dowel rods

Popsicle sticks

Pencil/eraser

Paper towels

Felt**

Craft foam sheets**

Poster board

Flexible curve

Templates or stencils

Drawn shapes free-hand or use household products used instead of stencils or templates: round or square plates (large or small), pieces of cardboard and cookie cutters. Use rulers for measuring or use the width of a ruler to draw a wide stripe. The edge of a frame can serve as a triangle. Three hearts whose points meet in the center and stem form a shamrock. Look around you and see the shapes that exist in your home, office or school. Use your imagination.

**Felt squares and craft foam sheets come in various colors and sizes. You can buy them at craft stores as well as online. If you are going to create all the banners in this e-book, see how many foam sheets of each color you will need. For example, if you need a lot of red, it makes sense to buy a large sheet of red instead of one or two small sheets. Do your research first.
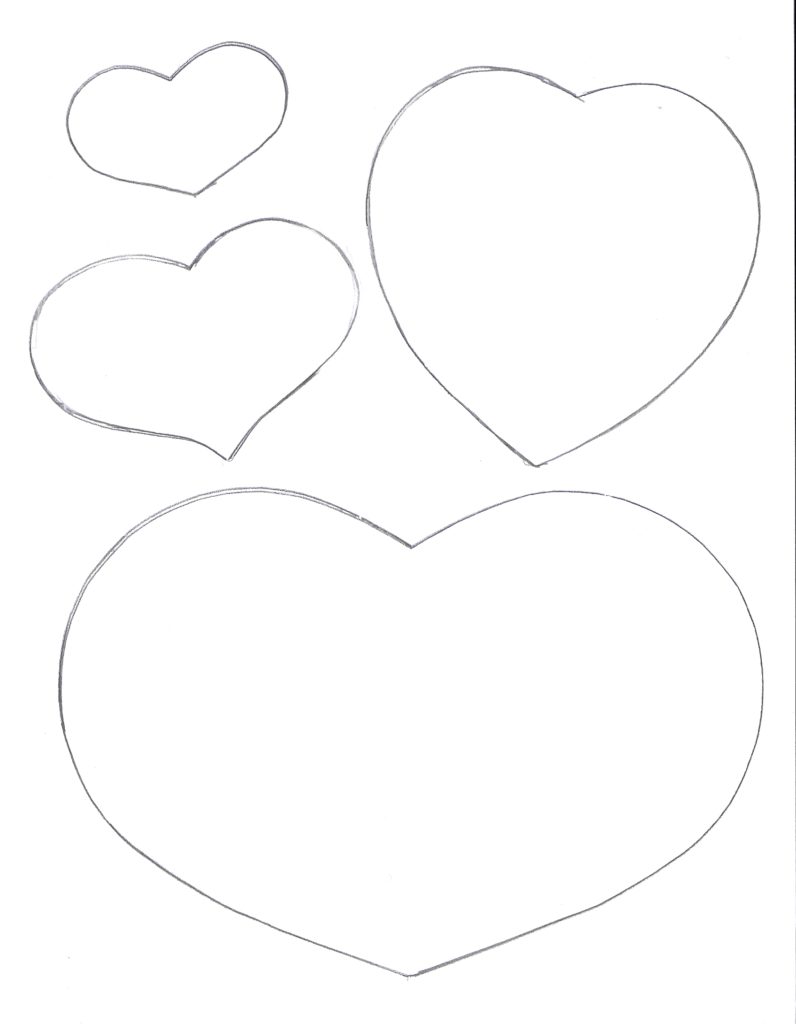
 PATTERNS

If you do not want to use the patterns provided at the end of the e-book, feel free to draw freehand or to find objects that you can trace. Clip art, picture encyclopedias, and photographs all give visual information about the objects mentioned in this book. The Internet has websites that offer free clip art, photographs and more. Check the information on the website before using. Use these options or none and instead rely on your imagination to create ideas.


STUFF TO KNOW

Feel free to change the measurements. It’s okay to make mistakes. Use your imagination when making those mistakes and include them in the design of the banner. Change colors, combine designs or use your own ideas and you will see that your banner is as beautiful as the original designs in this e-book.

All banners take about one hour to make but that depends on how fast you work. The point is to have fun making them.

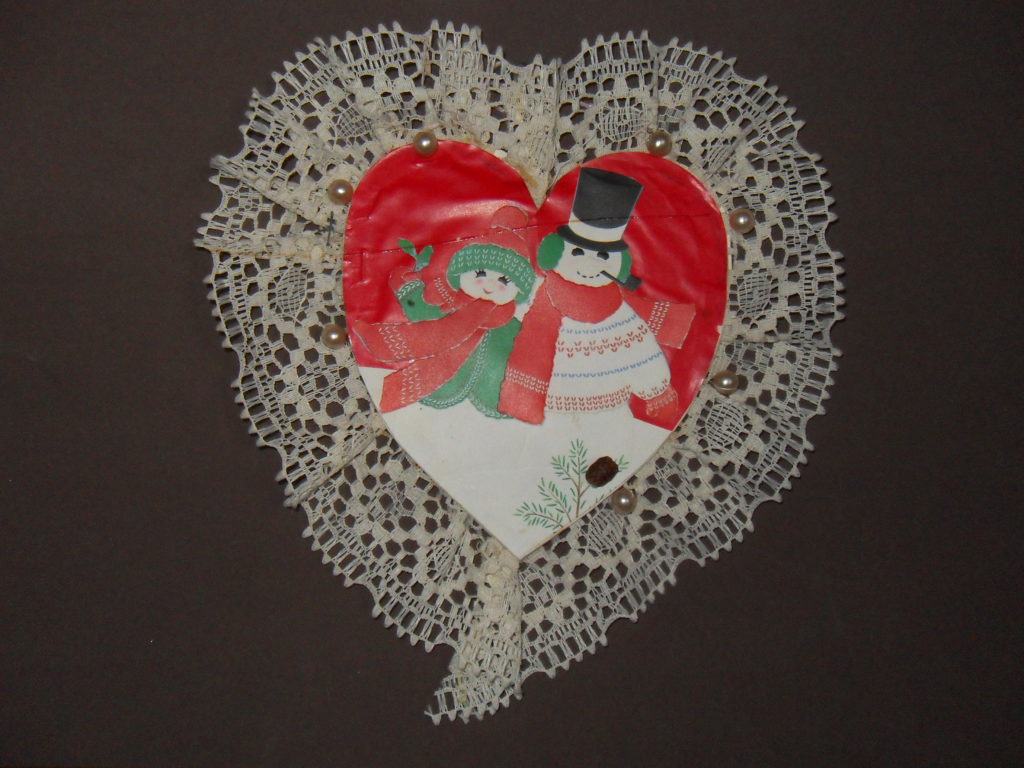
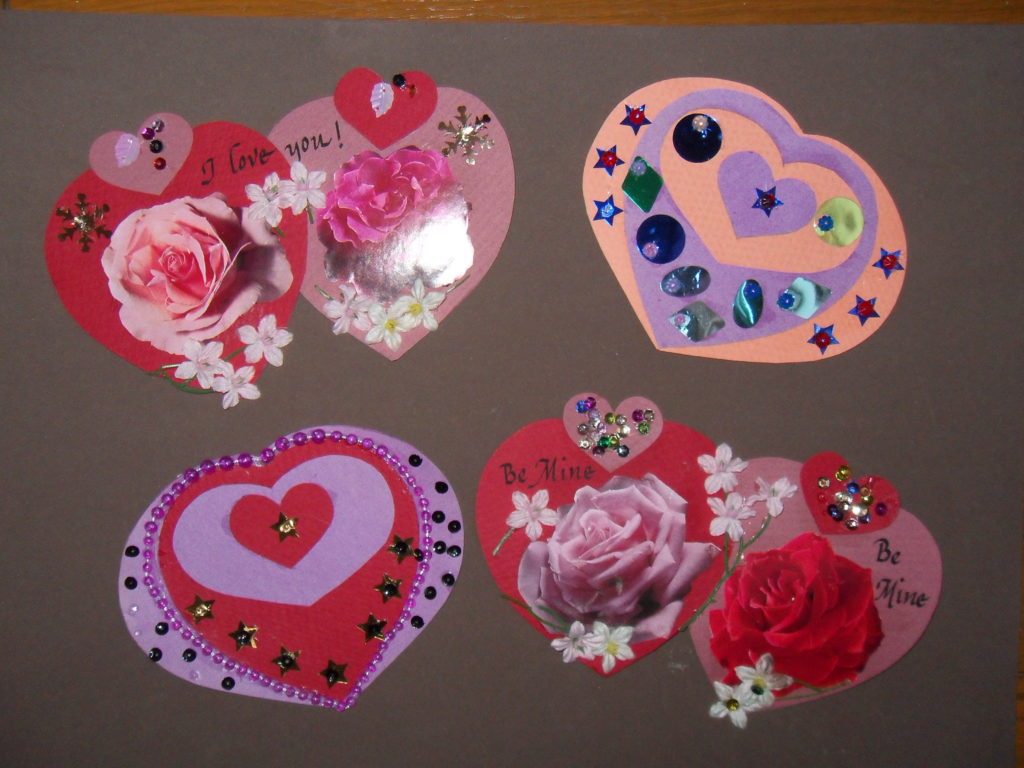
COMING SOON: ST. VALENTINE’S DAY CRAFT

Share Button