Tag Archives: glue

Summer Camp: Drawing with Yarn and Starch (or Glue)

Summer Camp: Drawing with Yarn and Starch (or Glue)


Materials:

Three small bowls

Scissors

Liquid starch or glue

Yarn

String

Cardboard in any color of choice

Yarn in various colors and thickness


  1. Pour liquid starch into bowls.
  2. Cut some of the yarn into 12” lengths.
  3. Soak the yarn in the starch separating the white (if you are using white) from the colored yarn because some of the colors will run. Leave the yarn in the starch for a few minutes.
  4. Lift the yarn out one strand at a time and run your fingers down the length to remove the excess starch. Do this with the string if using it along with the yarn or instead of the yarn.
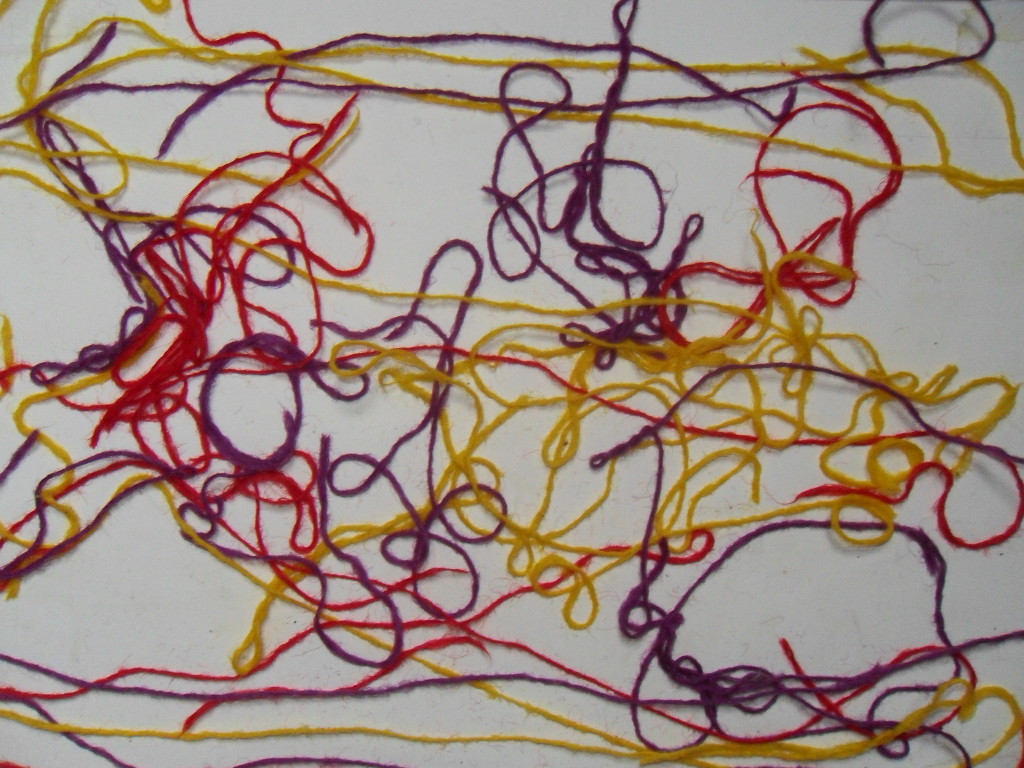
  5. “Draw” with the yarn by dropping it on the cardboard in a random pattern. Repeat this with the other strands of yarn combining the colors in a pleasing design. Alternate with string.
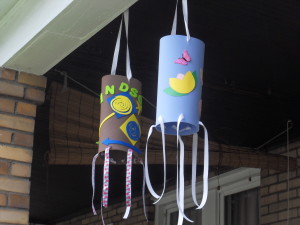
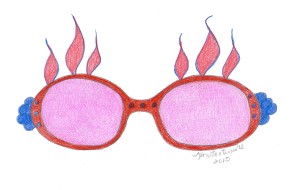
  6. Fill in some of the shapes that you “drew” with more yarn so that some of the shapes are more solid than others. Consider separating some of the yarn so that white or negative space shows throughout the design. (See the samples.)
  7. Finish the “drawing” and place the art on a flat surface until it dries. Weigh down the corners with heavy objects in the meantime.

ALTERNATIVE PROJECT:

Draw a design or object on the cardboard and follow the procedure above.

Inspired by: All-Around-the-House Art and Craft Book by Patricia Z. Wirtenberg

Share Button

Summer Camp: Windsock

Summer Camp: Windsock
Windsocks

Windsocks


Materials:

One sheet craft foam any color

One bandana any color or design or scrap of fabric (Ribbon is a good substitute)

Ink pen or fabric marker

Additional craft foam in various colors or craft papers in assorted colors

Patterns

Peel ‘n Stick Adhesive tape

Glue

Scissors

Hole punch

  1. Trace and cut patterns provided (below) on to the large craft foam.
  2. Adhere the adhesive tape to the back of the patterns, peel the back off and arrange them on to one side of the craft foam sheets (i.e., use green foam for the leaves, yellow foam for the daisies, etc) or use glue.
  3. Run a line of glue or the adhesive tape down the length of one short edge of the craft foam. Fold down the opposite edge of the craft foam and press to form an oblong windsock.
  4. Cut 1” slits along one edge of the bandanna or fabric and tear to form long strips.
  5. Punch three evenly spaced holes along the edge of the windsock. Insert a strip of fabric or bandanna into each hole. Make a knot to hold the strip in place. Gather the opposite ends of the fabric trips and tie them together into one knot.
  6. Punch evenly spaced holes along the bottom edge of the windsock for the remaining strips of fabric. Or cut small slits and poke the fabric through with the scissors. Place each fabric strip into each hole and knot each to secure in place.

Airports use windsocks to show wind direction and relative wind speed but they are also used for decorative purposes. Windsocks made of paper and silk originated in China and Japan. The ancient Romans used windsocks as military banners.

For more information go to www.ehow.com


Share Button

Intro to Summer Camp: Paper Garland Sign

Intro to Summer Camp: Paper Garland Sign

Materials:

Paper in various colors

Scissors

Pencil/eraser

Ruler or yard stick

Markers

Glue stick

Hole puncher

Pipe cleaners, string, paper twists or similar material

Number stencils or templates (optional)

One chain link fence

  1. Make a sign for your clubhouse or to celebrate the beginning of summer and the end of school. Make a loop for every letter of your sign and for the space between the words. Make a loop at the beginning of your sign which will be blank and a loop for the end of your sign which will also be blank. For example, a sign that says “School is out!” will have 11 loops for the words, one for the exclamation mark, two for the spaces between words and an extra loop at each end. That would be a total of sixteen loops.
  2. Use four or five different colored papers. Measure and cut the colored papers into six or more ½” x 8” strips.
  3. Glue one strip of paper measuring ½” x 8” overlapping the ends. Then glue a strip of paper measuring ½” x 8” through the first loop. Alternate the colors of the paper strips until you have the required number of paper loops forming a garland. Use the photograph for reference.
  4. Next, cut paper rectangles in various colors about 1 1/2” by 3.” Make enough to spell out your message.
  5. Trace a letter on each paper rectangle by using a template, stencil or free hand. Trace any exclamation, question mark or symbol, too.
  6. Punch a hole at the top of each paper rectangle. Punch a hole in the loops. Do not punch holes in the first and last loops and the loops that represent spaces between words.
  7. Cut string or pipe cleaners or similar material and loop it through the holes.
  8. Or use your imagination and glue seeds, glitter, sequins and other decorative objects!
  9. Tie a string through the first and last loops and tie them on to the fence. Don’t forget to add extra loops when you change the message!
Share Button

Our Imaginations! Have a Too Cool Day!

Our Imaginations! Have a Too Cool Day!
Too Cool Sunglasses

Too Cool Sunglasses

Read Pete the Cat and His Magic Sunglasses by Kimberly and James Dean.

“Pete the Cat did not feel happy. Pete had never, ever, ever, ever been grumpy before. Pete had the blue cat blues.”

Grumpy Toad usually was grumpy but on the day he met Pete the Cat, he was wearing cool, blue, magic sunglasses which made him look at everything in a new way.

When Pete the Cat tried them on, he saw the world in a whole new way, too.

Walking along with his new attitude, Pete the Cat ran into his friends, Squirrel, Turtle and Alligator and lent them his cool, blue, magic sunglasses. They saw the world in a whole new way just like Pete the Cat and Grumpy Toad!

Isn’t that cool?

Then Pete the Cat fell and cracked his cool, blue, magic sunglasses.

What would he do without them?

The Wise Old Owl told him the truth: Pete the Cat didn’t need his cool, blue, magic sunglasses to see the world in a new way. “Just remember to look for the good in every day,” the Wise Old Owl told him.

Pete the Cat looks all around him and exclaimed, “Too cool!”


Project:

Decorate a pair of sunglasses to brighten your day like Pete the Cat and his friends.


Materials:

Sunglasses*

Strong glue like gorilla glue

Sequins

Paint in squeeze tubes or bottles

Glitter

Make your sunglasses the coolest ever – you don’t have to paint your glasses blue like Pete the Cat’s! You can paint them any color or design.

*Remember: if you paint the lenses, you won’t be able to see through them!

 Additional Reading:
Lizzie Logan Wears Purple Sunglasses by Eileen Spinelli


Share Button