ROCKS
Kid’s Crafts: Painted Rocks
Materials:
Rocks preferably with a relatively smooth surface
Poster or acrylic paints
Brushes of various widths
Container for water
Palette or disposable smooth surface like wax paper
Soap
Paper towels
Newspaper or something similar to cover the surface of your work space
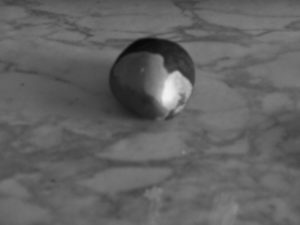
- Wash rocks thoroughly and dry. If rocks are very dirty, soak in a bucket of sudsy water, rinse and dry. Cover your work space
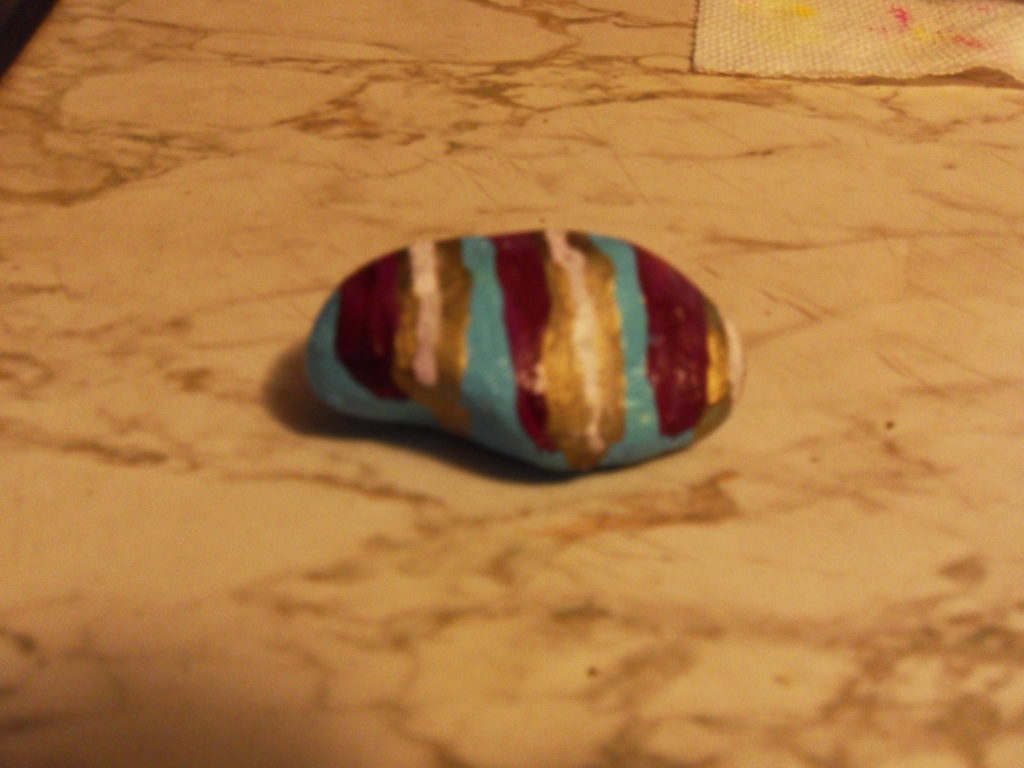
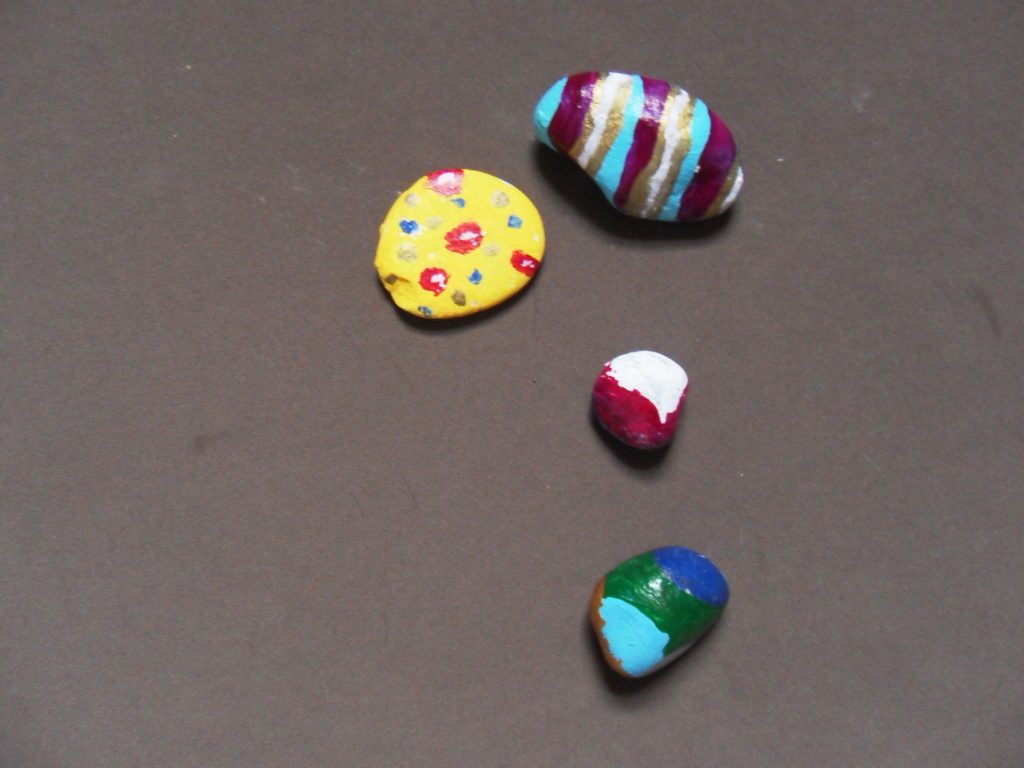
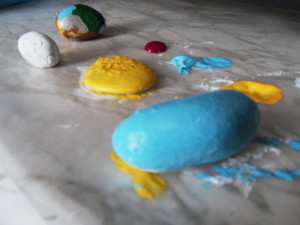
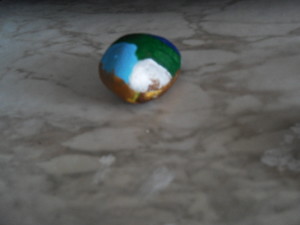
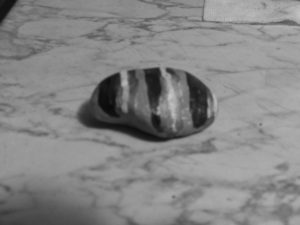
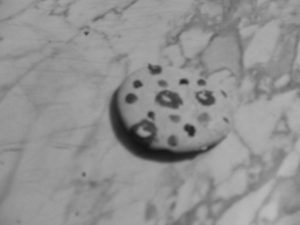
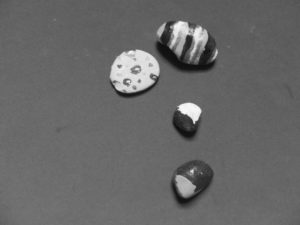
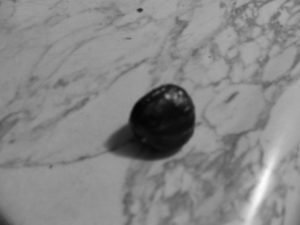
- Think of a design for the rock. Sometimes the rock suggests a design or an object. Stripes, dots, stars, swirls, circles are some ideas you can use alone or in combination.
- Select colors of paint and squeeze a small amount (about the size of a quarter to start) on the palette or wax paper.
- Prime the rock white if you selected lighter colors or brown if you selected darker colors. This step isn’t required but it makes the colors adhere to the rock better if there is a basic layer of paint to paint your design. Paint one side at a time and allow the rock to dry. Turn over and paint the other side.
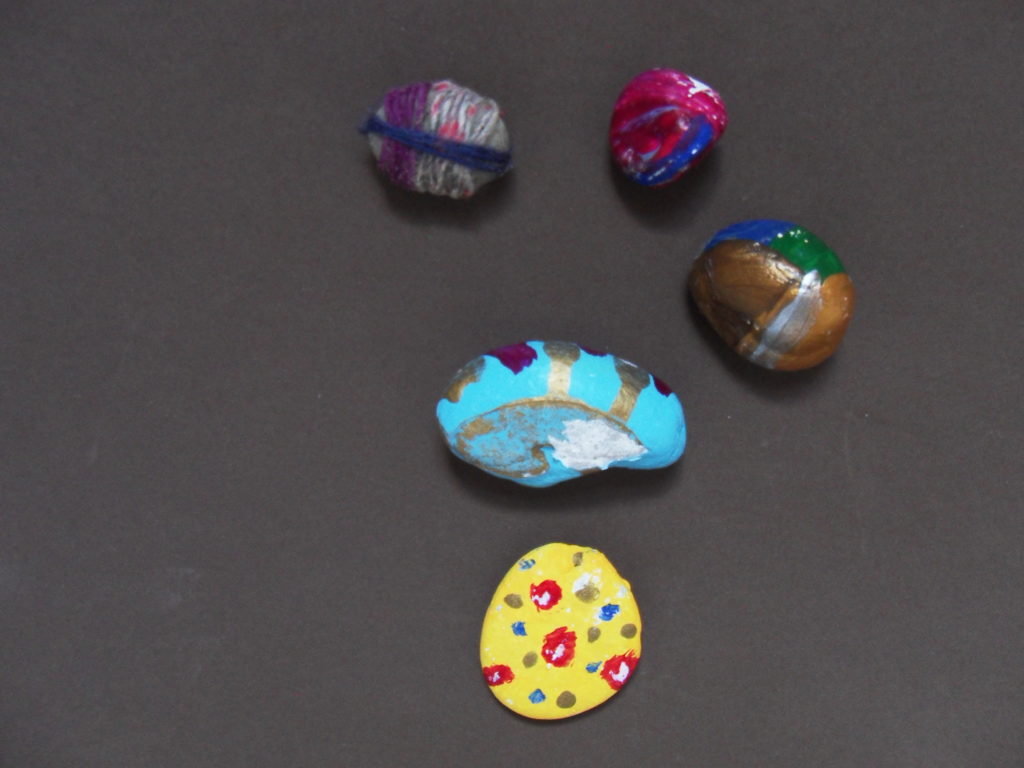
- If you can’t think of a design, lay the paints on the surface randomly. Overlap the colors and see them run into each other.
- Paint one side at a time and allow the design to dry. Turn over and paint the other side.
- Use your rocks to decorate your desk or your bedroom’s window sill.
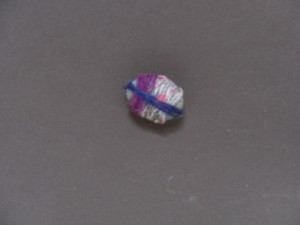
VARIATION: Select yarn or string in different colors and dip into glue. Wrap around the


Share this: