Tag Archives: art projects for kids

ART PROJECTS FOR KIDS: Paper Cut-outs

ART PROJECTS FOR KIDS: Paper Cut-outs

Materials:

White paper or white poster board

Colored papers

Embroidery scissors

Glue stick

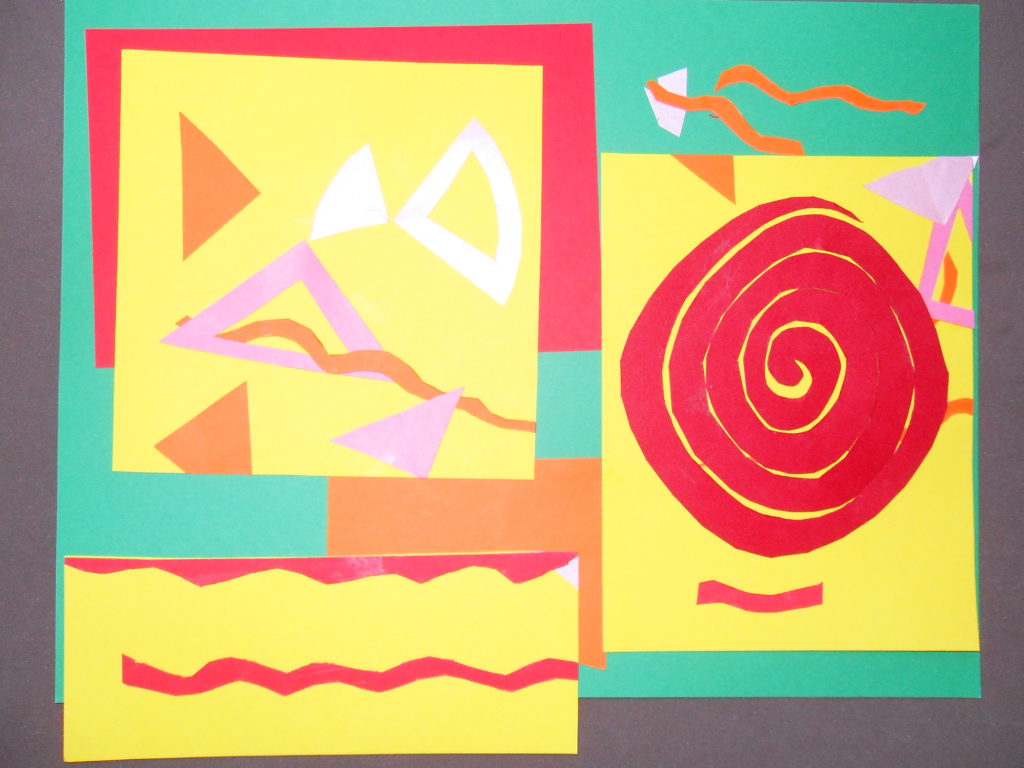
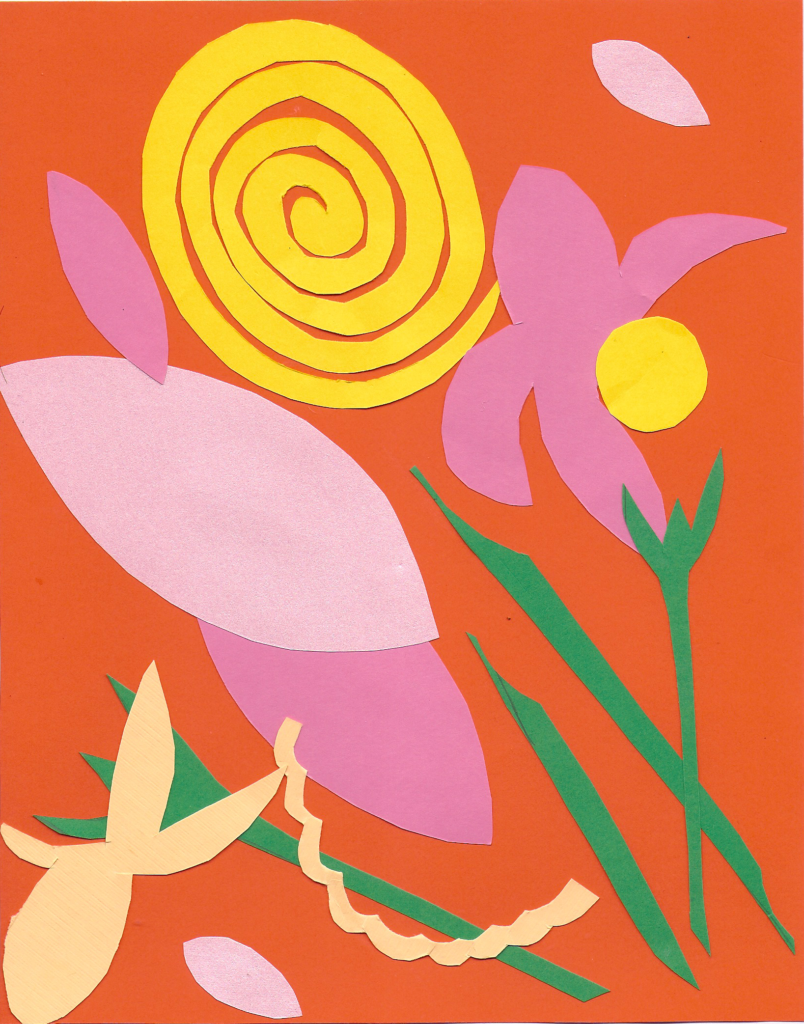
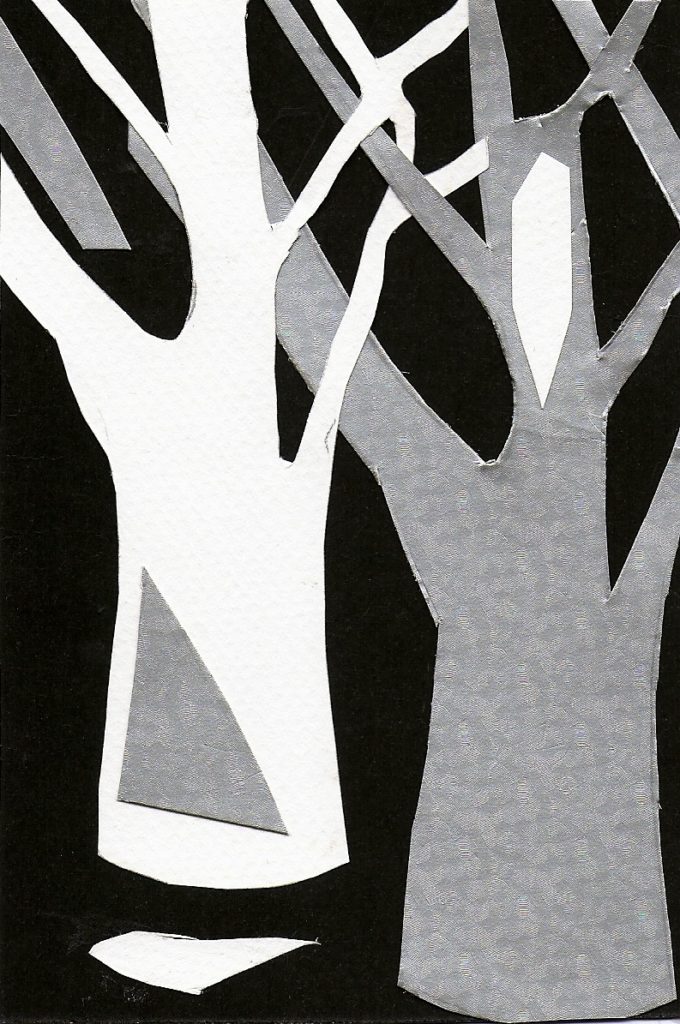
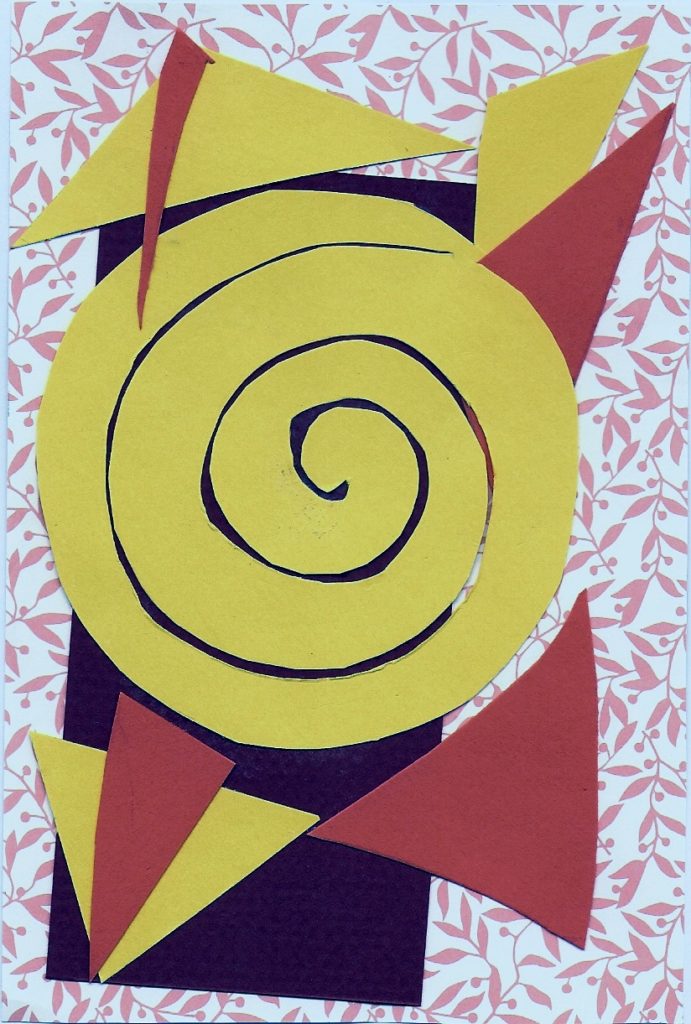
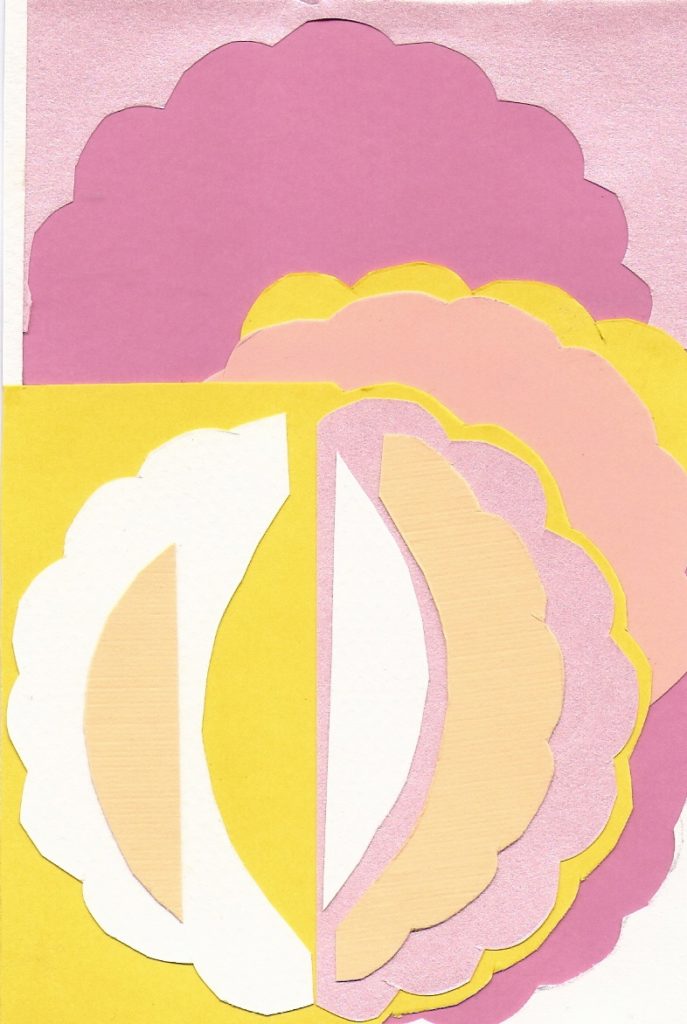
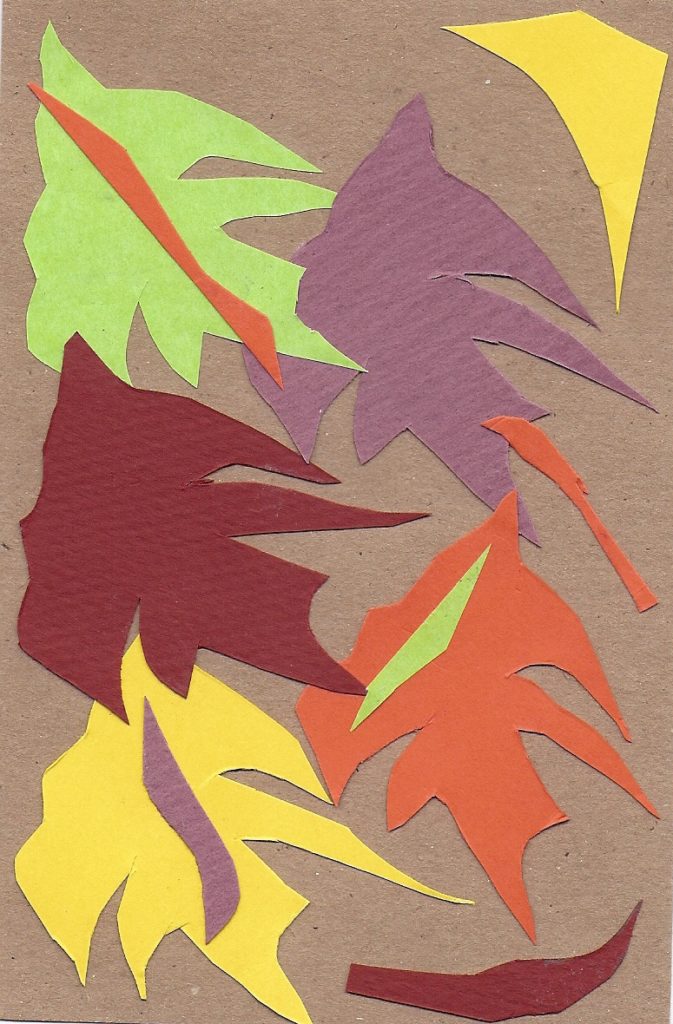
  1. Think of a theme, i.e., My Garden, The Four Seasons, a folk tale like The Tortoise and the Hare, etc. Or use geometric or abstract organic shapes to create a composition. Matisse often created patterns with the cut-outs. What are the main shapes that come to mind for the theme? What are the colors of those shapes? How many shapes will you sue for the composition? Matisse used animal shapes, forms from nature and the human form as well as more abstract shapes.
  2. Do not draw them on the paper. Cut the shapes freehand using quick motions with the scissors like Matisse. Cut them in different sizes and in a variety of colored papers. Experiment.
  3. Arrange them in a composition or throw them up in the air and see how they land on the paper or poster board. If you are gluing some of the shapes on several pieces of paper, throw those up in the air and see where they land.
  4. Glue some of the shapes on pieces of contrasting colored paper and some on the white poster board or glue all the shapes on the white board.
  5. What will you do with your composition? Matisse used some of his cut-out compositions to decorate the walls of his home.
Share Button

Art Project for Kids: Painted Rocks!

Art Project for Kids: Painted Rocks!

PAINTED ROCKS is an updated adaption of the project from “Painted Stones and Stone Sculptures” found in the Reinhold Book of Arts and Crafts Techniques and published by Van Nostrand Reinhold Companya division of Litton Education Publishing, Inc. in 1976. Materials: Rocks preferably with a relatively smooth surface Poster or acrylic paints Brushes of various widths Container for water Palette or disposable smooth surface like wax paper Soap Paper Towels Newspaper or something similar to cover the surface of your work space

  1. Wash rocks thoroughly and dry. If rocks are very dirty, soak in a bucket of sudsy water, rinse and dry. In the meantime, cover your work space.
  2. Think of a design for the rock. Sometimes the rock suggests a design or an object. Stripes, dots, stars, swirls, circles are some ideas you can use alone or in combination.
  3. Select the paint colors and squeeze a small amount (about the size of a quarter to start) on the palette or wax paper. Squeeze white, black or brown for the base coat of the rocks.
  4. Prime the rock white if you selected lighter colors or brown if you selected darker colors. This step isn’t required but it makes the colors adhere to the rock better if there is a base coat on which to paint your design. Paint one side at a time and allow the rock to dry. Turn over and paint the other side.
  5. If you can’t think of a design, lay the paints on the surface randomly. Overlap the colors and see them run into each other.
  6. Paint one side at a time and allow the design to dry. Turn over and paint the other side.
  7. Use your rocks to decorate your desk or your bedroom’s window sill. They also make nice gifts!

VARIATION: Select yarn or string in different colors and dip into glue. Wrap around the rock in different directions. Allow the glue to dry. VARIATION: Create rock creatures by gluing paper, pipe cleaners, pompom, buttons and more!

Share Button