The craft PAPER WEAVING was adapted from the project “Stitches, Scraps and Haute Couture/Paper Weaving” found in Arts and Crafts Activities Desk Book by Joyce Novis Laskin and published by Parker Publishing Company in 1971.
MATERIALS:
Large sheet of thick paper or cardboard for the frame of the mock loom
Two or three different colored and/or pattered papers cut into strips
Ribbon (optional)
Scissors
Ruler
Pencil with eraser
Glue stick or scotch tape
- Fold paper in half. (Choose any size paper or cardboard from 8 ½” x 11” and up.) Draw lines ¼” to ¾” apart down the length of the fold.
- Look at Step II below. Make incisions with the scissors, starting from the fold up to ½” of the edges of the paper. Don’t cut all the way to the end or you will cut the paper/cardboard into strips! Cut up to ½” at each the end of the paper/cardboard and draw a line across. (In other words, leave an uncut margin at both ends.) This is the weaving “frame” or “loom.” Open the paper or cardboard.
- Measure and cut strips of paper to weave in and out of the paper loom. To minimize mistakes, make sure that the strips are a little longer than the width of the loom.
- Choose two or three different colored papers to weave through the paper loom. (Alternate ribbon with paper for a different look to the weaving.) Start at one end and work your way up to the other end. Alternate the in-and-out pattern with each row. (Refer to photograph.)
- Trim loose ends and glue the ends down using a glue stick.
- Use your paper weaving as a placemats or give it as a gift. What else can you do with your paper weaving?
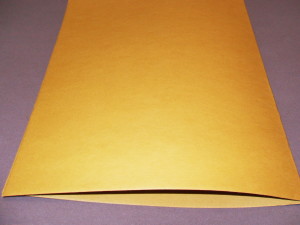
Paper Weaving Step I
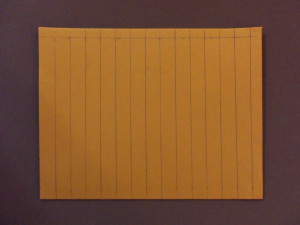
Paper Weaving Step II
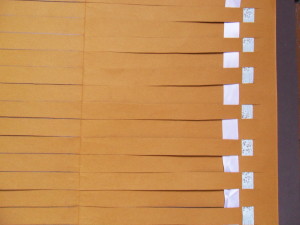
Paper Weaving Step III
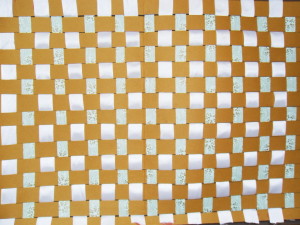
Paper Weaving Part IV


Share this:

