FIRST MAKE THE QUILLED HEART
MATERIALS:
(2) 24” pink strips of quilling paper
(2) 24” white strips of quilling paper
(2) 24” strips of red, orange, cream, dark pink quilling paper each
Additional strips of paper in different colors
Scissors
Ruler
Glue
Cut two strips of 24” pink quilling paper in half. Cut two strips of white quilling paper in half. Alternate the colors.
Make a big loop and glue the four tips together. Let dry. Fold the loop so that it comes to a point, forming two loops. You now have a heart shape. Glue this center so that the heart shape holds.
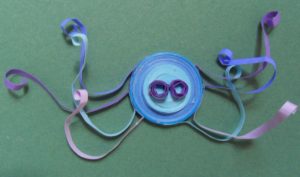
Take two 24” strips of coordinating or contrasting quilling paper and coil tightly, first one color and then the other. Glue the tips.
Make 3 – 5 closed coils of various sizes. Begin by alternating two strips of different colors and coiling them tightly. Glue the tips. Then coil three strips of different colors tightly. Glue the tips. Make big and small coils by adding more quilling strips if necessary to alternate the size of the coils.
Push through the center of the larger coils by to form a pyramid shape. Keep the other coils flat to add variety to the heart.
Glue the heart to card stock or cardboard of contrasting or coordinating color.
THEN MAKE THE QUILLED HEART NOTE CARD:
MATERIALS:
Card stock of various colors
Glue stick
Scissors
Pencil/eraser
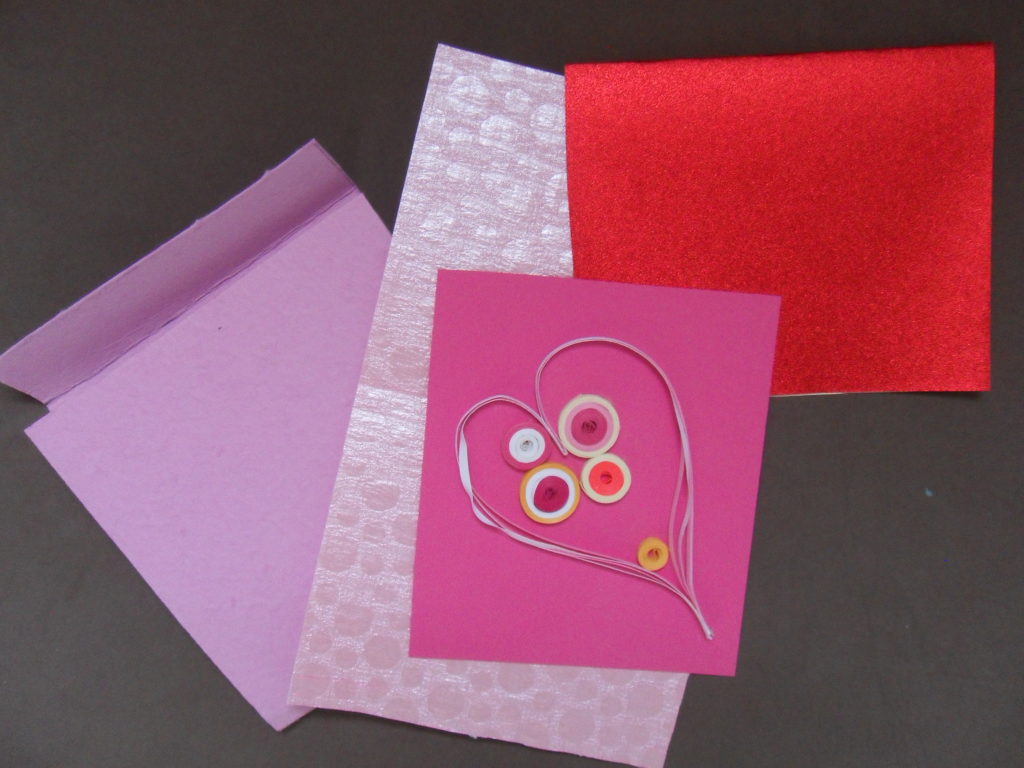
- Trim the quilled heart to an even length and width. The sample shown measures 4” x 4 ¾”.
- Measure and cut a piece of cardstock to 8” x 4 ½” doubling the width of the cardstock but keeping the height of the original. (Cardstock used in scrapbooking is ideal.) Choose a color that compliments or contrasts with the colors of the quilled heart. Fold in half.
- Measure and cut a second piece of cardstock of another color and cut it to 8”x 4 ½”. Glue the pieces together and trim where necessary.
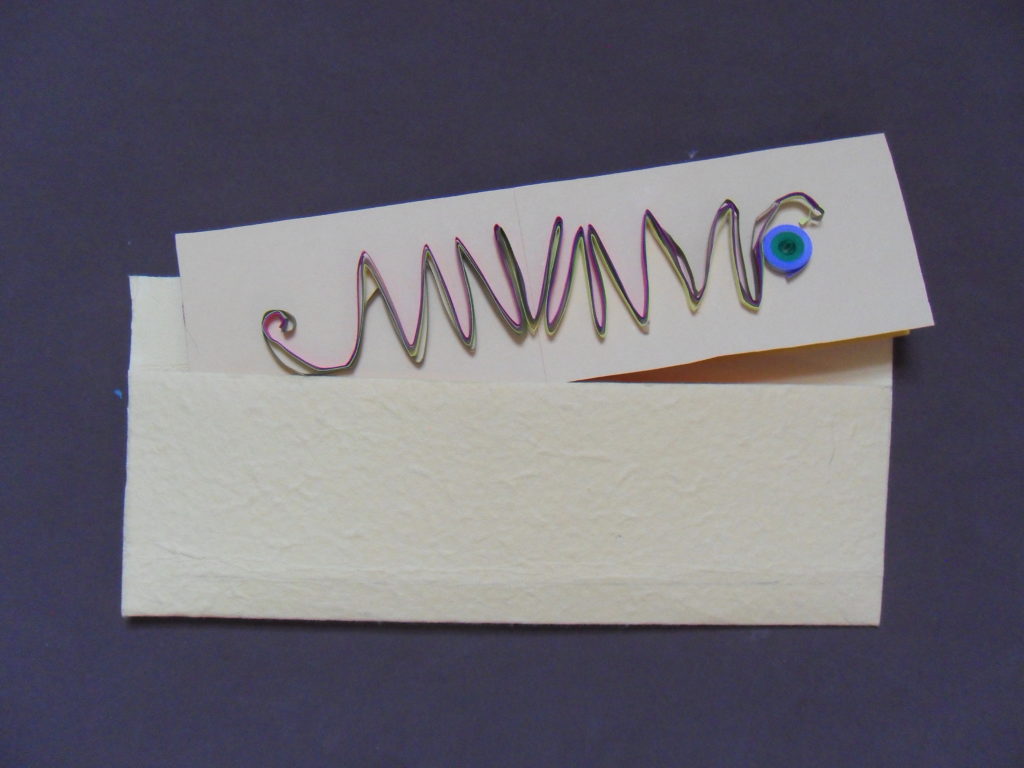
- Select a fourth sheet of cardstock in a contrasting complimentary color. Mark an area 10 ¾” x 4 ¾” with pencil. Cut. This will be the envelope.
- Measure an area 4 ¾” x 5” at the bottom of the first area with pencil.
- Measure a second area above that 4 ¾” x 5”.
- Measure and mark with pencil a third area above the second 1” x by 4 ¾ “. Fold at the creases and glue at the edges.
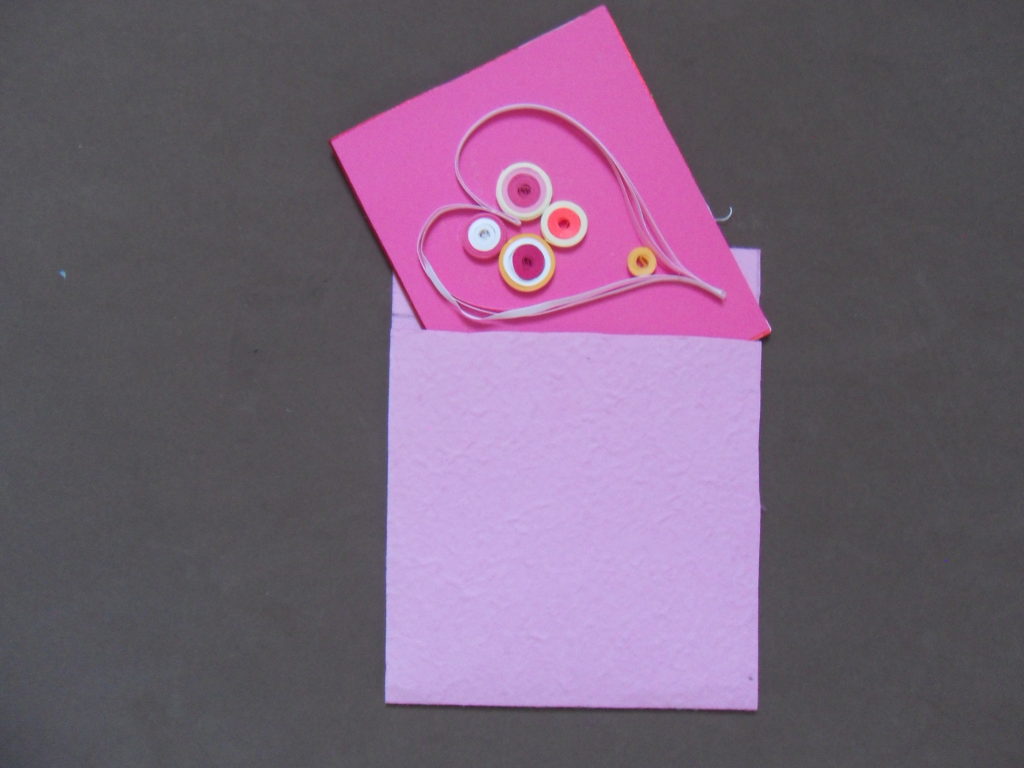
- Insert the quilled card in the envelope. You have a blank card to write a thank you or a thinking of you note.
Like this:
Like Loading...