FIRST MAKE THE QUILLED FLOWER
MATERIALS:
(3) 24” strips of orange quilling paper (for the center of the flower)
(1) 24” strips of brown quilling paper (for the center of the center of the flower)
(4) 12” strips of yellow quilling paper (for the petals)
(4) 12” strips of orange-yellow quilling paper (for the petals)
(4) 3 ½” strips of orange-yellow quilling paper
(3) 12” strip of brown quilling paper (for the petals)
Cardstock or cardboard
Glue
Ruler
scissors
Tightly coil three 24” strips of orange paper and glue the tip. This is the center of the flower.
Using the 12”strips of yellow paper, make a small loop and secure the tip with glue. Continue to make a loop slightly larger than the first, securing the tip again. Repeat this pattern until there is no more paper to make a loop. Be sure each loop is bigger than the last one and glue the tip each time you make a loop.
These will be the petals of the flower. Continue with the rest of the yellow strips until you have four completed yellow petals consisting of open loops.
Continue this pattern with the orange-yellow strips until you have four completed flower petals. In the end, there will be a total of eight petals.
Make petals with the 12” strips of brown paper making the loops smaller.
On cardstock or cardboard, trace the flower’s center lightly with pencil. Arrange the yellow and orange-yellow petals evenly around this circle and glue down. Glue the brown petals randomly around this circle.
Glue the center of the flower down. Take one end of the 3 ½” strips of orange-yellow quilling paper and curl the tip. Finish curling the tips of the 3 1/2 inch orange-yellow papers. Glue the other end randomly through-out the petals.
THEN MAKE THE QUILLED FLOWER NOTE CARDS
MATERIALS:
Cardstock of various colors
Scissors
Glue stick
Pencil/eraser
- Trim mounted quilled flower to an even height and width. The sample shown is 5 ¼” x 5 ½”.
- Measure and cut a piece of cardstock to 10 ½” x 5 ¼” doubling the width but keeping the height to 5 ¼”. (Cardstock for scrapbooking is ideal.) Choose a color that compliments or contrasts with the colors of the quilled flower.
- Measure and cut another piece of cardstock in another color to 10 ½’ x 5 ¼”. Glue the three pieces and trim where necessary. Glue the pieces together.
- Choose a third sheet of cardstock for the envelope. Choose a color that compliments or contrasts with the colors of the quilled flower. Measure an area 5 ¾” x 5 ½”. Mark with a pencil. Cut.
- At the bottom of the cardstock, measure an area 5 3/3” x 5 ½” in pencil.
- Above that measure an area 5 3/3” x 5 ½” in pencil, too.
- Above that measure an area 1” x 5 ¾” and fold the marked areas at the creases. Glue at the edges.
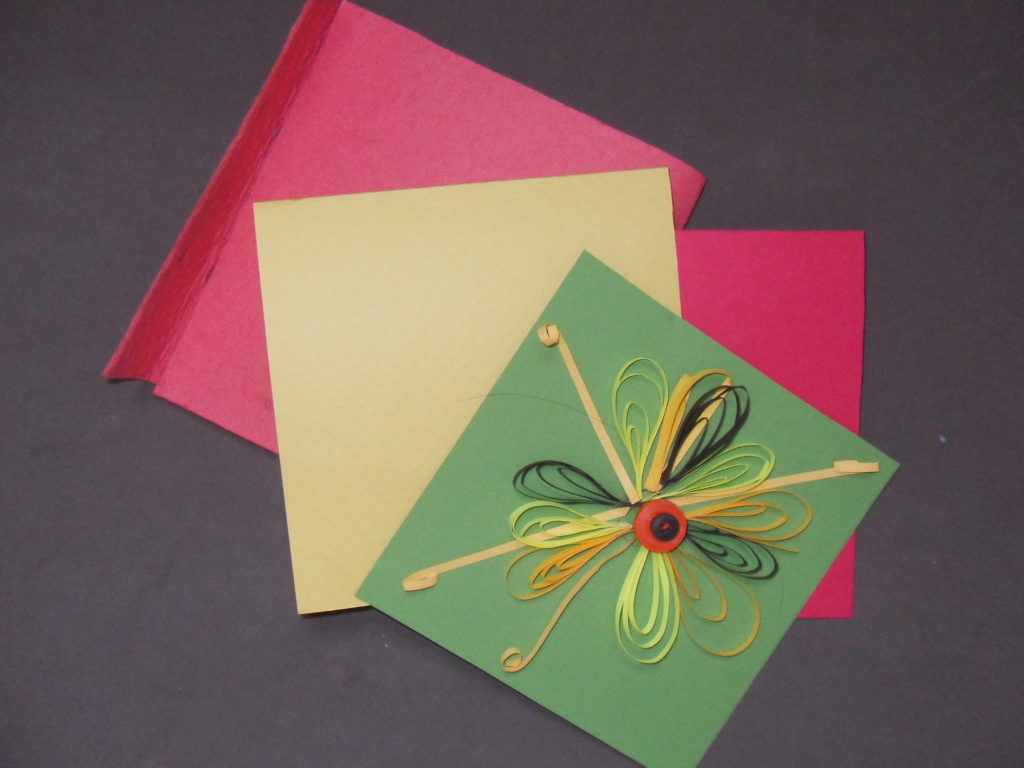
- Insert the quilled card in the envelope. You have a blank thank you or thinking of you card.
Quilled


Share this:

