Materials:
Paper in 4 holiday colors or colors of choice
Scissors
Pencil/eraser
Ruler or yard stick
Beads, glitter or similar craft items (optional)
Glue stick
Ribbon, paper twist, strips of fabric or similar material
One chain link fence
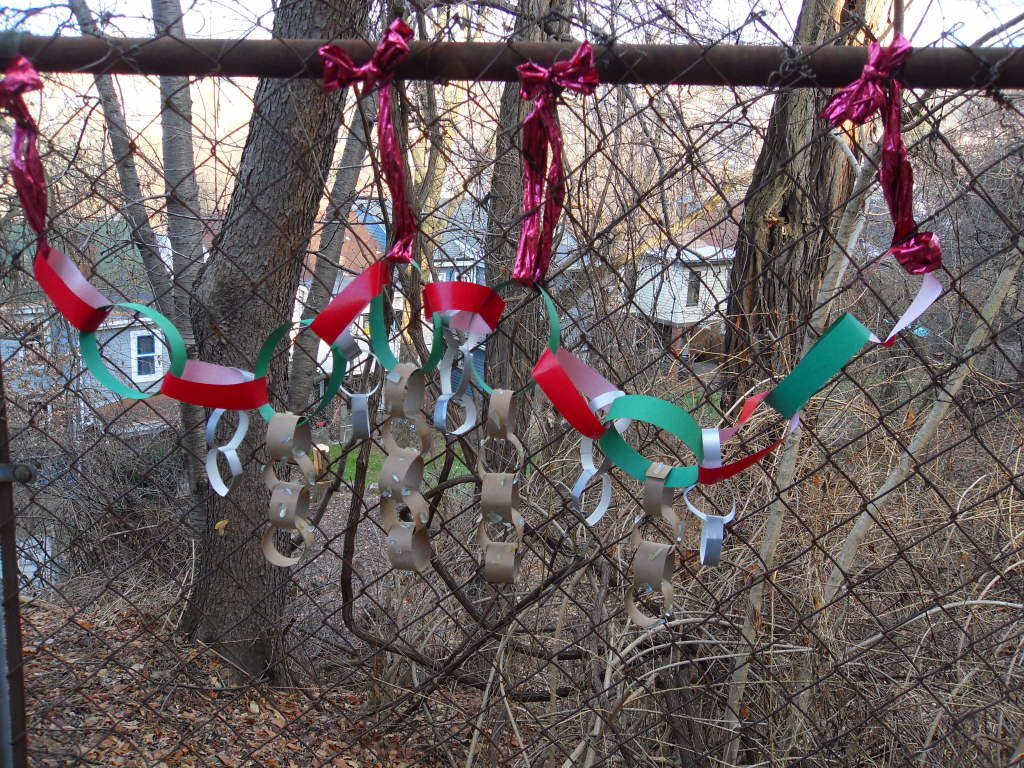
- Use three or four different colored papers. The sample in the photograph uses red, green, silver and brown. Measure and cut one of the colored papers into six ½” x 8” strips.
- Measure and cut the next colored paper into seven strips measuring ½” x 6.”
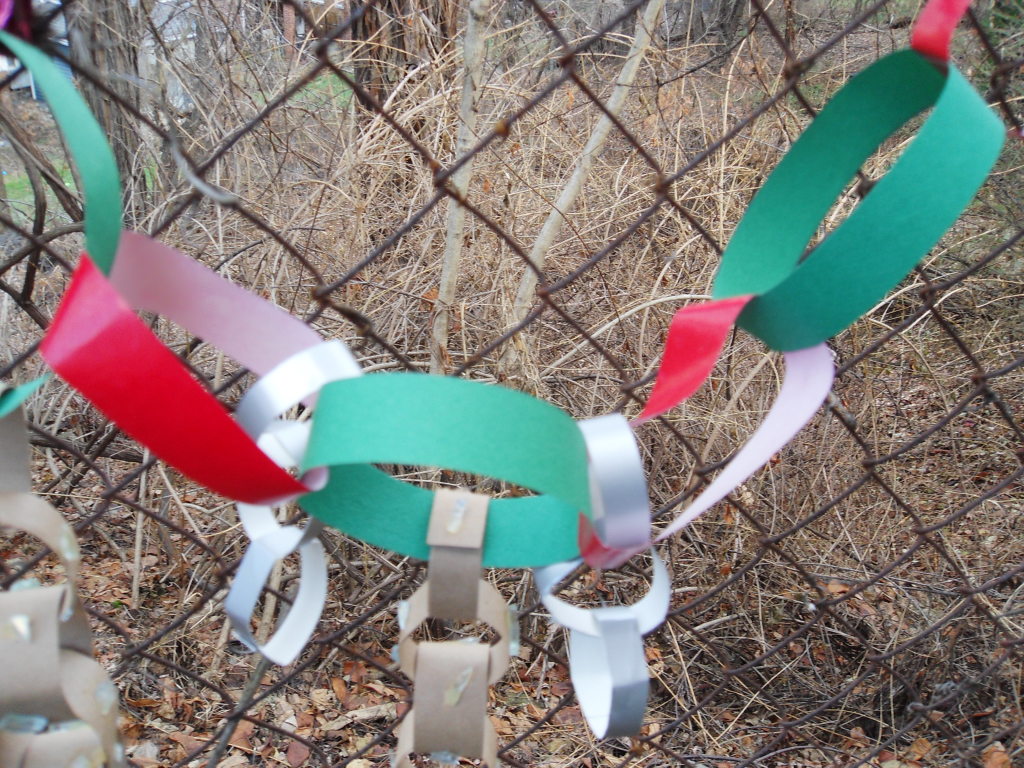
- Glue one strip of paper measuring ½” x 6.” Then glue a strip of measuring ½” x 8” through the first loop. Alternate the colors of the paper strips until you have 13 paper loops in two different colors forming a garland. (For example, the pattern would be red, green, red, green, etc.) Use the photograph for reference.
- Next, measure and cut the paper of the third color into 16 strips of 1/2” x 5.”
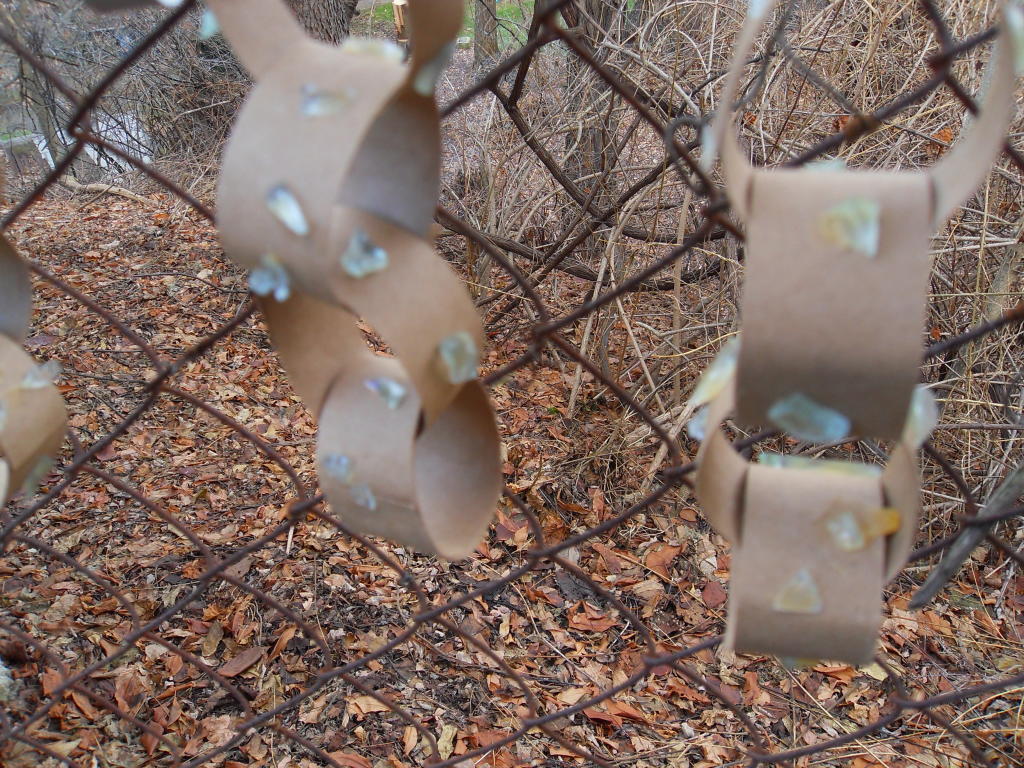
- Glue one strip of that paper through one of the loops measuring ½” x8”. Glue another strip through that same loop so that the loops hang down from the first loop. Use as many strips to form loops of the third color as you wish. The sample in the photograph used four strips of that color. Continue to glue strips of the third color into loops hanging down from the larger loops. The sample shows four smaller loops of paper flowing vertically from four larger loops for a total of 16 loops of the third color.
- Proceed in the same way with the fourth colored paper. Cut strips measuring ½” x 5.” Loop the strips vertically from the second colored paper. See the photograph of the sample for reference.
- Optional: glue glitter or sequins or small beads on any or all the loops. Use small beads and be aware that heavy or large beads can drag down the paper loops.
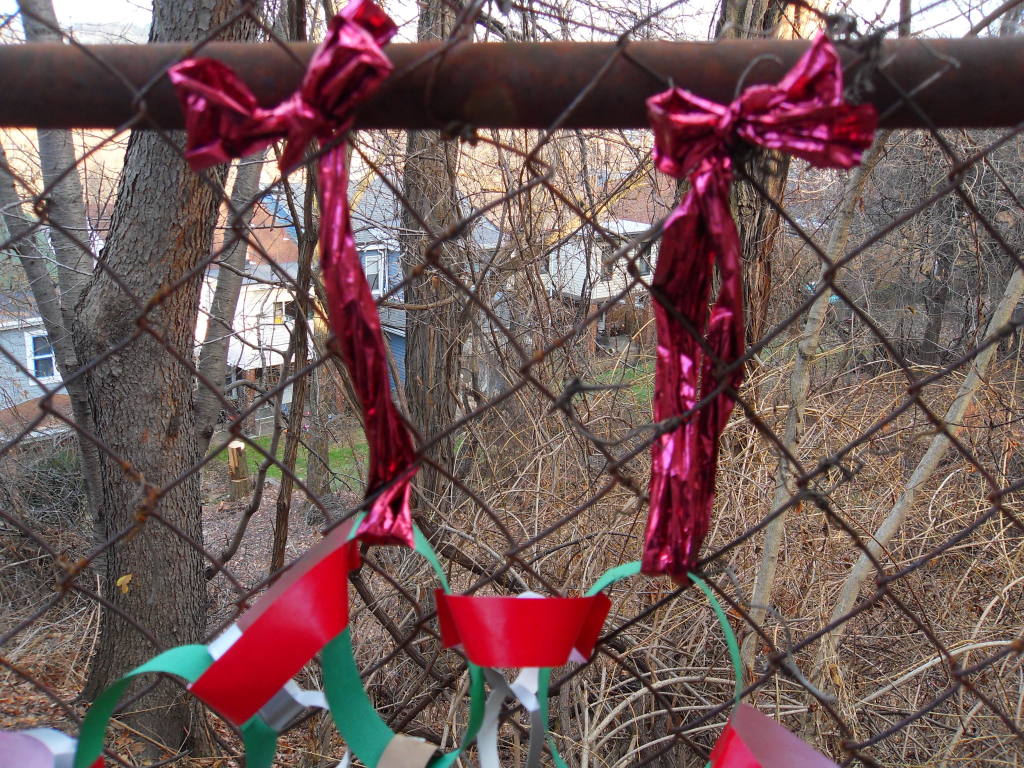
- Loop the ribbon through one of the paper loops at one end, then weave the ribbon in and out of the chain link fence. Tie a bow at the top. Repeat this step at the other end and in the middle.
- Or use your imagination and use other decorative objects!
- Hang from the fence during the holiday season.


Share this:


