Scrap booking for Beginners
Scrap booking has been around for ages, but it has recently experienced a surge in popularity. People from all walks of life have discovered the joys of creating albums to showcase their treasured photos and keepsakes. Don’t be intimidated with all the elaborate scrap booking techniques and myriad embellishments available when getting started.
The truth is, anyone that can use scissors and glue can scrapbook. And you don’t have to spend ridiculous amounts of money to create attractive pages. With some basic supplies and a little imagination, you can create lovely scrapbooks that will last for years to come.
What You Need
You can get started scrapbook on a small budget. Here are the things you’ll need.
* An album – Scrapbook albums come in all shapes and sizes. The most popular are 8 1/2″ x 11″ and 12″ x 12″. Most craft supply stores sell scrapbook albums if you don’t have a scrapbook supply store nearby.
* Paper – Scrapbook paper come in a variety of solid colors and patterns. This will be the basis for each page. You may also use scrapbook paper to make a journal and to create your own photo mats and embellishments.
* Cutting tools – You can easily get by with just a good pair of scissors. But an Exacto knife might make photo cropping easier. And if you’re no good at cutting straight lines, you might want to invest in a paper-cutter.
* Adhesives – There are all sorts of adhesives one could use for scrapbooking. Glue sticks and double-sided tape are quite popular. Some scrap booking enthusiasts also use rubber cement or glue dots for certain applications. But when you’re getting started, just use what you’re most comfortable with.
* Photos – Beginning scrapbook craft lovers often start out with old photos that they’ve accumulated over the years. This makes for a nice, nostalgic album. Of course you can also take new pictures for your scrapbook. A digital camera and photo printer are two modern conveniences that make scrapbooking easier, but they are not necessities. Photos taken by a film camera work just as well.
When purchasing scrapbook supplies, it’s important to make sure they are acid-free. This will keep them from harming your priceless photos.
Basic Techniques
You don’t have to know a lot about scrapbook techniques to create an attractive album. Just a few simple techniques will suffice.
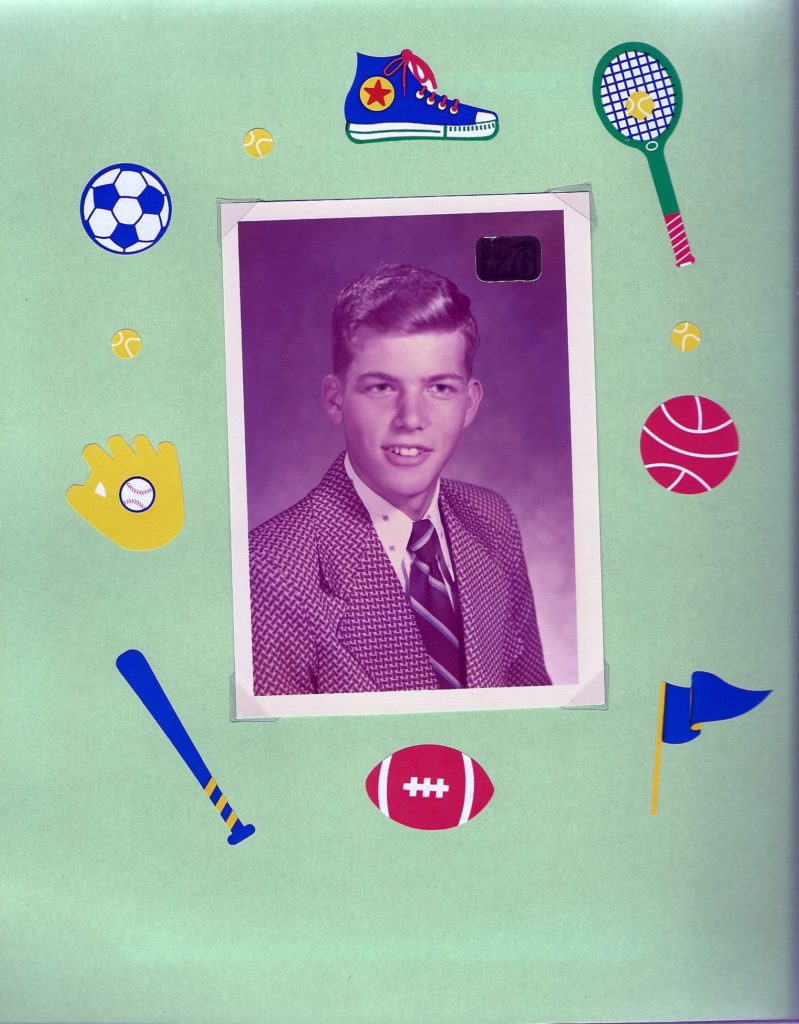
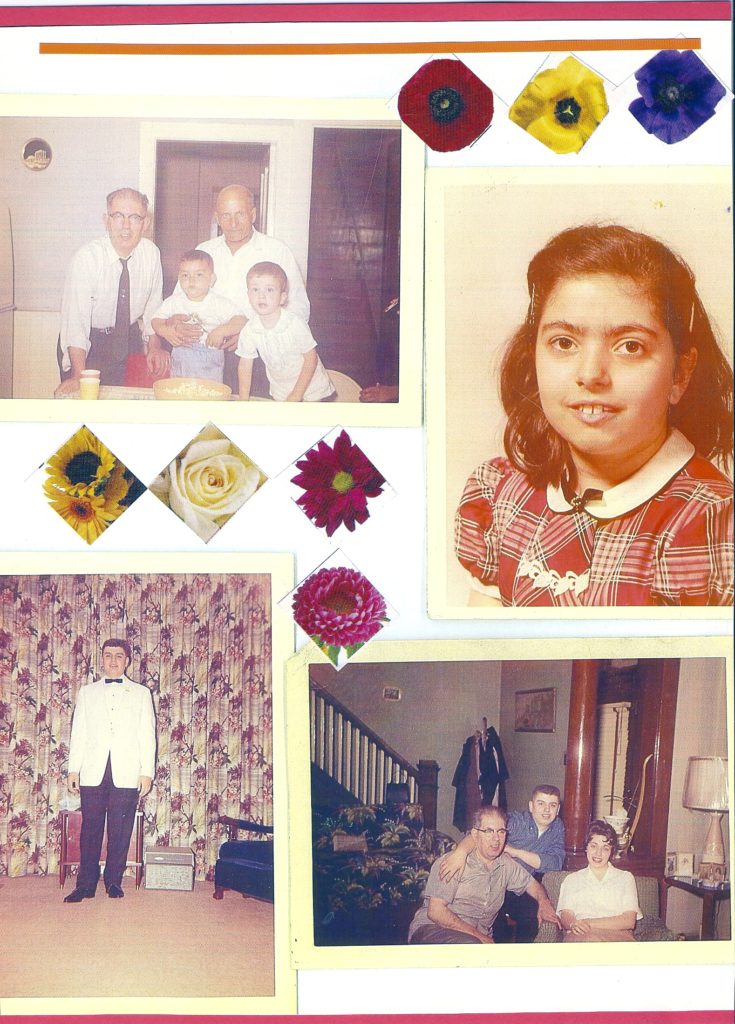
One of the first things many scrapbook enthusiasts learn is how to mat photos. Simply cut a square or rectangle that is about a half-inch longer and wider than the photo you want to mat. Then glue the photo to the center. To make a photo really stand out, double mat it by cutting out a shape a half-inch longer and wider than the first mat, and center the matted photo on it.
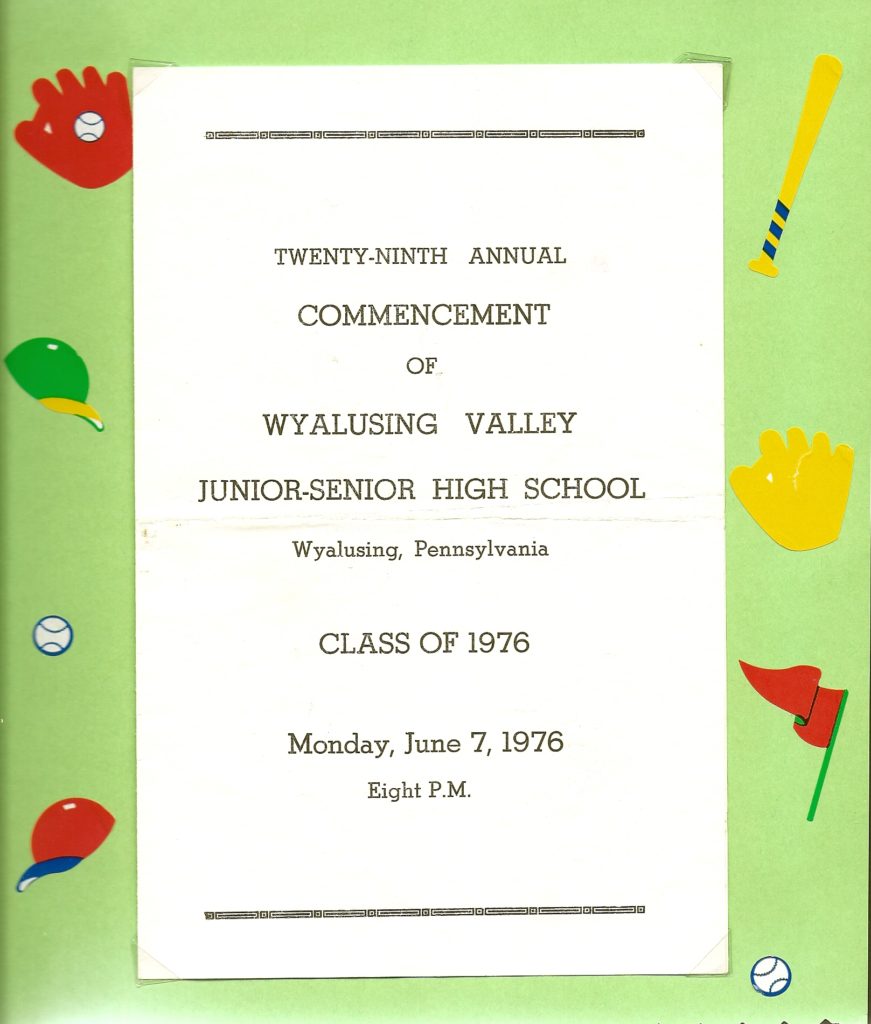
Making a journal gives scrapbook pages a nice personal touch. Simply write a note about the photos on a page, telling what was happening or sharing your thoughts on the subject. Use paper that compliments the background, and be sure to write with an acid-free pen.
Adding borders to your pages gives them a finished look. You can make them out of strips of coordinating scrapbook paper. You don’t have to border all four sides. A strip along the top, side or bottom will do. For easy embellishing, use some stickers.
There’s no need to give up if you don’t have the time, money or know-how to create elaborate scrapbooks. Just start simple, and learn new techniques as you go.


Share this:

