Tag Archives: note cards

RECYCLED CRAFT PROJECT: Nature’s Leaves Note Cards

RECYCLED CRAFT PROJECT: Nature’s Leaves Note Cards


The craft NATURE PRINTS was adapted from the project “From the Yard/Nature Prints” found in All-Around-the-House Art and Craft Book by Patricia Z. Wirtenberg and published by Houghton Mifflin Company in1968

Materials:

Leaves, bark, twigs

Printer’s inks or poster or acrylic paints in various colors (cheaper to use)

Drawing pencils (optional)

Rice or bond paper in white or various light colors (works best with poster/acrylic paints)

Brown wrapping paper or construction paper for use with printer’s inks

Brayer (or roller)

Piece of glass

Newspaper

Solvent for cleaning brayer and glass if using printer’s inks unless using water-soluble printer’s inks

  1. Collect fresh leaves from the trees or bushes in your neighborhood or yard. You will need some to experiment with and some for the last print. Other objects such as tree bark (if it’s easy to peel off) and even some twigs will work along with the leaves, too.
  2. Cover your work surface with newspaper. Lay down the glass and brayer on the work surface. Select the paints or inks that you will use. Acrylic or poster paints are less expensive than oil-based printer’s inks and easier to clean up after use.
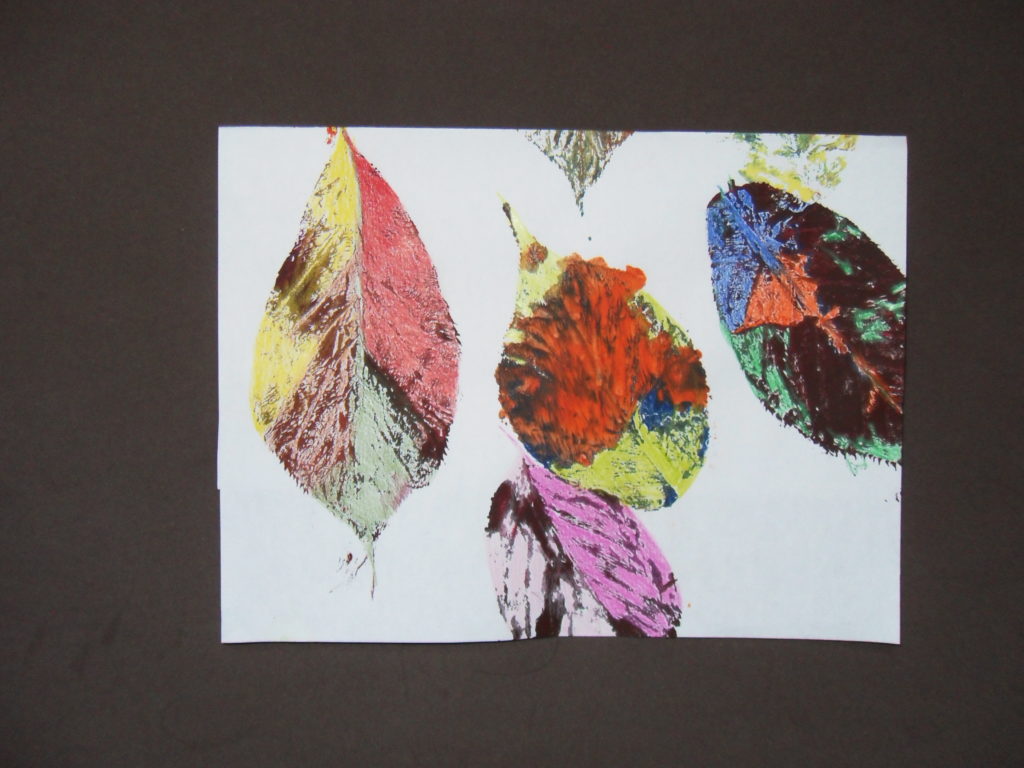
  3. You can squeeze one color for each leaf or squeeze two or three colors side-by-side on the glass. The leaves in the samples shown used one or two or three colors at one time.
  4. Roll the paint or inks on the glass until the pigment covers the brayer. If you are using more than one color, let the colors run into each other. Roll the brayer over the leaf several times and turning the leaf over, lay it on a piece of paper like rice paper or bond paper. Use your hand to press the leaf so that it prints on the paper. Paper that is not too thick or too thin is the best to use if using acrylic or poster paints. Printer’s inks can use a slightly heavier paper like construction or brown wrapping paper.
  5. Remove the leaf and see how it printed on the paper. Experiment until you have a print that you like. Experiment with other materials from nature combined with the leaves.
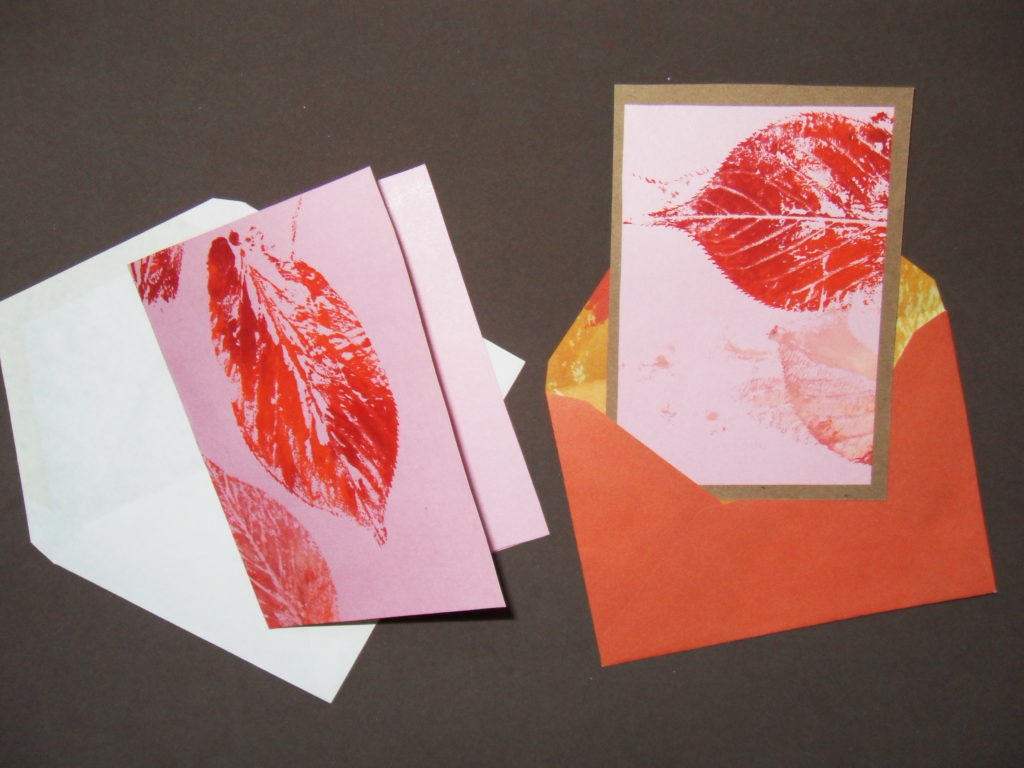
  6. To create a mixed media design, color the whites of the leaves or the background paper or outline the printed leaves with colored pencils. See the two samples below.
  7. Frame the print or using old note card stationery, make note cards or poster cards of the printed leaves. They make a thoughtful gift for people who still write notes!
Share Button

MAKE YOUR OWN CARDS – IT’S FUN AND EASY!

MAKE YOUR OWN CARDS – IT’S FUN AND EASY!

Make Your Own Cards – Fun and Easy!

Instead of giving out a store-bought card for the next special occasion, try your hand at making your own cards. Making your own cards does not need a lot of hard work, but rather a bit of creativity and the right materials.

To start creating your cards visit your local arts and crafts store to search for materials. Most arts and crafts stores have big scrapbook sections. This is where you will be able to find the materials to make your own cards. Let your inspiration guide you as the sky is the limit. You can create various themed cards such as Christmas, birthday, Valentine’s Day cards and much more.

Rubber stamps are widely available and you can buy almost any color ink to go with the stamps. There are several stamping methods that you can use when making cards including embossing. Embossing is the process of creating a raised image on the card and it can give the card an elegant appearance.

There are several die cuts and die cut machines available as well. Die cuts allow you to punch a shape out with ease. They come in all different shapes and sizes. They are very useful in achieving a layered look. You can punch die cuts out of different color papers to display a colorful card.

Scrapbook papers come in all different colors, textures and themes. You can buy patterned paper as well as glitter paper and pre-scored card kits. Card kits come with the note cards already made and ready to decorate. The kits come in different sizes and often different colors to meet a variety of needs. During seasonal periods, such as Christmas, card kits come out with note cards, envelopes and many die cut shapes.

Both regular and 3 dimensional stickers are available and come in many themes. Disney stickers are available as well as licensed characters and many 3 dimensional designs. Adding stickers to your cards can help to foster even more creativity when matching colors and themes. You can further enhance your handmade cards by adding ribbon or brads. Ribbon comes in a plethora of colors, shapes and textures. Brads hold items such as die-cuts on the card without the use of an adhesive.

Simply put, making cards is a creative process that only you can foster. Use a variety of items which found in your local arts and crafts store, second-hand store or dollar store. You can play around using different methods to decorate the cards and have fun at the same time!

All art tutorials are available on this website.

Share Button