WHAT IS A BANNER?
A banner is a piece of cloth suspended between two poles and often bearing a design, symbol or slogan. Banners can celebrate the seasons, holidays or bear slogans. The designs in this series of Art Tutorials celebrate summer, spring, winter and fall.
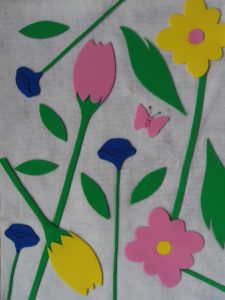
SPRING IS HERE! BANNER
Ages: 5 – 12 years
Time: ½ hour – 1 hour
MATERIALS:
White felt 36” x 36”
Green Fun Foam
Pink Fun Foam Pink Fun Foam
Blue Fun Foam
1. Measure and trim white felt to 14” x 20”. Place the piece vertically in front of you. Measure and fold a 1” seam at the top and iron. Fold another 1” seam. Iron and glue the second fold. The dowel rod will go through this loop.
2. Enlarge the photo of the completed banner above. Then trace and cut the flower shapes: yellow Fun Foam for one tulip and one daisy; pink for the second tulip and daisy; blue for the three morning glories; pink for the butterfly and green for the stems and leaves. (NOTE: The daisy and the tulip have different leaves.)
3. Cut one small yellow circle for the center of the pink daisy and one small pink circle for the yellow daisy.
4. Glue all the pieces, scattering the shapes randomly to create a cascading effect. Avoid placing two flowers of the same color next to each other.
5. Draw the centers of the morning glories with a black marker. Add antennae to the butterfly and dots in its center.
6. Cut the dowel rod like the other ones, insert, tie the string to the ends of the dowel rod and han

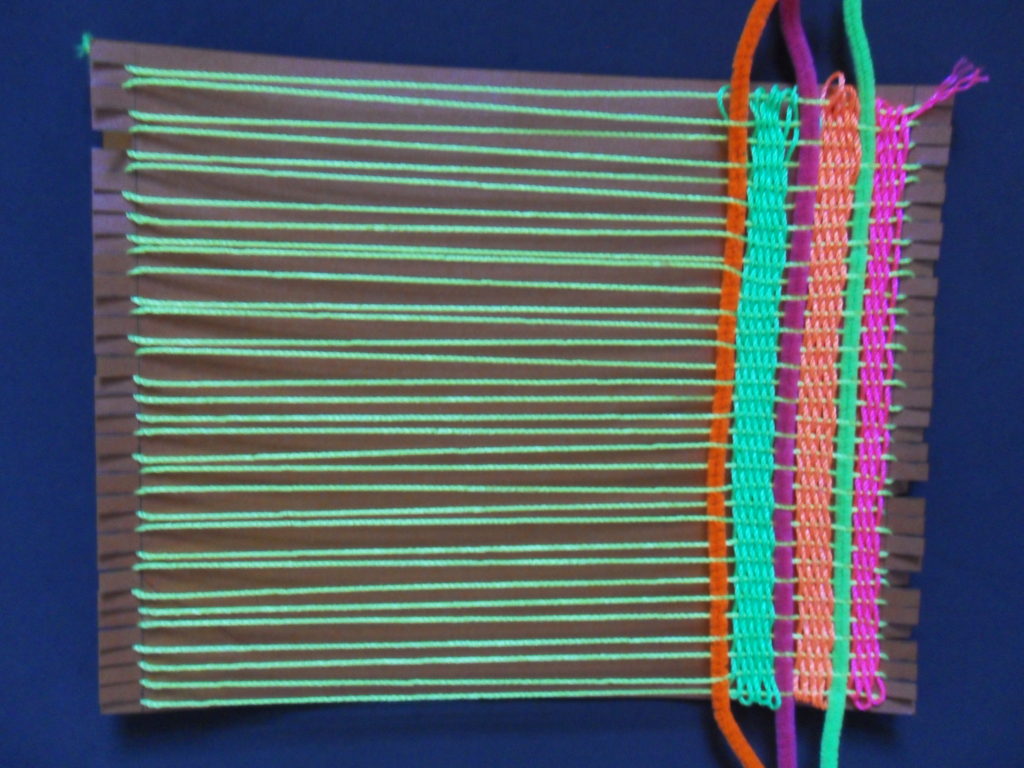
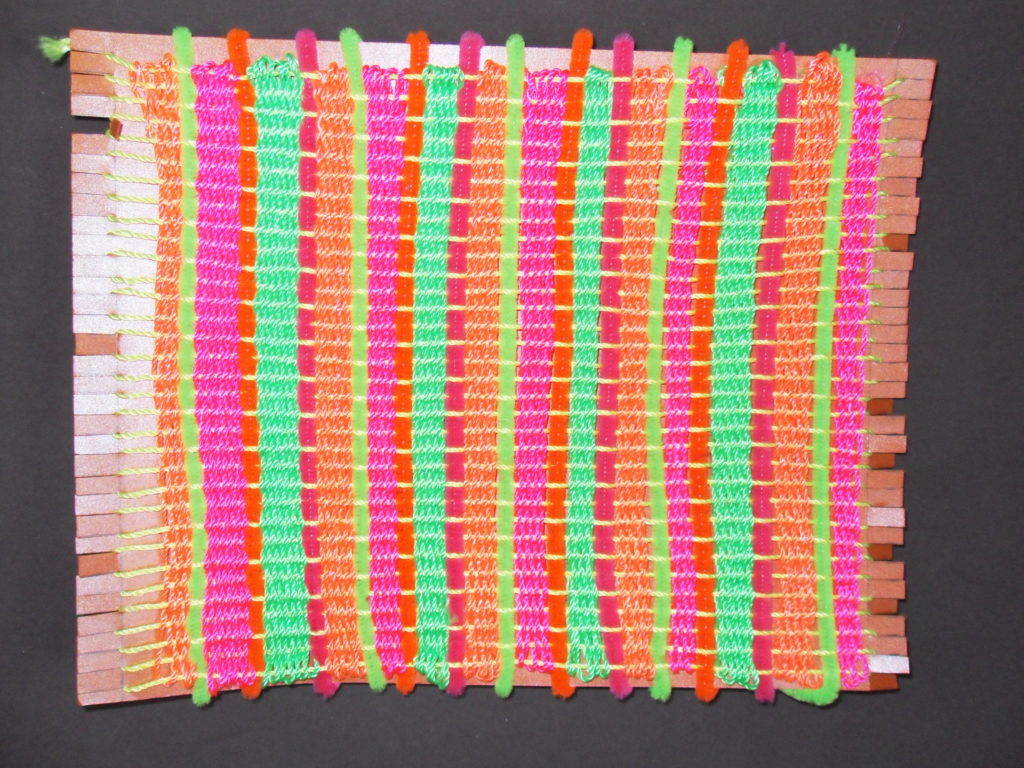
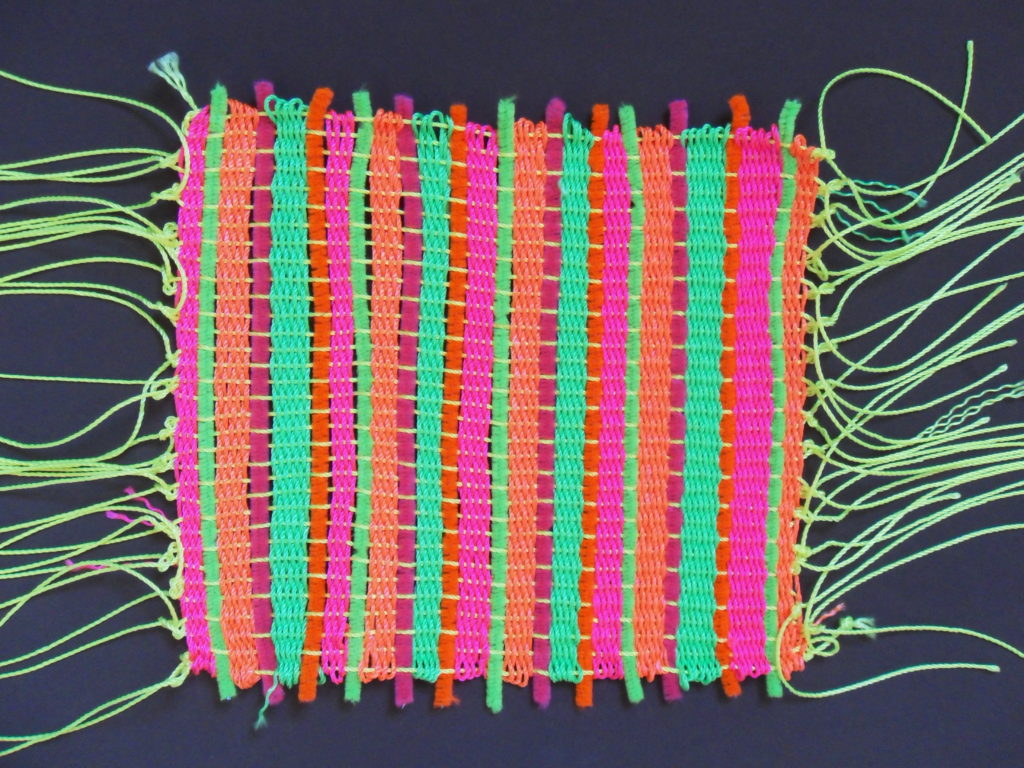
The craft WEAVING WITH A SIMPLE FRAME is an updated adaption of the project “A Simple Weaving Frame” found in The Reinhold Book of Arts and Crafts Techniques published by Van Nostrand Reinhold Co., a division of Litton Education Publishing Inc. in 1976. Many important events happened in 1976.
Challenge yourself and always use your imagination!
Materials:
Cardboard
String
Ruler
Pencil/eraser
Scissors
Yarn
Large-eyed tapestry needle (optional)
Ribbon, feathers, wool and other strips of fabric, leaves, twigs, string
* At all times refer to the photo illustrations.
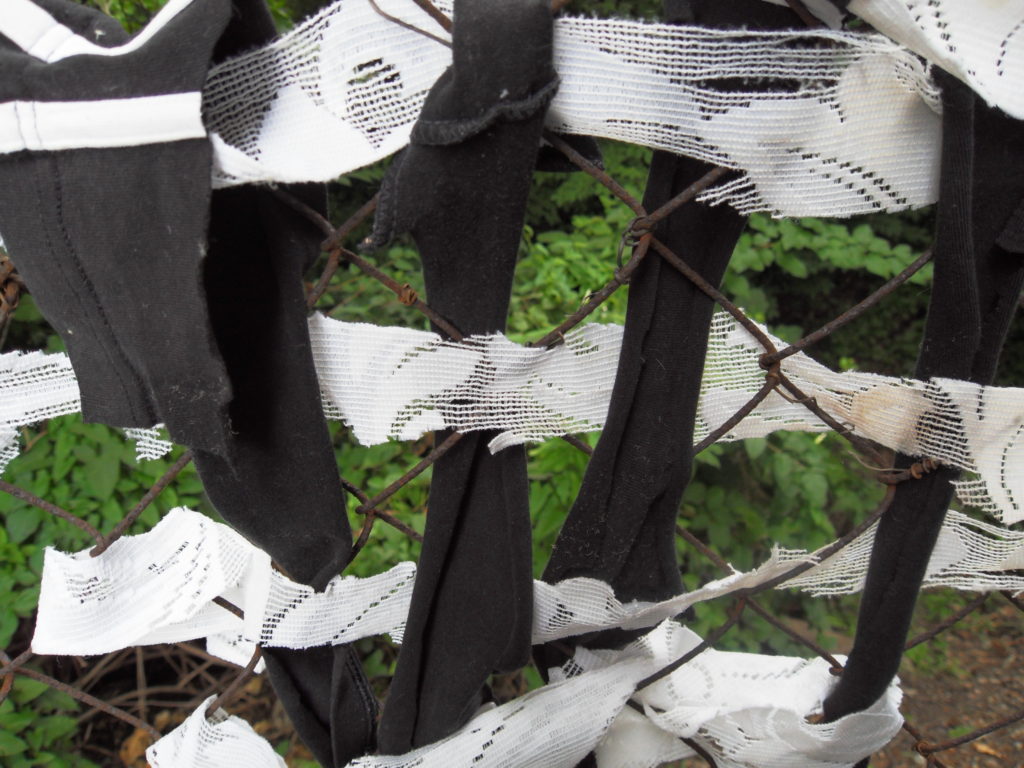
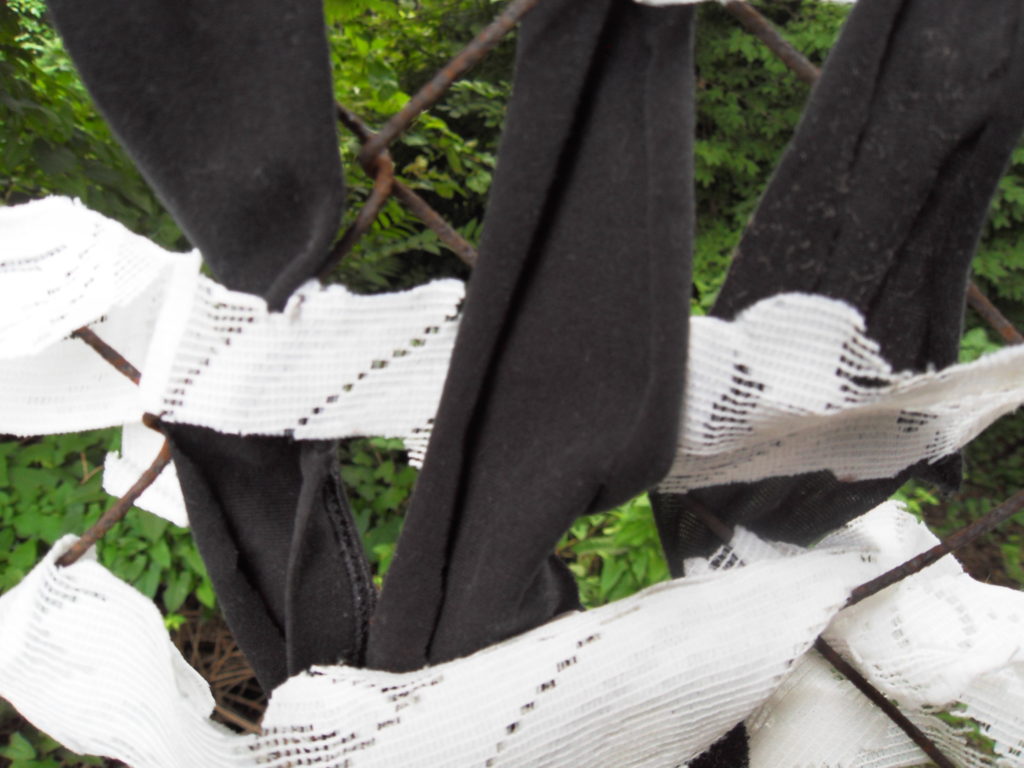
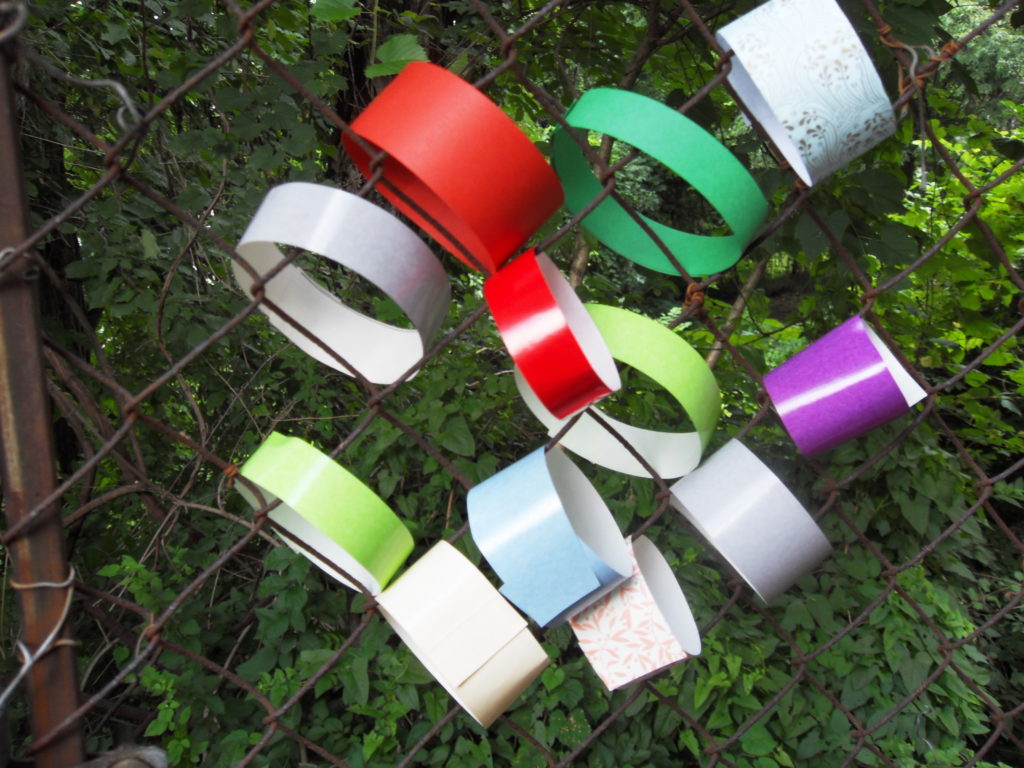
The craft Fence Weaving was adapted from the project “From the Yard/Fence Weaving” found in All-Around-the-House Art and Craft Book by Patricia Z. Wirtenberg and published by Houghton Mifflin Company in1968.
Materials:
One fence preferably a chain link fence
Ribbon, yarn, pipe cleaners, tassels, string, rope, feathers, strips of fabric or paper, and anything else that easily woven through or tied on a chain link fence
Pompoms, beads, tiny shells, paper dessert cups, and anything else glued to ribbon, yarn, strips of fabric or paper, etc. and attached to the links in the fence. Bits of drawings or photographs can also be used.
Scissors
Glue
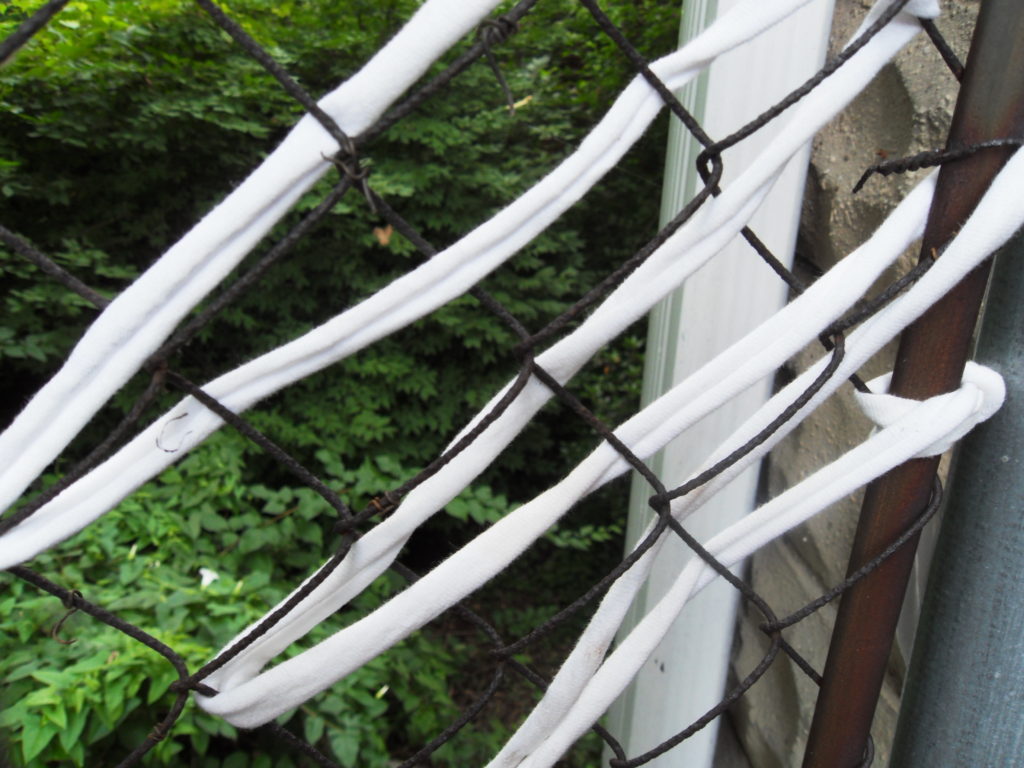
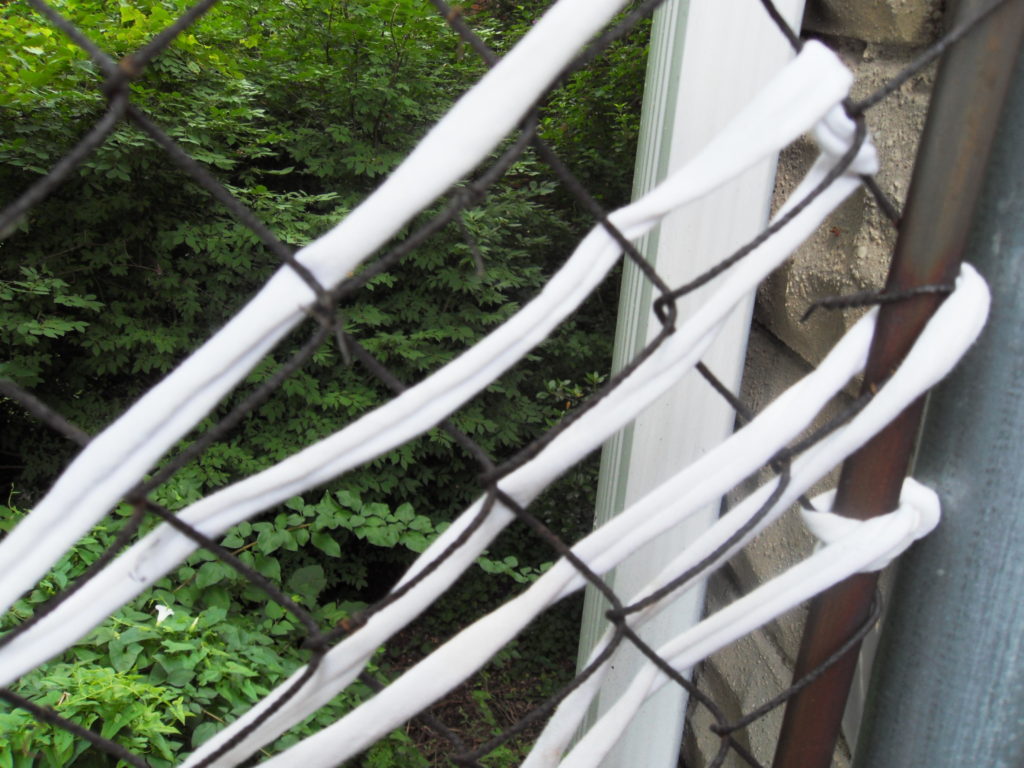
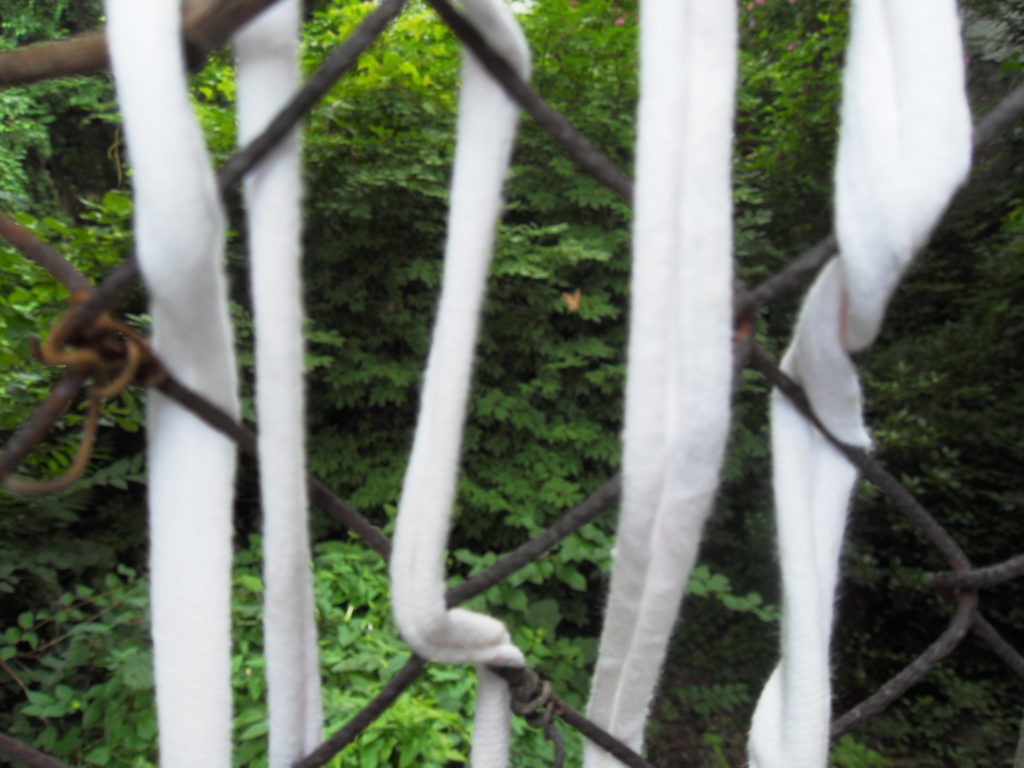
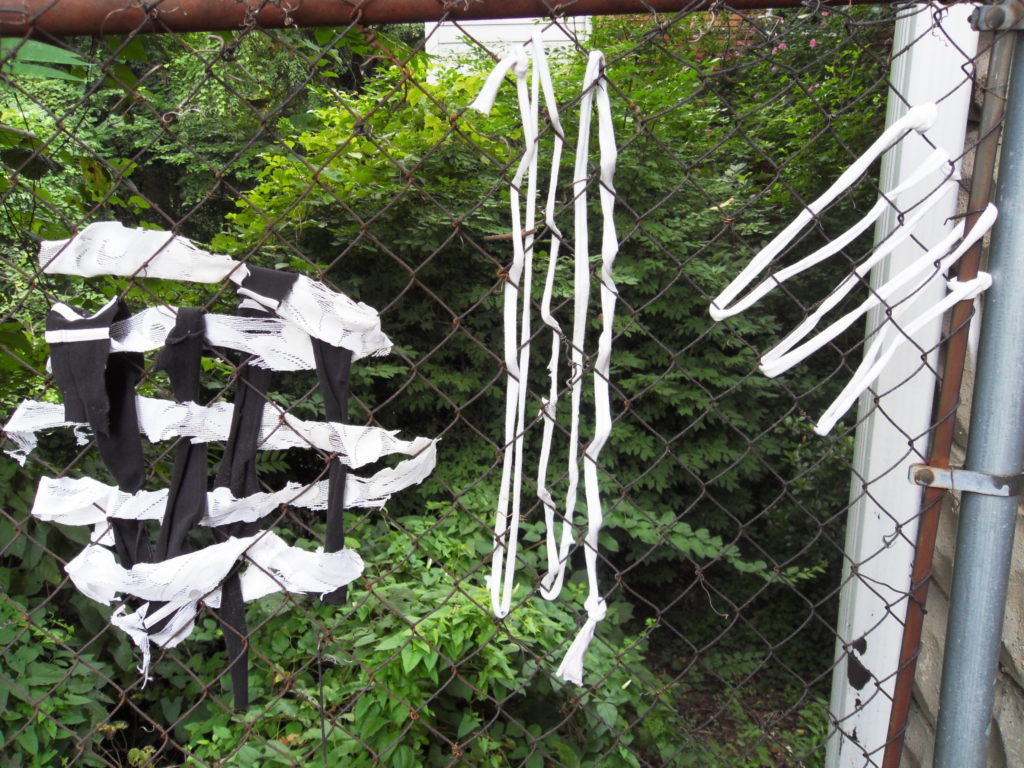
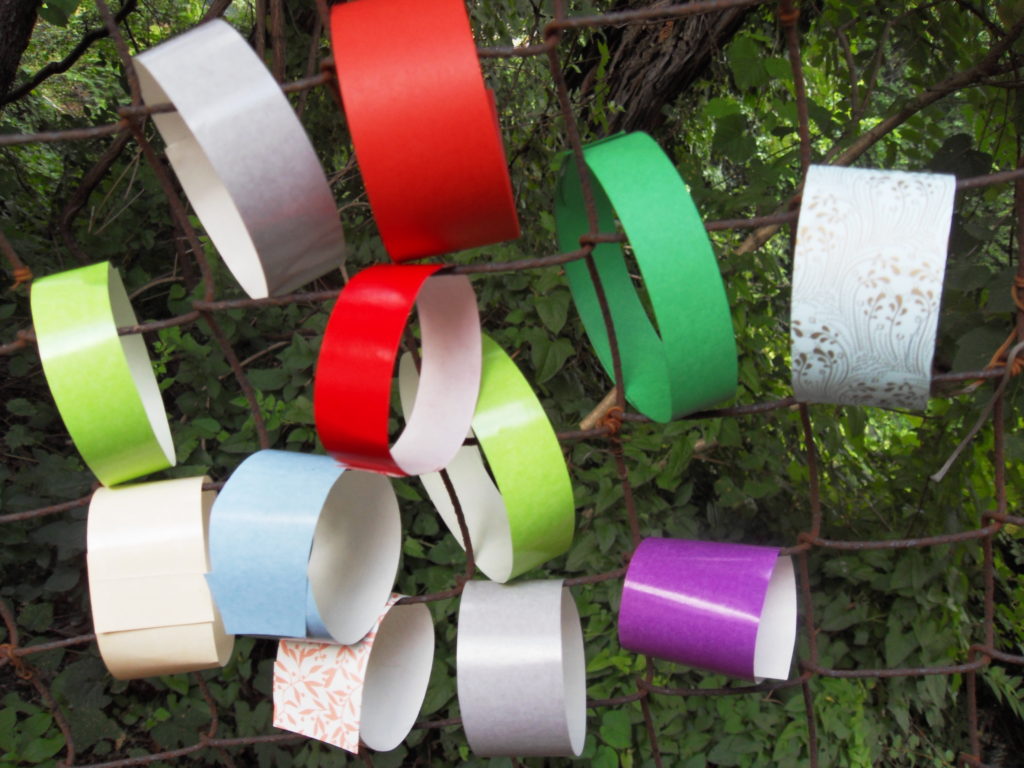
1) Weave, loop or tie materials such as pipe cleaners, ribbon, yarn, rope, strips of fabric or paper and string diagonally, vertically or horizontally through the links in the fence.
2) Weave or loop or tie the ends of fabric, ribbon or paper through the links in the fence and secured with glue. The more you material you use, the more festive the fence looks.
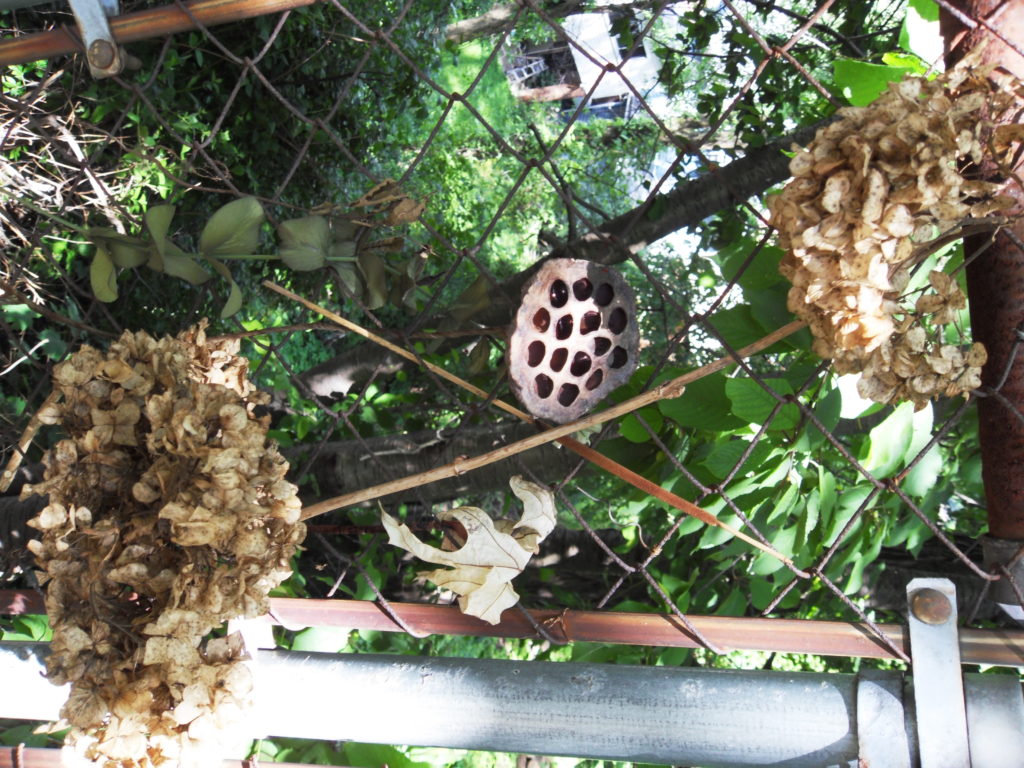
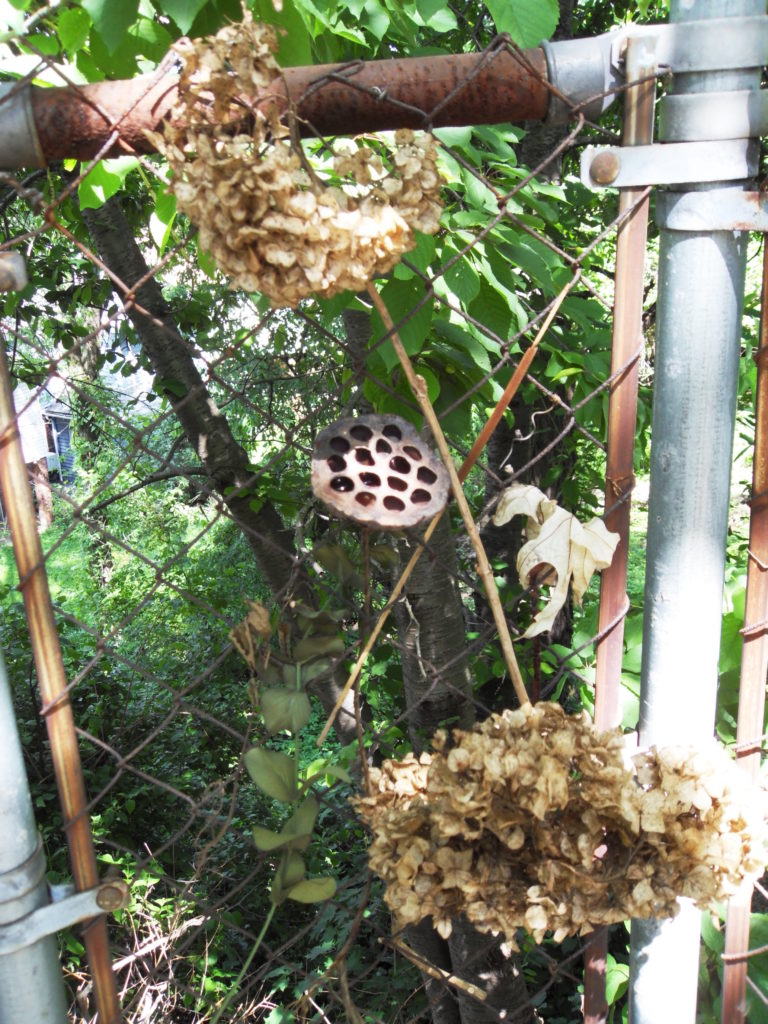
3) Glue artificial flowers, beads, tiny shells, and similar items to ribbon, strips of fabric or paper, etc. Weave the ends through the links in the fence.
4) Make a garland of paper or similar material and attach the ends to the fence. Celebrate the Fourth of July with a red, white and blue garland!
5) Cut paper letters and/or numbers and glue to a long strip of paper or ribbon and attach to the links in the fence at each end. Anything goes! The signs can say “Happy Summer!” “Enjoy Summer Camp!” “Hooray for Summer!”
6) Another idea: decorate the fence according to themes: nature; summer/seashells; art; Disney; cars/trains/airplanes; sports, etc.N
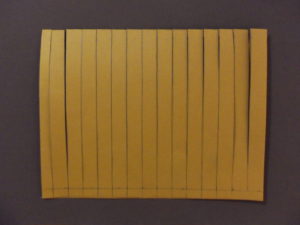
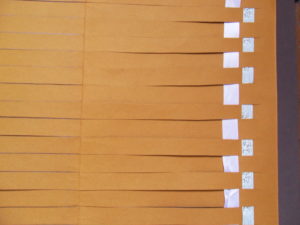
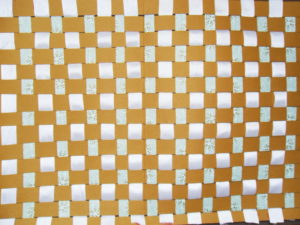
PAPER WEAVING

PAPER WEAVING
PAPER WEAVING
PAPER WEAVING
PAPER WEAVING
The craft PAPER WEAVING was adapted from the project “Stitches, Scraps and Haute Couture/Paper Weaving” found in Arts and Crafts Activities Desk Book by Joyce Novis Laskin and published by Parker Publishing Company in 1971.
MATERIALS:
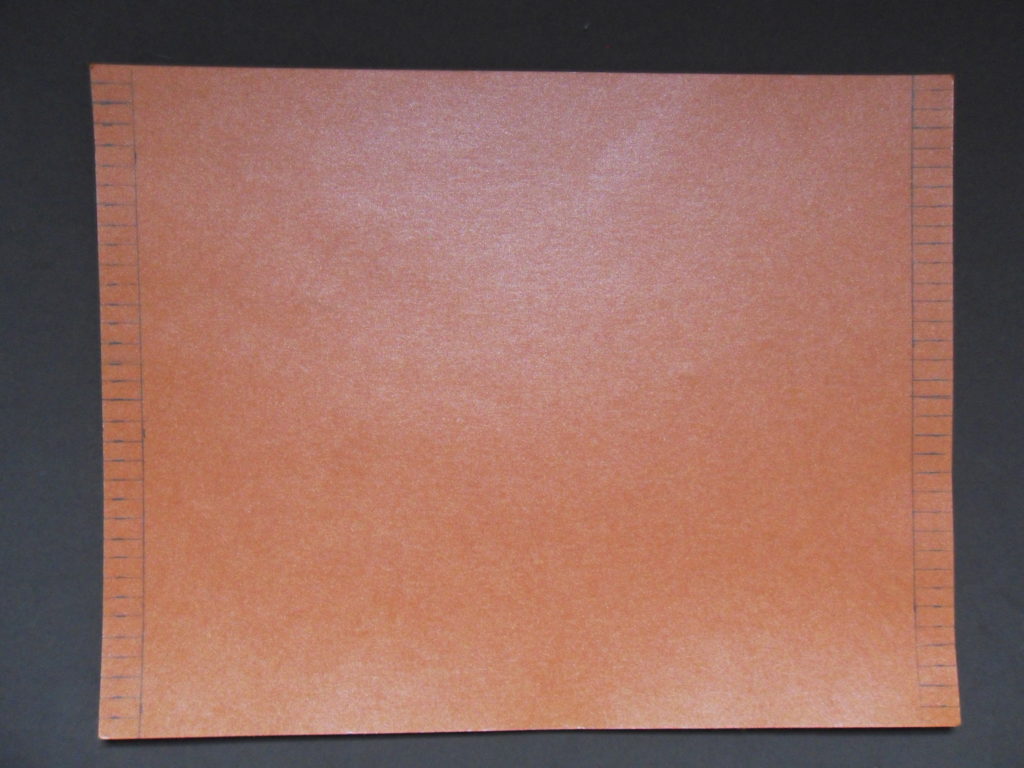
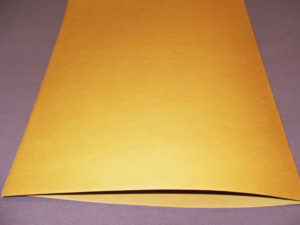
Large sheet of thick paper or cardboard for the frame of the mock loom
Two or three different colored and/or pattered papers cut into strips
Ribbon (optional)
Scissors
Ruler
Pencil with eraser
Glue stick or scotch tape

The craft Fence Weaving was adapted from the project “From the Yard/Fence Weaving” found in All-Around-the-House Art and Craft Book by Patricia Z. Wirtenberg and published by Houghton Mifflin Company in 1968.
MATERIALS:
One fence preferably a chain link fence
Ribbon, yarn, pipe cleaners, tassels, string, rope, feathers, strips of fabric or paper, and anything else that easily woven through or tied on a chain link fence
Pompoms, beads, tiny shells, paper dessert cups, and anything else glued to ribbon, yarn, strips of fabric or paper, etc. and attached to the links in the fence. Bits of drawings or photographs can also be used.
Scissors
Glue
PROJECT:
1) Weave, loop or tie materials such as pipe cleaners, ribbon, yarn, rope, strips of fabric or paper and string diagonally, vertically or horizontally through the links in the fence.
2) Weave or loop or tie the ends of fabric, ribbon or paper through the links in the fence and secured with glue. The more you material you use, the more festive the fence looks.
3) Glue artificial flowers, beads, tiny shells, and similar items to ribbon, strips of fabric or paper, etc. Weave the ends through the links in the fence.
4) Make a garland of paper or similar material and attach the ends to the fence. Celebrate the Fourth of July with a red, white and blue garland!
5) Cut paper letters and/or numbers and glue to a long strip of paper or ribbon and attach to the links in the fence at each end. Anything goes! The signs can say “Happy Summer!” “Enjoy Summer Camp!” “Hooray for Summer!”
6) Another idea: decorate the fence according to themes: nature; summer/seashells; art; Disney; cars/trains/airplanes; sports, etc.
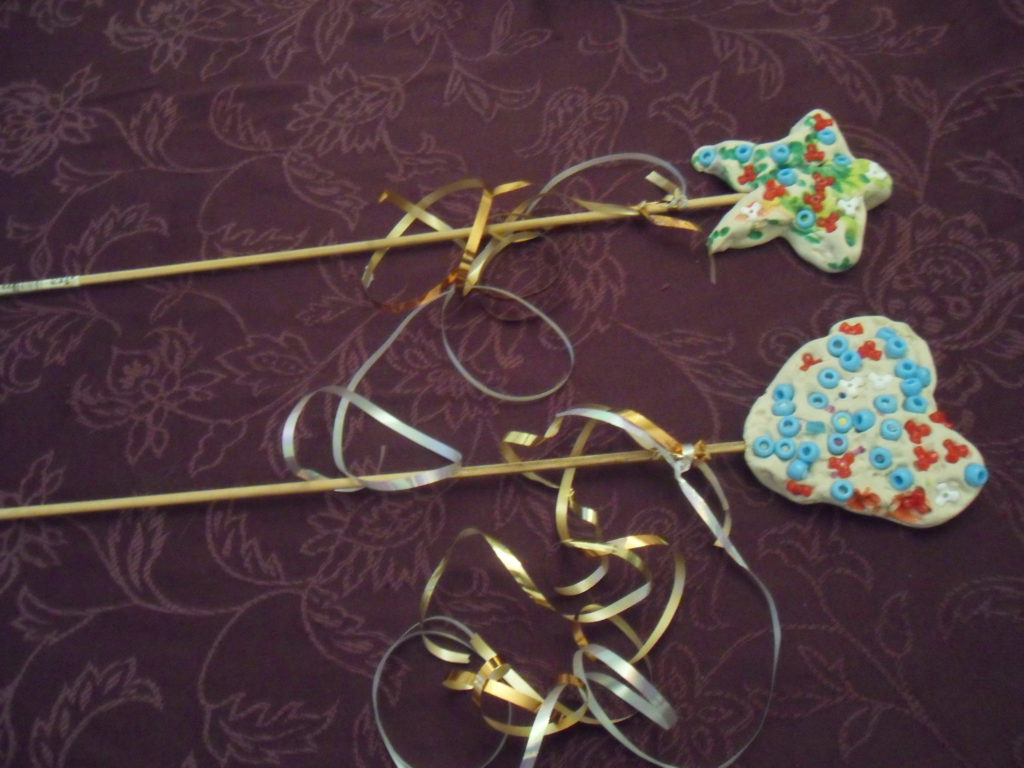
MATERIALS:
Model Magic – white
Dowel rod, 12 – 14 inches in length
White glue
Markers – color(s) of choice
Beads/sequins/glitter/feathers
Curling ribbon – color(s) of choice
Scissors
Brush
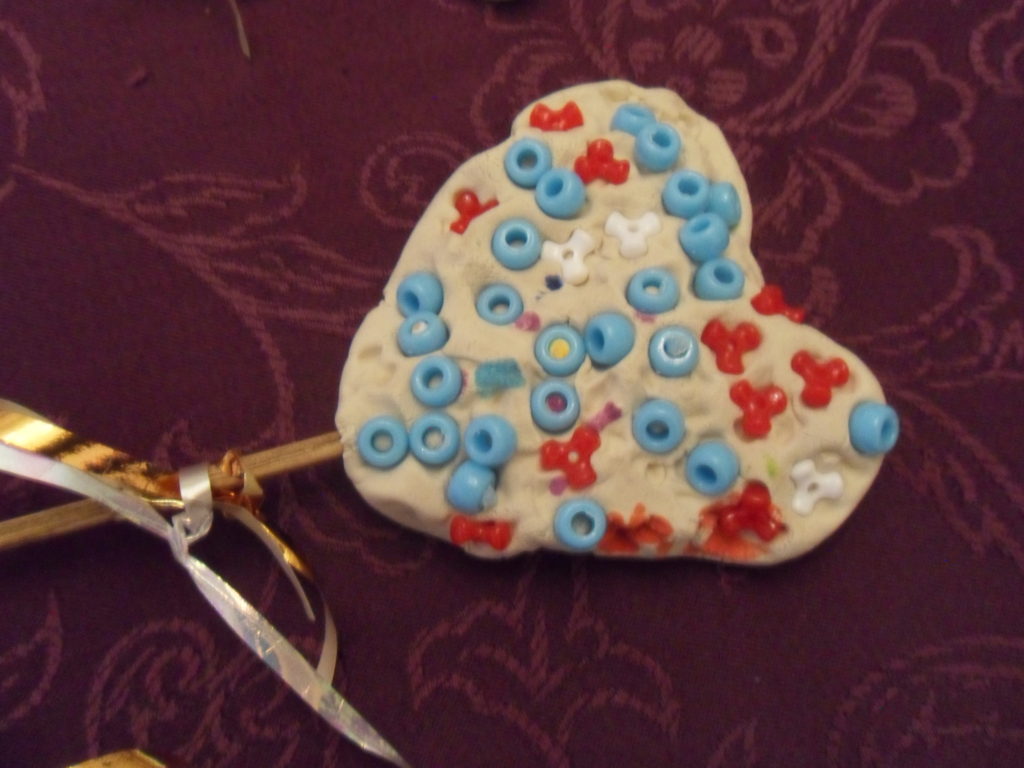
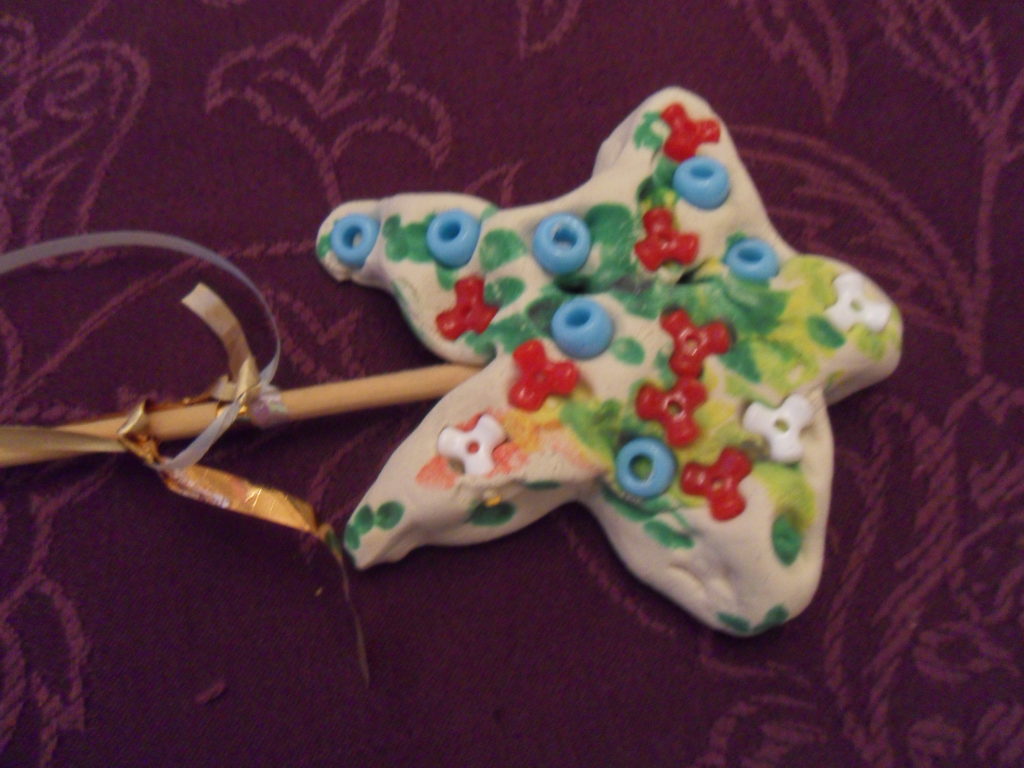
PROJECT:
OPTIONAL: Make other shapes! Shamrocks! Diamonds! Clouds! Stars!
Art work by Chloe B.
ST. VALENTINE’S DAY
Lupercalia was a Roman holiday held in honor of Lupercus, the god of the pasture and fertility. The event was held on February 5th in a cave on Palatine Hill in Rome. The priests who were known as the Luperci, conducted the rituals associated with the Lupercalia festival. These rituals included sacrificing animals like goats and dogs; feasting followed. The celebrations continued when the Luperci cut thongs from the skins of the sacrificed animals. The priests divided into two groups and ran around the city swatting people with the thongs. The festival participants believed that a blow from one of the thongs encouraged fertility.
The early Christian Church tried to convert unbelievers such as the followers of the Luperci, by combining pagan customs with their own beliefs. The feast day of two Roman martyrs (both named Valentine) had its origins in the Lupercalia festival. The one saint had been a priest and the other had been the Bishop of Terni, and both died in the same day in the third century A. D.
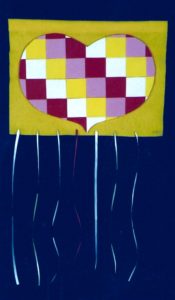
QUILTED HEART BANNER
QUILTED HEART
Ages: 5 – 12 years
Time: one hour
MATERIALS:
Yellow felt square 16” x 14”
Dowel rod 18”
Red, pink, yellow, and white craft foam cut into 2″ x 2″ squares
¼” ribbon in red, yellow, pink and white.
String – double the length of the dowel rod
poster board or single sheet of craft foam of any color
Using a template or a stencil or drawing by hand, trace the heart on to poster board or a single sheet of craft foam of any color and cut. The heart should measure about 13 3/4″ x 10.”
Cut 8 yellow, 11 red, 10 white and 10 pink squares from the craft foam sheets. The squares should measure 2″ x 2.” Divide the heart in half vertically and in half again horizontally. (Refer to the photo of the banner.)
Lay the squares down along the horizontal fold in the following pattern: white, yellow, pink and red. Place the next row of squares below the first row. Stagger the colored squares so that the second row is not directly beneath the first row. Repeat the pattern until the squares cover the heart. Glue. Allow the pieces to dry.
Fill in the odd-shaped areas with the appropriately colored squares and glue. When those pieces are dry, turn the heart around and trim along the outline of the heart. Measure and cut the felt to 16” x 14”. Place it horizontally. Make a loop by measuring and folding a 1” seam. Iron. Measure and fold a second 1” seam. Iron and glue the second fold. You will be inserting the dowel rod through this loop. (The length of the banner will be about 16” x 12.” This does not include the ribbons.)
Measure and cut two 18” lengths of each color of ribbon. Poke a hole every two inches along the bottom of the felt with a sharp tool. Alternate the colors, pull the ribbon through and tie a knot in the back so that the ribbon is held in place. (Small children should let adults do this for them.) Glue the heart on the felt. Cut the dowel rod to 18” and insert through the loop at the top. Cut the string to a length suitable for hanging. Tie the string to each end of the dowel rod.
VARIATION: Use other shapes to decorate your heart banner: circles/dots, flowers, squiggle lines, triangles, etc. Today, Valentine’s Day honors lovers. We celebrate Valentine’s Day on February 14th by sending gifts like candy and cards.
Happy Valentine’s Day!
COPYRIGHT 2013 Marion Constantinides

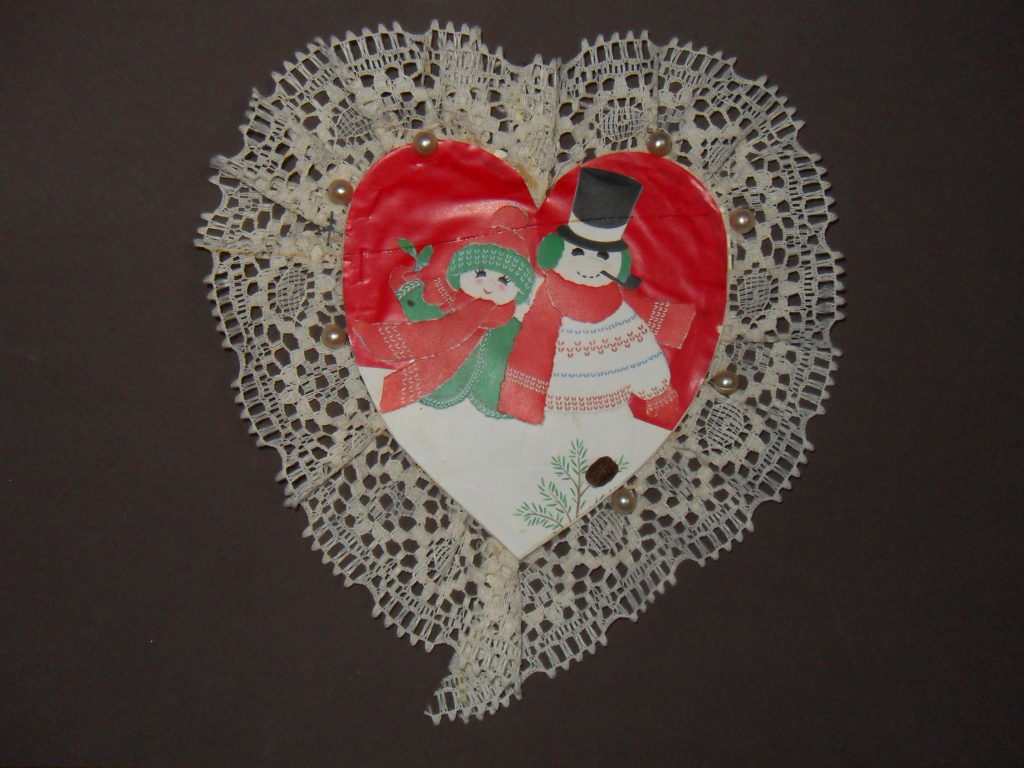
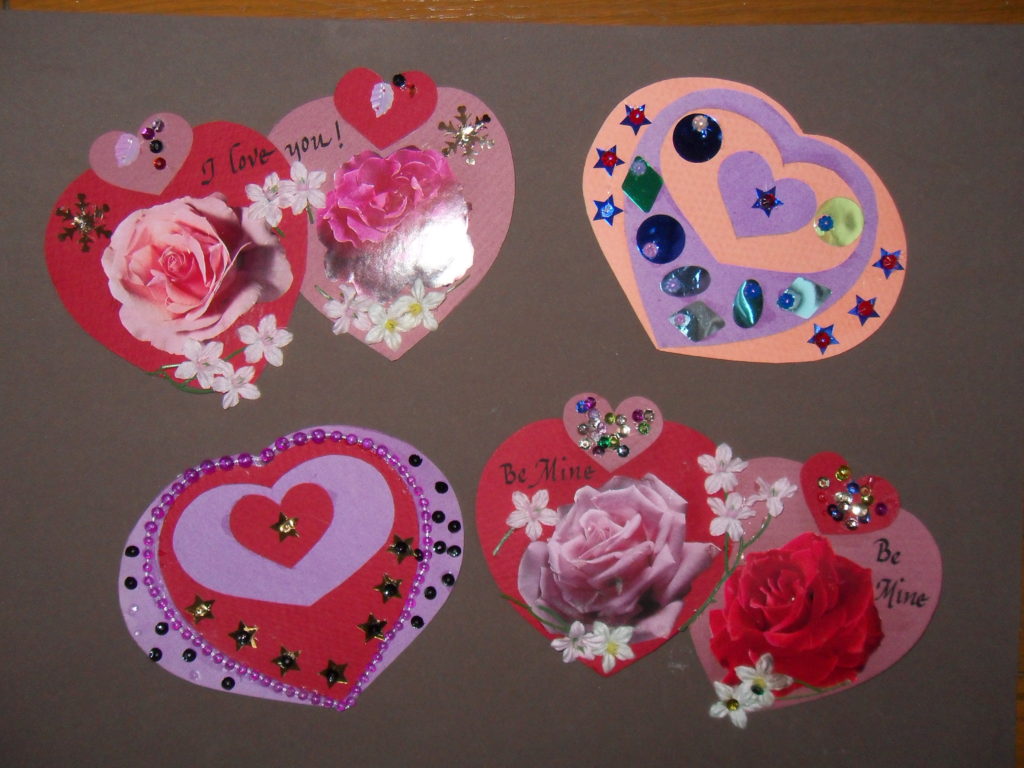
Funky Recycled Valentines
Materials:
Paper in pink, red, purple, white
Greeting cards or images downloaded from the Internet
Lace Paper doilies
Sequins
Glitter
Pearls
Seeds
Beads
Stickers
Scissors
Glue stick
White glue
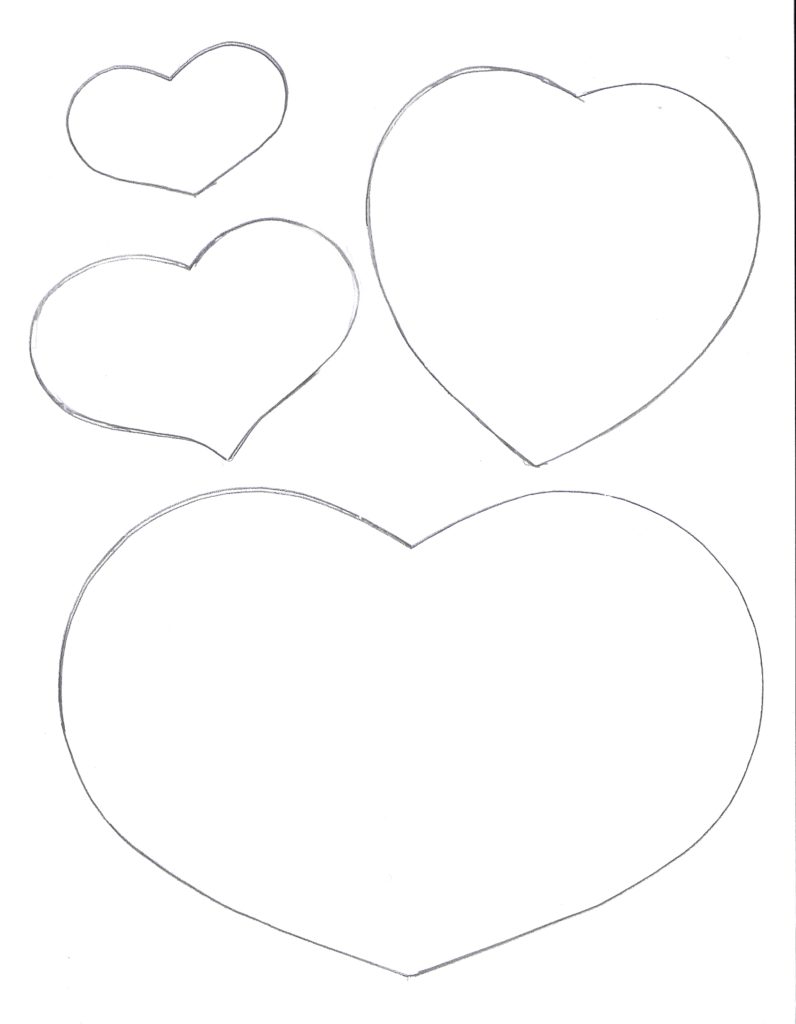
Heart-shaped cookie cutters, templates, stencils or the patterns provided below
String or yarn
Markers or colored pencils
VARIATION: MAKE A FUNKY RECYCLED VALENTINE POUCH
Create two cards of the same size. Decorate. Glue the two sides but keep the top open. Punch two holes in the center of the heart at the top. Cut a piece of ribbon or string long enough for hanging or carrying. Pass the ribbon or string through the hole and make a knot. Pass the ribbon through the other hole making another knot. You now have a pouch for holding your valentines!
HAPPY VALENTINE’S DAY!
@Photograph by Marion Constantinides Oct. 2016
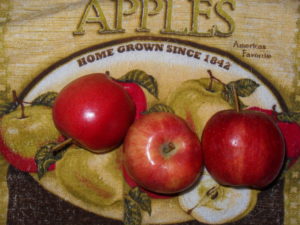
Another Healthy Apple Salad
Ingredients:
2 cups Romaine (or greens of choice)
1 – 2 unpeeled red apples, diced
1/2 cup diced celery
1/4 cup craisins (or raisins)
1/4 cup chopped walnuts (or slivered almonds)
Dressing:
1/2 cup light mayonnaise
2 Tablespoons pineapple juice
1 Tablespoon sugar
In a large salad bowl, toss lettuce, apples, celery, craisins and walnuts. In a small bowl, mix the ingredients for the dressing. (Or use a salad dressing of your choice. I use an Asian-style dressing.)
Pour over the salad and toss.
Take to a picnic or serve with grilled food.
Serve immediately.